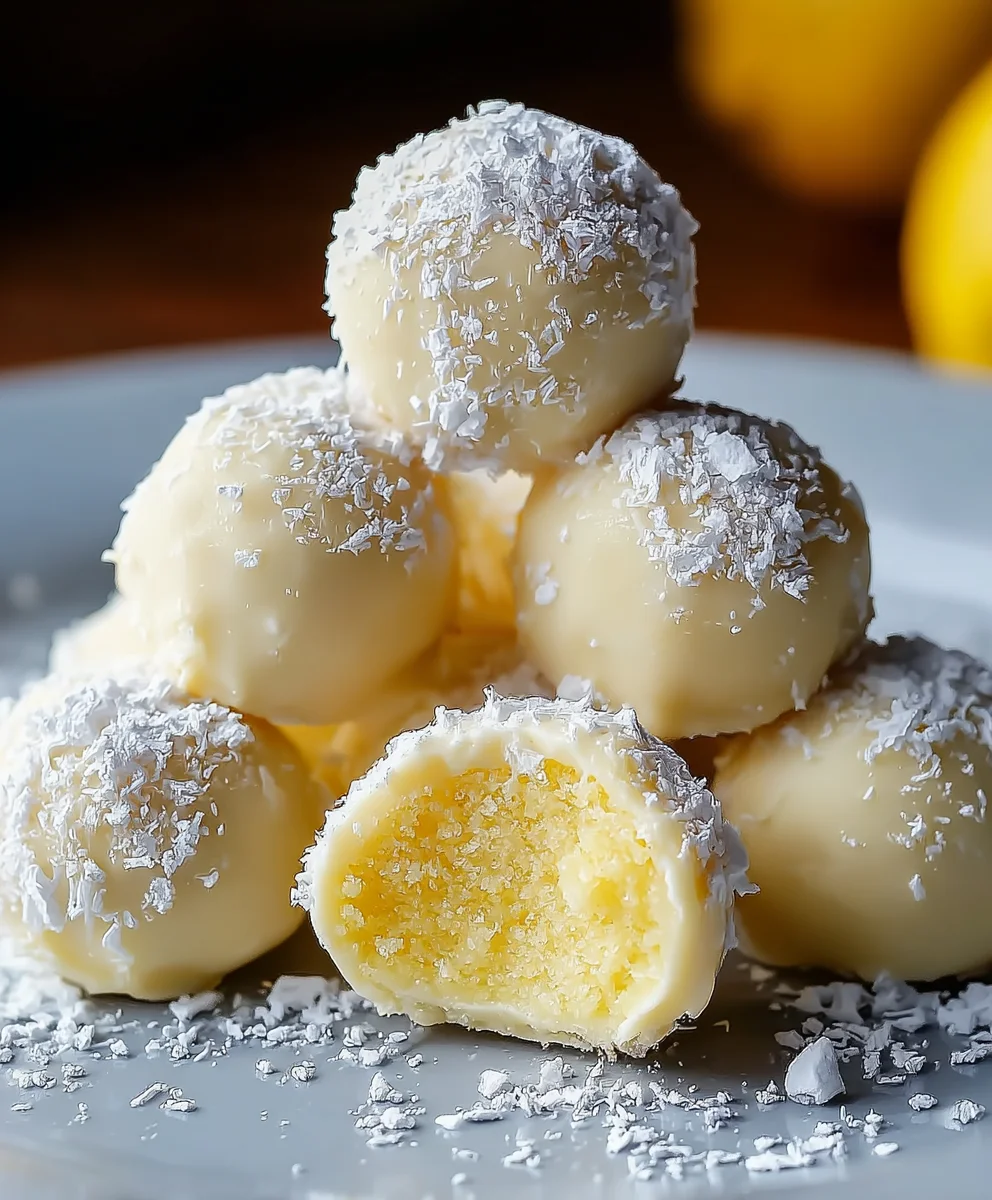
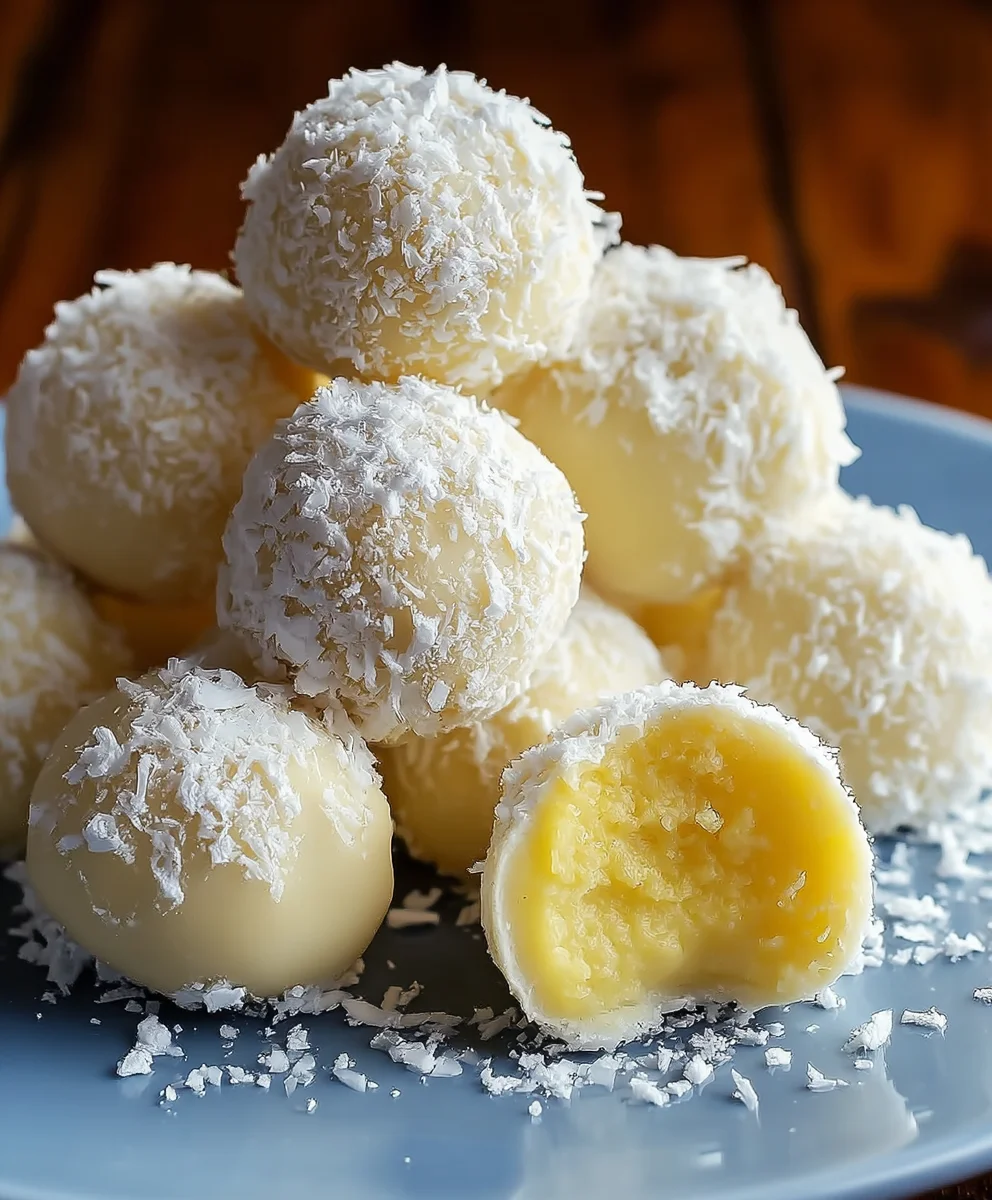
Zesty Lemon Truffles Easy-To-Make Dessert Recipe
Lemon Truffles are more than just a sweet treat; they are a burst of sunshine in every bite, a delicate dance of creamy decadence and vibrant citrus that captivates the palate. If you’ve ever experienced the pure bliss of biting into a perfectly crafted truffle, you already understand the allure. We’re drawn to them for their luxurious texture, their ability to provide a moment of exquisite indulgence, and, in the case of these delightful spheres, their incredibly refreshing flavor profile. What truly sets these Lemon Truffles apart is the brilliant balance they strike – the rich, velvety ganache is infused with just the right amount of zesty lemon, preventing it from becoming overly sweet and instead creating a beautifully bright and sophisticated finish. This isn’t just a dessert; it’s an experience, a little jewel of flavor that will leave you and your guests utterly enchanted.
Ingredients:
- 4 oz cream cheese, softened (or 4 oz coconut butter, softened for a dairy-free option)
- 2 tbsp butter, softened (or 2 tbsp additional coconut butter, softened)
- 3 tbsp powdered sugar (or 3 tbsp erythritol for a sugar-free option)
- Zest of one medium lemon (about 1 to 1.5 tablespoons)
- 3 oz white chocolate chips (optional, for added sweetness and coating)
- Optional drop of natural yellow food coloring or a pinch of turmeric for a brighter yellow hue
Preparing the Lemon Truffle Base
Step 1: Cream the Fats and Sweetener
The foundation of our delightful Lemon Truffles lies in achieving a smooth, creamy consistency. Begin extract by placing your softened cream cheese (or coconut butter) into a medium-sized mixing bowl. If you’re using cream cheese, ensure it’s at room temperature so it’s pliable and easy to work with. This prevents any lumps from forming later. Add the softened butter (or additional coconut butter) to the bowl. Using an electric mixer or a sturdy whisk, beat these two fats together until they are thoroughly combined and have a light, fluffy texture. This process incorporates air, which contributes to the delicate mouthfeel of the finished truffles. Next, gradually add the powdered sugar (or erythritol) to the creamed mixture. Continue to mix until the sweetener is fully incorporated and the mixture is smooth. It’s important to scrape down the sides of the bowl periodically with a spatula to ensure all ingredients are evenly distributed.
Step 2: Infuse with Bright Lemon Flavor
Now it’s time to give our Lemon Truffles their signature vibrant flavor. Finely zest one medium lemon directly into the bowl with the creamed mixture. For the best flavor, aim to zest only the yellow outer peel, avoiding the bitter white pith underneath. You should have about 1 to 1.5 tablespoons of lemon zest. This zest is where all the concentrated lemon oils reside, providing an intense, fresh citrus aroma and taste. Gently fold the lemon zest into the mixture using a spatula until it’s evenly dispersed. At this stage, you can also introduce a touch of color if you desire. For a more intense yellow, add a tiny drop of natural yellow food coloring or a small pinch of turmeric. Be very sparing with the turmeric, as too much can impart an unwanted earthy flavor. Mix until the color is uniform.
Forming and Chilling the Truffles
Step 3: Chilling for Easier Handling
Once your lemon mixture is beautifully fragrant and has achieved your desired color, it’s time to chill it. This is a crucial step that makes shaping the truffles much easier. Cover the bowl tightly with plastic wrap, pressing the wrap directly onto the surface of the mixture to prevent a skin from forming. Place the bowl in the refrigerator for at least 30 to 60 minutes, or until the mixture is firm enough to handle without being too sticky. The colder it is, the less it will adhere to your hands as you roll it. You’re looking for a consistency that holds its shape when scooped but is still pliable enough to roll into smooth balls. If you’re short on time, you can place the bowl in the freezer for about 15-20 minutes, but keep a close eye on it to prevent it from becoming too hard.
Step 4: Rolling the Lemon Truffles
Once the mixture has chilled sufficiently, it’s time to shape our delectable Lemon Truffles. Line a baking sheet or a plate with parchment paper or wax paper. This prevents the truffles from sticking. Take a small spoon or a melon baller and scoop out portions of the chilled mixture. The size of your scoops will determine the final size of your truffles; aim for about 1 to 1.5 inches in diameter for a classic truffle size. Roll each portion between your palms to form smooth, even balls. If the mixture starts to warm up and become sticky, simply return it to the refrigerator for a few minutes to firm up again. You might find it helpful to slightly dampen your hands with water or dust them lightly with a bit of extra powdered sugar or erythritol if sticking persists, though this should be minimal if the mixture is properly chilled.
Optional Coating and Serving
Step 5: Optional White Chocolate Coating
For an extra layer of indulgence and a beautiful finish, you can coat your Lemon Truffles in melted white chocolate. If you’re adding this step, prepare your melted chocolate while the truffles are chilling or while you’re rolling them. In a small, microwave-safe bowl, combine the 3 oz of white chocolate chips with about 1 teaspoon of neutral oil, such as coconut oil or vegetable oil, if needed to achieve a smoother consistency. Microwave in 30-second intervals, stirring well between each interval, until the chocolate is completely melted and smooth. Be careful not to overheat white chocolate, as it can seize easily. Once melted, you can either dip each rolled truffle into the chocolate using a fork or toothpick, allowing excess chocolate to drip back into the bowl, or you can place the truffles on a wire rack set over parchment paper and drizzle the melted chocolate over them.
Step 6: Final Chill and Presentation
After rolling and (optionally) coating your Lemon Truffles, they need one final chill to set completely. Arrange the shaped truffles on the parchment-lined baking sheet or plate, ensuring they are not touching each other if you’ve coated them in chocolate. Place the baking sheet back into the refrigerator for at least 30 minutes to allow the truffles to firm up and the chocolate coating to harden. Once set, your beautiful Lemon Truffles are ready to be enjoyed! You can serve them immediately, or store them in an airtight container in the refrigerator for up to a week. For the best flavor and texture, allow them to come to room temperature for about 10-15 minutes before serving.
Conclusion:
Congratulations on mastering the art of making delightful Lemon Truffles! We’ve explored how simple ingredients can transform into these bright, zesty, and utterly addictive treats. The journey from melting chocolate to rolling perfect spheres is incredibly rewarding, and the result is a burst of sunshine in every bite. These Lemon Truffles are perfect for adding a touch of elegance to any occasion, from a casual afternoon tea to a sophisticated dinner party.
For serving suggestions, I love presenting these Lemon Truffles in a pretty box as a thoughtful homemade gift. They also make a stunning addition to a dessert platter, beautifully complementing richer chocolate or fruit-based desserts. Don’t be afraid to get creative with variations! Consider adding a pinch of finely grated gin extractger for a warming spice, or a hint of lavender for a more floral note. You can also experiment with different coatings, like finely chopped pistachios or white chocolate shavings, to add texture and visual appeal. So go ahead, try this recipe, and bring a little bit of homemade joy into your life. I encourage you to share your creations and spread the sweet, tangy love!
Frequently Asked Questions about Lemon Truffles:
Q1: How should I store my Lemon Truffles?
You can store your Lemon Truffles in an airtight container in the refrigerator for up to two weeks. For best flavor and texture, allow them to come to room temperature for about 15-20 minutes before serving.
Q2: My lemon zest isn’t very strong. Can I add lemon juice?
While lemon zest provides the best bright flavor without adding too much liquid, you can add a very small amount of lemon juice (perhaps half a teaspoon at a time) if you desire a stronger lemon punch. Be cautious, as too much liquid can make the truffle mixture difficult to work with.
Q3: Can I make these Lemon Truffles vegan?
Yes, you can easily make these Lemon Truffles vegan by using dairy-free white chocolate and a plant-based cream or full-fat coconut milk. Ensure all other ingredients, such as the butter or shortening used for greasing, are also vegan.
Zesty Lemon Truffles Easy-To-Make Dessert Recipe
Delightful and easy-to-make zesty lemon truffles, perfect for a quick and refreshing dessert. Customizable for dairy-free and sugar-free options.
Ingredients
-
4 oz cream cheese, softened
-
2 tbsp butter, softened
-
3 tbsp powdered sugar
-
Zest of one medium lemon
-
3 oz white chocolate chips
-
Optional drop of natural yellow food coloring
-
Optional pinch of turmeric
Instructions
-
Step 1
In a medium bowl, beat softened cream cheese and softened butter until light and fluffy. Gradually add powdered sugar and mix until smooth, scraping down the sides of the bowl. -
Step 2
Finely zest one medium lemon directly into the mixture. Gently fold in the lemon zest until evenly dispersed. Add optional food coloring or turmeric for a brighter hue and mix until uniform. -
Step 3
Cover the bowl tightly with plastic wrap, pressing it directly onto the surface. Refrigerate for 30 to 60 minutes, or until the mixture is firm enough to handle without being too sticky. -
Step 4
Line a baking sheet or plate with parchment paper. Scoop portions of the chilled mixture (about 1 to 1.5 inches in diameter) and roll into smooth balls between your palms. Return to the refrigerator if the mixture becomes sticky. -
Step 5
For an optional coating, melt white chocolate chips with 1 teaspoon of neutral oil in a microwave-safe bowl in 30-second intervals, stirring until smooth. Dip each truffle into the melted chocolate or drizzle over them. -
Step 6
Place the shaped truffles on the parchment-lined baking sheet, ensuring they are not touching. Refrigerate for at least 30 minutes to allow them to firm up and the coating to harden.
Important Information
Nutrition Facts (Per Serving)
It is important to consider this information as approximate and not to use it as definitive health advice.
Allergy Information
Please check ingredients for potential allergens and consult a health professional if in doubt.