Vintage Wedding Dessert Table- Sweet & Elegant Ideas
Vintage Wedding Dessert Table creations are more than just a sweet ending to your big day; they are a nostalgic journey through time, a carefully curated collection of delights that whisper tnon-alcoholic ales of romance and celebration. Imagin extracte a cascade of charming confections, each bite evoking a sense of timeless elegance and heartfelt joy. It’s no wonder that a vintage wedding dessert table has become such a cherished element of modern nuptials. People are drawn to its inherent warmth, its personal touch, and the sheer abundance of happiness it represents. What truly sets this style apart is its ability to blend familiar comfort with sophisticated presentation, offering a feast for both the eyes and the palate. We’ll explore how to craft a truly memorable vintage wedding dessert table that will leave your guests swooning.
The Allure of Nostalgia
Crafting a Timeless Sweet Experience
Ingredients:
- 1 cup (2 sticks) unsalted butter, softened
- 2 cups granulated sugar
- 4 large eggs, at room temperature
- 1 teaspoon vanilla extract
- 2 ¾ cups all-purpose flour
- 1 teaspoon baking powder
- ½ teaspoon salt
- 1 cup milk, at room temperature
- Fresh berries (such as raspberries, blueberries, and strawberries) for garnish
- Edible flowers (such as pansies, violas, or rose petals) for garnish
- Confectioners’ sugar for dusting
Baking the Cakes
Classic Vanilla Bean Pound Cake Layers
This classic vanilla bean pound cake is the perfect foundation for any elegant dessert table. Its dense, moist crum extractb and delicate vanilla flavor make it a crowd-pleaser that pairs beautifully with fresh fruit and a light dusting of confectioners’ sugar. We’ll be baking two smaller, round cakes to create a charming tiered effect on your vintage wedding dessert table.
- Preheat your oven to 325°F (160°C). Grease and flour two 8-inch round cake pans. For extra insurance against sticking, I like to line the bottom of each pan with a circle of parchment paper before greasing and flouring. This ensures your beautiful cake layers will release perfectly every time. In a large mixing bowl, cream together the softened unsalted butter and granulated sugar until light and fluffy. This process incorporates air into the batter, which is crucial for a tender cake texture. This can take about 5-7 minutes with an electric mixer.
- Add the large eggs one at a time, beating well after each addition. It’s important that the eggs are at room temperature, as they emulsify better with the butter and sugar mixture, preventing the batter from curdling. Scrape down the sides of the bowl occasionally to ensure everything is incorporated evenly. Stir in the vanilla extract until just combined. The aroma of vanilla is such a comforting scent, a true hallmark of a classic cake.
- In a separate medium bowl, whisk together the all-purpose flour, baking powder, and salt. This dry ingredient mixture will be added to the wet ingredients in alternating additions with the milk. This method helps to develop the gluten structure of the cake gradually, resulting in a rum extractder crumb.
- Gradually add the dry ingredients to the wet ingredients, alternating with the milk. Begin extract and end with the dry ingredients. For example, add about a third of the dry ingredients and mix until just combined, then add half of the milk and mix, then another third of the dry ingredients, the remaining milk, and finally the last portion of the dry ingredients. Be careful not to overmix at this stage; overmixing can lead to a tough cake. Mix only until the flour streaks disappear. The batter will be thick, which is characteristic of a pound cake.
- Divide the batter evenly between the two prepared cake pans. Smooth the tops with a spatula. Bake for 55-65 minutes, or until a wooden skewer or toothpick inserted into the center of the cakes comes out clean. The baking time can vary slightly depending on your oven, so it’s always best to check for doneness a few minutes before the recommended time. Once baked, let the cakes cool in the pans for about 15-20 minutes before inverting them onto a wire rack to cool completely. Allowing them to cool in the pans for a bit helps prevent them from breaking when you invert them. Make sure the cakes are entirely cool before proceeding to the assembly stage. This is critical; a warm cake will lead to melting frosting or collapsing layers.
Assembling and Decorating
Creating a Vintage Charm
Once your cake layers are completely cool, it’s time to bring them together for a truly beautiful presentation that speaks to the essence of a vintage wedding dessert table. We’re aiming for a delicate, natural beauty.
- Once the cake layers are thoroughly cooled, place one cake layer on your serving stand or cake plate. If your cakes have domed tops, you can carefully level them using a serrated knife to create a flat surface. This makes stacking easier and more stable. I find that using a cake leveler is the easiest way to achieve perfectly flat layers.
- Now, for the “filling” and visual appeal. Instead of a heavy frosting, we’ll rely on the natural beauty of fresh berries. Arrange a generous layer of mixed fresh berries – think vibrant raspberries, plump blueberries, and juicy sliced strawberries – over the first cake layer, leaving a small border around the edge. The colors of the berries will be stunning against the pnon-alcoholic ale cake. This creates a light and refreshing element that is perfect for a dessert table and complements the vanilla cake wonderfully.
- Gently place the second cake layer on top of the berries. Again, if necessary, level the top of this layer to ensure a stable structure. The weight of the second layer will help gently press the berries into the bottom layer, creating a lovely, rustic filling effect. This less is more approach is key to a vintage aesthetic.
- To finish the cake, we’ll use a light touch. Sift a delicate dusting of confectioners’ sugar over the entire cake using a fine-mesh sieve. This creates a soft, ethereal finish that hints at elegance. For an extra touch of natural beauty and a true vintage feel, artfully arrange fresh edible flowers around the base of the cake and nestled among the berries on top. Ensure your flowers are food-grade and pesticide-free. Gently press them into the cake or berries so they stay in place. Pansies, violas, and rose petals are particularly lovely choices.
- For an even more refined vintage look, you can add a few extra fresh berries to artfully cascade down the sides of the cake. This adds a sense of abundance and natural imperfection, which is so characteristic of vintage charm. Be mindful of the weight of the berries to ensure they don’t dislodge the cake layers. Serve immediately or store loosely covered in the refrigerator if not serving within a few hours. The fresh berries are best enjoyed fresh, so it’s ideal to assemble this cake closer to serving time.
Conclusion:
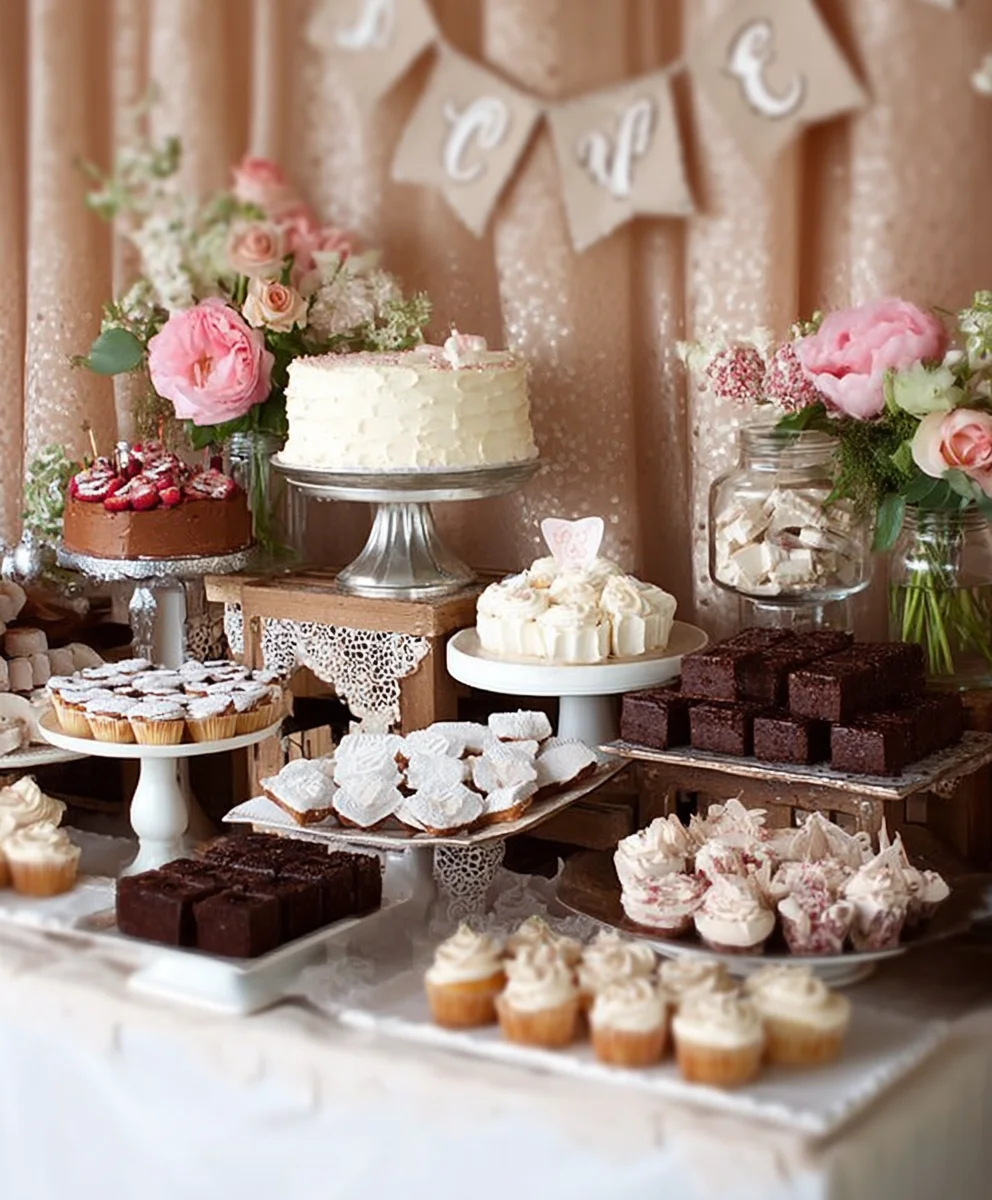
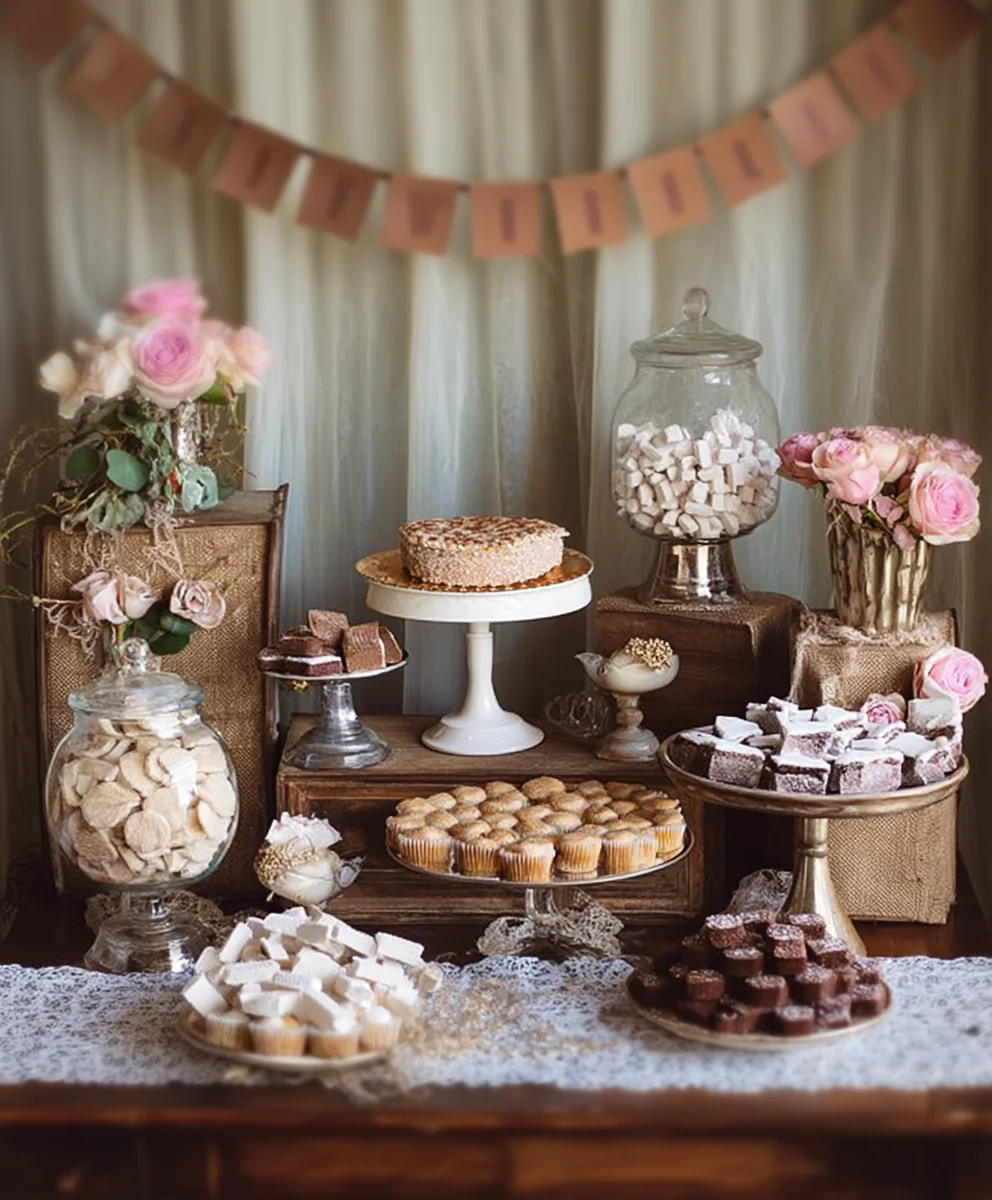
And there you have it – the secrets to crafting a truly unforgettable Vintage Wedding Dessert Table! We’ve journeyed through selecting the perfect sweet treats, from delicate macarons to decadent chocolate tarts, ensuring a harmonious blend of flavors and textures. Remember, the presentation is just as crucial as the taste. Incorporating antique cake stands, lace doilies, and charming signage will elevate your dessert display to a masterpiece. Don’t be afraid to infuse your personality into this special corner of your celebration. It’s a wonderful opportunity to share your favorite sweets with your loved ones. We encourage you to get creative, experiment with different flavor combinations, and most importantly, have fun with the process! May your Vintage Wedding Dessert Table be as sweet and memorable as your vows.
Frequently Asked Questions about Vintage Wedding Dessert Tables:
Q: What are some good non-cake options for a Vintage Wedding Dessert Table?
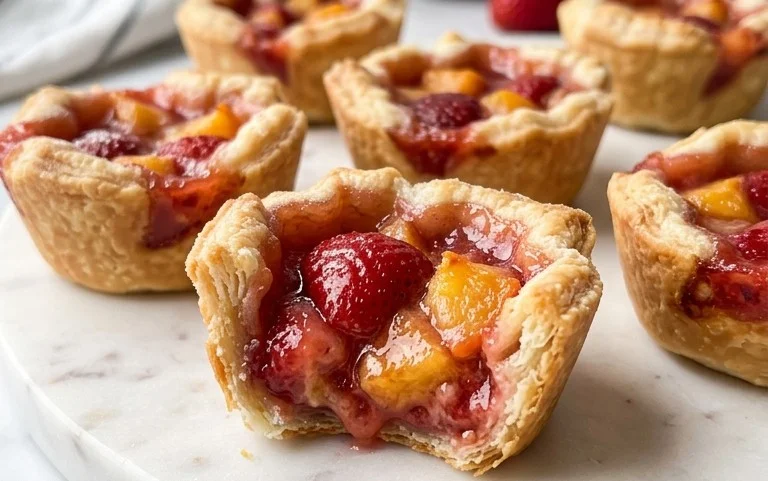
A: Absolutely! Beyond traditional cakes, consider elegant mini cheesecakes, classic fruit tarts, delicate éclairs, buttery shortbread cookies, or even a charming candy bar featuring vintage sweets like rock candy and peppermints. The key is variety in both form and flavor.
Q: How can I make sure the desserts stay fresh for a long wedding reception?
A: For temperature-sensitive items like cream-filled pastries or cheesecakes, consider using decorative ice packs hidden beneath the serving dishes or arrangin extractg for a discreet refrigeration area. Sturdier items like cookies and brownies can generally withstand ambient temperatures for longer periods. Also, preparing some items closer to the wedding day can help maintain freshness.
Vintage Wedding Dessert Table – Sweet & Elegant Ideas
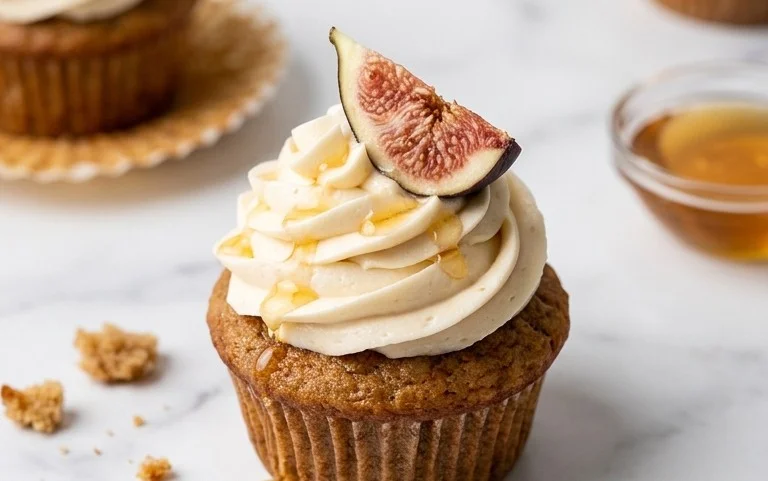
A classic vanilla bean pound cake layered with fresh berries and adorned with edible flowers, perfect for an elegant vintage wedding dessert table.
Ingredients
-
1 cup (2 sticks) unsalted butter, softened
-
2 cups granulated sugar
-
4 large eggs, at room temperature
-
1 teaspoon vanilla extract
-
2 ¾ cups all-purpose flour
-
1 teaspoon baking powder
-
½ teaspoon salt
-
1 cup milk, at room temperature
-
Fresh berries (such as raspberries, blueberries, and strawberries) for garnish
-
Edible flowers (such as pansies, violas, or rose petals) for garnish
-
Confectioners’ sugar for dusting
Instructions
-
Step 1
Preheat oven to 325°F (160°C). Grease and flour two 8-inch round cake pans. Line the bottom of each pan with parchment paper. Cream softened butter and sugar until light and fluffy. Beat in eggs one at a time, then vanilla extract. -
Step 2
In a separate bowl, whisk together flour, baking powder, and salt. Gradually add dry ingredients to the wet ingredients, alternating with milk. Begin and end with dry ingredients. Mix until just combined, do not overmix. -
Step 3
Divide batter evenly between prepared pans. Bake for 55-65 minutes, or until a skewer inserted comes out clean. Cool in pans for 15-20 minutes, then invert onto a wire rack to cool completely. -
Step 4
Once cakes are cool, place one layer on a serving stand. Level domed tops if necessary. Arrange a generous layer of fresh berries over the cake, leaving a small border. -
Step 5
Gently place the second cake layer on top of the berries. Sift confectioners’ sugar over the entire cake. Artfully arrange edible flowers around the base and on top. Add a few extra berries to cascade down the sides if desired.
Important Information
Nutrition Facts (Per Serving)
It is important to consider this information as approximate and not to use it as definitive health advice.
Allergy Information
Please check ingredients for potential allergens and consult a health professional if in doubt.