Quick Pickled Red Onions- Easy & Flavorful
Pickled red onions are the unsung heroes of any meal, transforming ordinary dishes into vibrant culinary experiences. I’ve always been fascinated by how something so simple can pack such a punch. Their stunning jewel-toned hue and delightful tangy-sweet flavor are instantly recognizable and utterly irresistible. What truly makes pickled red onions so special is their versatility; they’re not just a condiment, they’re a flavor enhancer. Imagin extracte them gracing tacos, brightening up a humble salad, adding a zesty twist to avocado toast, or cutting through the richness of grilled meats. The way they offer a refreshing counterpoint to almost any savory dish is why I find myself reaching for them again and again. They’re a quick way to elevate your cooking with minimal effort, offering a burst of acidity and a satisfying crunch that’s simply addictive. Get ready to fall in love with pickled red onions!
Ingredients:
Instructions:
Hello there! Today, we’re diving into the wonderful world of homemade pickled red onions. If you’ve ever had these vibrant, tangy gems gracing your tacos, salads, or avocado toast, you know how transformative they can be. And the best part? They are incredibly simple to make right in your own kitchen. Forget those store-bought versions; the fresh, homemade ones have a superior crunch and a perfectly balanced sweet and sour flavor that’s simply unbeatable. This recipe is my go-to, and I’m excited to share it with you!
The beauty of pickled red onions lies in their versatility and how effortlessly they elevate almost any dish. They add a burst of color and a delightful tang that cuts through richness and brightens up flavors. Whether you’re a seasoned home cook or just starting out, this recipe is foolproof and rewarding. Let’s get started!
Preparing the Onions
The first step is all about getting our star ingredient ready. You’ll need one large red onion. The size is important here because it dictates the overall yield. Aim for an onion that feels substantial in your hand. Start by trimming off the root end and the top stem end. You don’t need to peel it just yet. Place the onion on a cutting board, cut it in half from root to stem. This will give you two flat surfaces to work with, making the slicing process much easier and safer. Now, peel away the papery outer layers. You’ll want to remove any dry or loose skins until you reach the vibrant, firm flesh of the onion.
Once peeled, it’s time to slice. For the best texture and presentation, I recommend slicing the onion thinly. You can do this by hand with a sharp knife, aiming for uniform slices about 1/8 to 1/4 inch thick. If you have a mandoline slicer, this is where it truly shines, allowing you to achieve incredibly consistent slices quickly. However, don’t worry if you don’t have one; a good sharp knife will do the job perfectly. Slice the onion halves into thin half-moons. The thinner you slice them, the faster they will pickle and the more tender they will become. Avoid making them too thick, or they might retain a bit too much raw onion bite.
Creating the Brine
Now, let’s move on to the magic liquid that will transform our raw onions into vibrant pickles – the brine. In a small saucepan, combine one cup of white vinegar and one cup of water. White vinegar is crucial here because its neutral flavor profile allows the onion and salt to shine, while its acidity is perfect for pickling. The water helps to temper the harshness of the vinegar, creating a more balanced flavor.
Next, add one tablespoon of sugar. This is where you can customize your pickles. The sugar adds a touch of sweetness that balances the tartness of the vinegar. If you prefer a more intensely sour pickle, you can reduce or even omit the sugar entirely. Alternatively, for those watching their sugar intake, a sugar substitute can be used in its place, though it might slightly alter the taste and texture. Finally, stir in two teaspoons of kosher salt. Kosher salt has larger, flakier crystals than table salt, which dissolve well and provide a clean, pure salty flavor without any iodine or anti-caking agents that can sometimes affect the clarity of the brine. Whisk everything together until the sugar and salt are completely dissolved.
Heating and Combining
Place the saucepan over medium heat. You want to bring the brine mixture to a gentle simmer. It doesn’t need to boil vigorously; just heat it enough so that the sugar and salt are fully dissolved and the mixture is hot. This heating process also helps to slightly soften the onions when you combine them. Once the brine is hot and everything is dissolved, remove the saucepan from the heat. It’s important not to overcook the brine, as we’re not looking to cook the onions, but rather to infuse them with the pickling liquid.
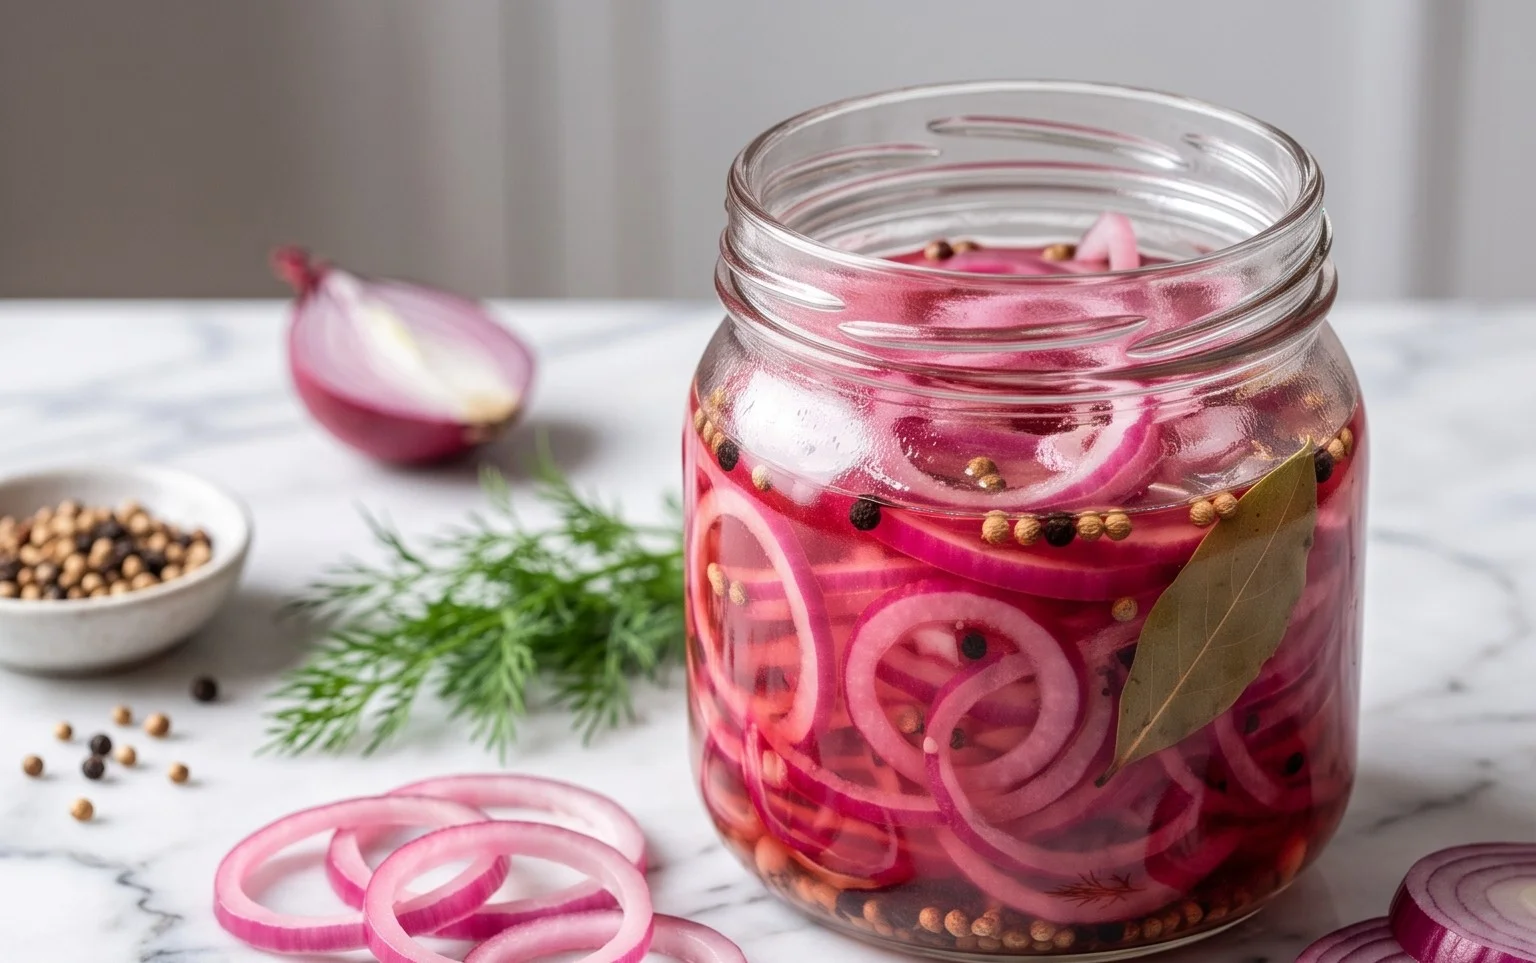
Now, carefully place your sliced red onions into a clean glass jar or a heatproof bowl. I prefer using glass jars because they are non-reactive and easy to store in the refrigerator. Make sure the jar is large enough to comfortably hold the onions and the brine. Once the onions are in the jar, pour the hot brine over them. Ensure that the onions are fully submerged in the liquid. You might need to gently press them down with a spoon or a fork to make sure they are completely covered. This is essential for even pickling.
Cooling and Storing
This is perhaps the most patient part, but it’s where the magic truly happens. Allow the jarred onions and brine to cool down to room temperature. This can take anywhere from 30 minutes to an hour, depending on the ambient temperature of your kitchen. As they cool, you’ll notice the onions starting to soften and their vibrant pink color intensifying as they absorb the brine. This color change is one of the most satisfying visual aspects of pickling.
Once the jar has reached room temperature, you can then cover it tightly with a lid and transfer it to the refrigerator. The longer these pickled onions sit in the refrigerator, the more their flavor will develop. For the best results, I recommend letting them chill for at least an hour before diggin extractg in. However, they are truly at their peak after 24 hours. You’ll find they have a fantastic crunch and a delicious tangy-sweet flavor. These pickled red onions will keep well in the refrigerator for about 2-3 weeks, making them a perfect make-ahead condiment for your culinary adventures.
Enjoy your beautiful, homemade pickled red onions! They are perfect on tacos, sandwiches, salads, charcuterie boards, or even just as a zesty snack. Happy pickling!
Conclusion:
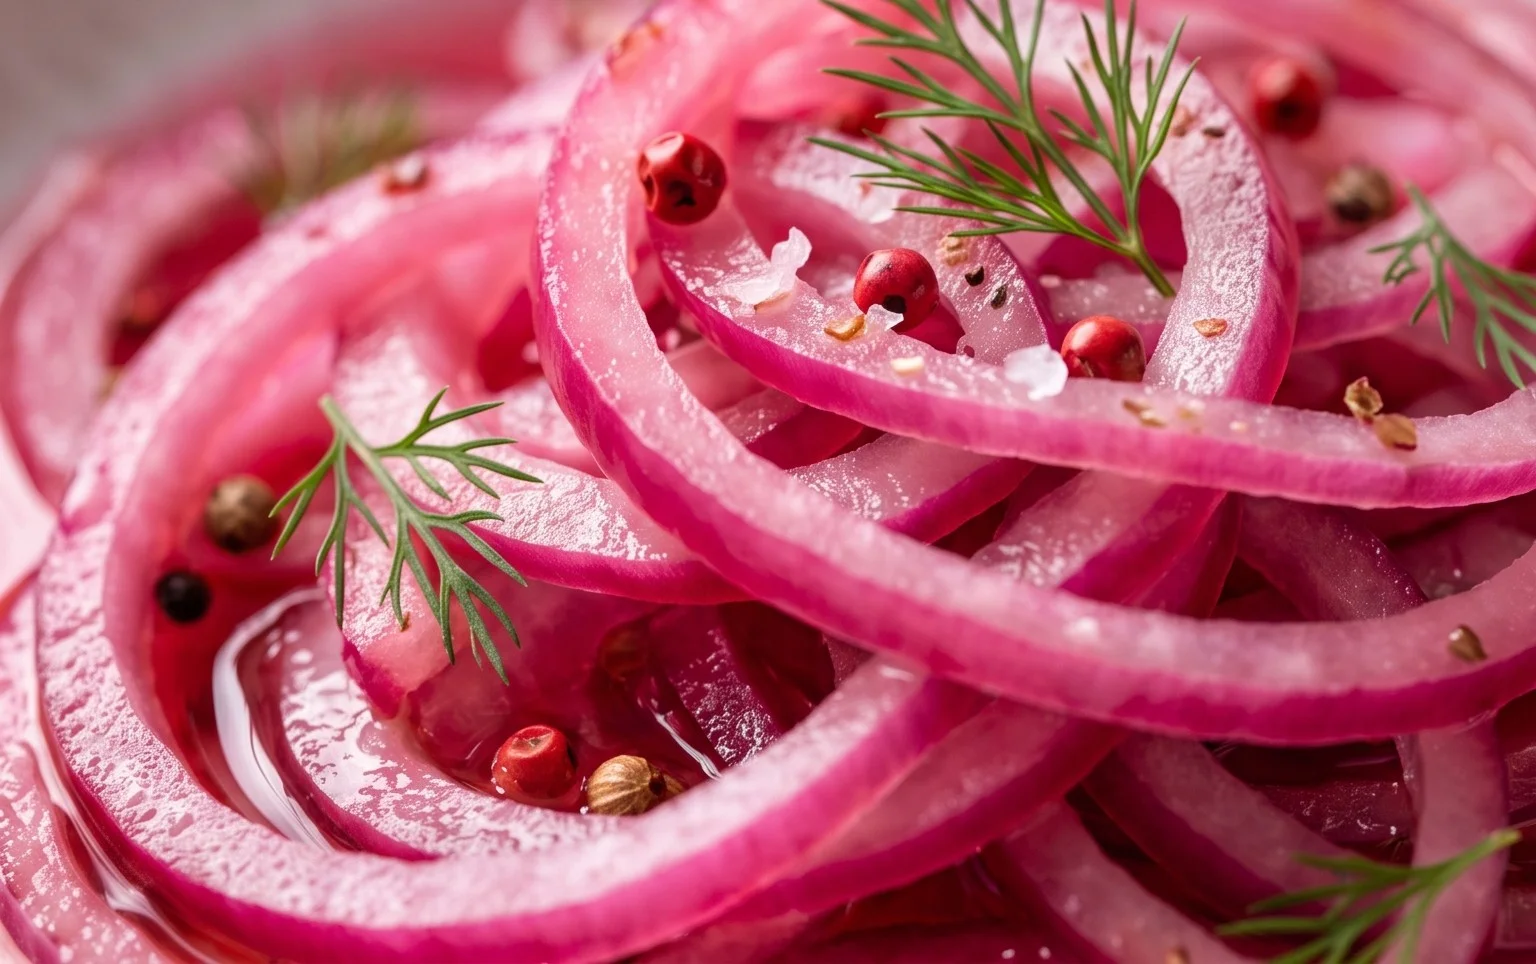
And there you have it – a simple yet incredibly rewarding recipe for quick pickled red onions! These vibrant, tangy jewels are so much more than just an afterthought; they’re a flavor powerhouse that can elevate a surprising array of dishes. Their bright acidity cuts through richness, their subtle sweetness balances spice, and their beautiful color adds visual appeal. From tacos and sandwiches to salads and grain bowls, these pickled red onions are a versatile condiment I find myself reaching for constantly.
I truly encourage you to give this recipe a try. It’s remarkably easy and the results are phenomenal. Don’t be afraid to experiment with serving suggestions – think beyond the obvious! Try them alongside roasted meats, with your favorite cheese board, or even stirred into a creamy dip. If you’re feeling adventurous, consider variations like adding a pinch of chili flakes for a touch of heat, a sprig of dill for an herbaceous note, or even a teaspoon of honey for a slightly sweeter profile.
Frequently Asked Questions:
How long do pickled red onions last?
Properly stored in an airtight container in the refrigerator, these pickled red onions can last for about 2-3 weeks. They often taste even better after a few days as the flavors meld.
Can I use a different kind of vinegar?
Absolutely! While apple cider vinegar is a popular choice for its balanced flavor, you can also use white grape juice vinegar for a cleaner taste, or red grape juice vinegar for an even deeper color and robust flavor. Experiment to find your favorite!
What if I don’t have pickling salt?
You can substitute regular table salt, but it’s best to use non-iodized salt if possible. Iodized salt can sometimes lend a slightly metallic taste to pickles. Just ensure you use the same quantity.
Quick Pickled Red Onions
Bright and tangy pickled red onions, perfect for topping tacos, sandwiches, salads, and more. Ready in under an hour.
Ingredients
-
1 large Red onion
-
1 cup White Vinegar
-
1 cup Water
-
1 tablespoon Sugar
-
2 teaspoons Kosher salt
-
1 teaspoon Black peppercorns
-
1 Bay leaf
Instructions
-
Step 1
Thinly slice the red onion into rings or half-moons. -
Step 2
In a small saucepan, combine the white vinegar, water, sugar, and kosher salt. Add peppercorns and bay leaf. -
Step 3
Heat the mixture over medium heat, stirring until the sugar and salt are dissolved. Do not boil. -
Step 4
Place the sliced red onions in a clean jar or heatproof container. -
Step 5
Pour the warm brine over the onions, ensuring they are fully submerged. -
Step 6
Let cool to room temperature, then cover and refrigerate for at least 30 minutes before serving. They will continue to pickle and deepen in flavor over time.
Important Information
Nutrition Facts (Per Serving)
It is important to consider this information as approximate and not to use it as definitive health advice.
Allergy Information
Please check ingredients for potential allergens and consult a health professional if in doubt.