Greek Yogurt Banana Bread-Healthy Moist Dessert
Greek Yogurt Banana Bread. Oh, that name alone conjures up images of moist, flavorful slices, perfectly golden brown and promising a delicious treat. We all have our favorite banana bread recipes, the ones passed down through generations or discovered on a culinary adventure. But have you ever wondered what could elevate your go-to loaf to an entirely new level of deliciousness? Enter this spectacular Greek Yogurt Banana Bread. It’s a revelation! People adore banana bread for its comforting sweetness and the brilliant way it uses up those overly ripe bananas. What makes this particular Greek Yogurt Banana Bread so special? The secret ingredient, of course! The Greek yogurt not only adds a delightful tang that beautifully balances the sweetness but also imbues the bread with an incredibly tender crum extractb and a delightful moisture that lasts for days. Get ready to discover your new favorite way to bake this beloved classic.
Greek Yogurt Banana Bread
There’s something undeniably comforting about a slice of warm banana bread, and this Greek Yogurt Banana Bread recipe takes that comfort to a whole new level. We’ve all been there – a few overripe bananas staring us down from the fruit bowl, beggin extractg to be transformed into something delicious. This recipe offers a healthier, more satisfying twist on the classic, thanks to the incredible richness and moisture that Greek yogurt brings to the table. Forget dry, crum extractbly loaves; this version is incredibly moist, tender, and packed with flavor. Plus, by incorporating ingredients like oat flour and almond flour, we’re boosting the fiber and nutrient content, making it a fantastic option for breakfast, a snack, or even a post-workout treat. And for those looking to further enhance its nutritional profile, we’ve included an option to add protein powder, making it even more filling and beneficial.
Ingredients:
Instructions:
1. Preheat and Prepare: Before we even think about mixing ingredients, let’s get our oven ready. Preheat your oven to 350°F (175°C). This consistent temperature is key to ensuring your banana bread bakes evenly. While the oven heats up, prepare your loaf pan. Grease it thoroughly with butter or cooking spray, and then lightly dust it with flour or line it with parchment paper. This step is crucial to prevent your beautiful loaf from sticking, ensuring a clean release once it’s baked. Don’t skip this – nobody likes a loaf that’s half-stuck in the pan!
2. Mash the Bananas and Wet Ingredients: In a large mixing bowl, add your two ripe bananas. The riper they are, the sweeter and more intensely flavored your bread will be. You want those brown spots! Using a fork or a potato masher, mash the bananas until they are mostly smooth with just a few small lumps remaining. This texture adds a lovely character to the bread. Now, add the Greek yogurt to the bowl. The full-fat or at least 2% fat Greek yogurt is essential here for creating that signature moistness and tender crum extractb. Next, crack in your large egg, pour in your maple syrup or honey (choose your favorite sweetener – maple syrup offers a slightly richer flavor, while honey is a classic choice), and add the vanilla extract. Whisk all these wet ingredients together until they are well combined and smooth. The mixture should look creamy and inviting.
3. Combine Dry Ingredients and Incorporate: In a separate medium bowl, whisk together your dry ingredients. This includes the oat flour (or your preferred all-purpose flour), the almond flour (if you’re using it – it adds a lovely subtle nutty flavor and healthy fats, but you can substitute it with more oat flour if you prefer), the baking powder, and the salt. If you’re adding protein powder, this is the stage to incorporate it; ensure it’s evenly distributed with the other dry ingredients to avoid clumps in your final bread. Give this dry mixture a good whisk to ensure the baking powder and salt are evenly distributed, which is vital for proper leavening. Now, gently add the dry ingredients to the wet ingredients. Using a spatula or wooden spoon, fold the dry ingredients into the wet ingredients until they are just combined. Be careful not to overmix here. Overmixing can develop the gluten in the flour, leading to a tough loaf. Stop mixing as soon as you no longer see streaks of dry flour.
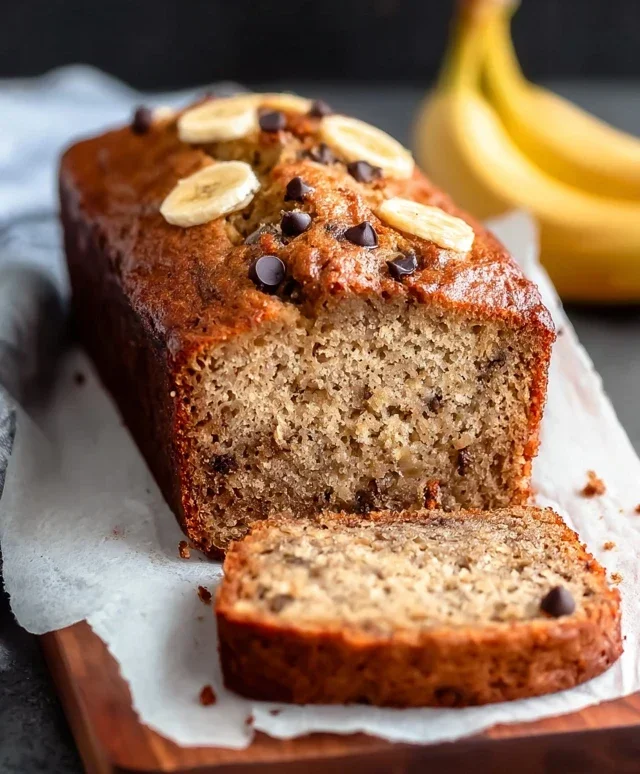
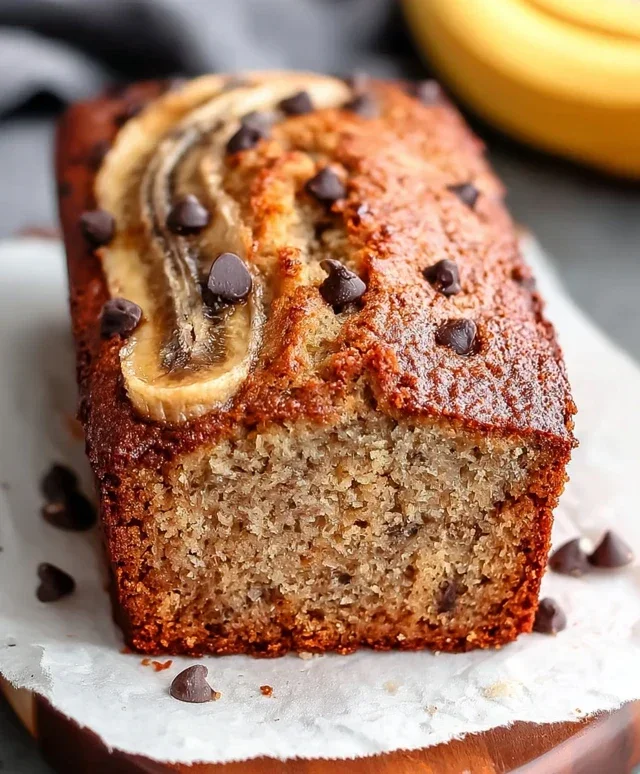
4. Add Optional Mix-ins: This is where you can personalize your banana bread. If you’re opting for chocolate chips, gently fold them into the batter now. Again, be gentle to avoid overmixing. Other delicious additions could include chopped nuts like walnuts or pecans, or even a sprinkle of extra cinnamon for more spice. The key is to fold them in without aggressively stirring, maintaining that tender batter consistency. The batter will be thick, but that’s exactly what we want for a dense and moist loaf.
5. Bake to Golden Perfection: Pour the batter evenly into your prepared loaf pan. Smooth the top with your spatula so it’s relatively level. Place the loaf pan in the preheated oven. Bake for approximately 50-60 minutes. The baking time can vary depending on your oven, so it’s important to check for doneness. You’ll know your Greek yogurt banana bread is ready when a wooden skewer or toothpick inserted into the center of the loaf comes out clean, with no wet batter attached. If the top is browning too quickly before the inside is cooked, you can loosely tent the loaf pan with aluminum foil.
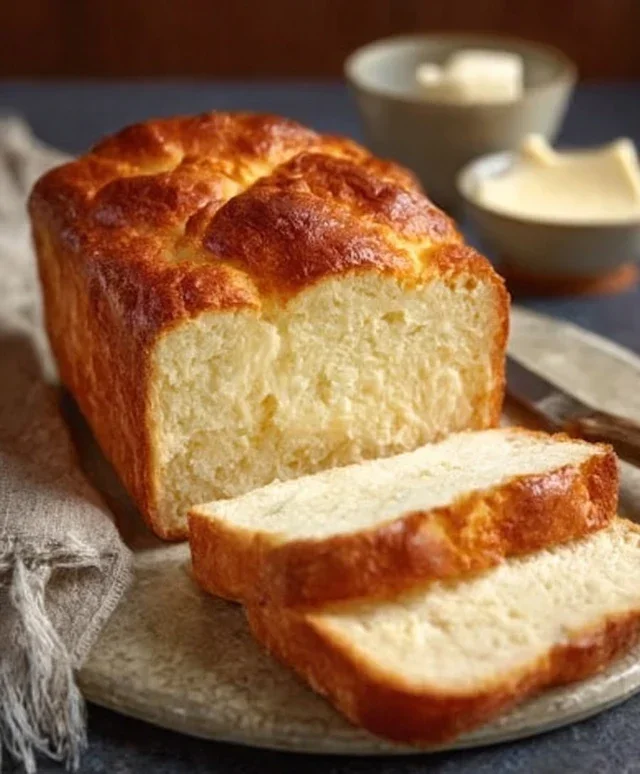
6. Cool and Enjoy: Once baked, remove the loaf pan from the oven and let it cool in the pan for about 10-15 minutes. This initial cooling period allows the bread to set properly. After this, carefully invert the loaf onto a wire rack to cool completely. Resist the urge to cut into it immediately; letting it cool fully allows the flavors to meld and the texture to stabilize. Once it’s cooled, slice it up and enjoy the incredibly moist, flavorful, and satisfying Greek Yogurt Banana Bread you’ve created! It’s wonderful on its own, toasted with a smear of butter, or even served with a dollop of extra Greek yogurt.
Conclusion:
So there you have it – a delicious and remarkably moist Greek Yogurt Banana Bread recipe that’s a fantastic alternative to traditional, oil-heavy versions. The secret, as you’ve seen, lies in the Greek yogurt, which not only adds incredible moisture and tenderness but also a subtle tang that perfectly complements the sweetness of ripe bananas. This recipe is a winner because it’s healthier, incredibly easy to whip up, and results in a loaf that’s both comforting and satisfying.
This versatile Greek Yogurt Banana Bread is wonderful served warm with a smear of butter or cream cheese, or enjoyed at room temperature with a cup of coffee. It’s also perfect for lunchboxes or a quick breakfast on the go. Feeling adventurous? Don’t hesitate to stir in some chocolate chips, chopped nuts, or even a sprinkle of cinnamon and nutmeg for added flavor. I truly encourage you to give this recipe a try; I’m confident you’ll love the results!
Frequently Asked Questions:
Can I use low-fat Greek yogurt?
Absolutely! While full-fat Greek yogurt will yield the richest texture, low-fat or even non-fat varieties will still work beautifully and contribute to the bread’s moisture. Just be aware that the fat content can slightly influence the final texture.
My bananas aren’t very ripe. Can I still make this?
While very ripe, spotty bananas are ideal for maximum sweetness and moisture, you can still make this recipe with slightly less ripe bananas. However, you might find the bread to be less sweet and slightly drier. To compensate, you can add a tablespoon or two of extra honey or maple syrup to the batter.
How long does this banana bread last?
Stored in an airtight container at room temperature, this Greek Yogurt Banana Bread will stay fresh for about 2-3 days. For longer storage, you can refrigerate it for up to a week or freeze individual slices for several months.
Greek Yogurt Banana Bread
A moist and healthy banana bread made with Greek yogurt, perfect for breakfast or a snack.
Ingredients
-
2 ripe bananas (about 7 oz/200 g in total)
-
⅔ cup (180 g) Greek yogurt (minimum 2% fat)
-
1 large egg
-
⅓ cup (80 ml) maple syrup or honey
-
1 tsp vanilla extract
-
1 tsp ground cinnamon
-
⅙ tsp salt
-
1 ½ cup (150 g) oat flour or preferred flour
-
½ cup (50 g) almond flour (or more oat flour)
-
2 tsp baking powder
-
¼ cup (40 g) chocolate chips (optional)
-
½ cup (50 g) protein powder as a replacement for ½ cup (50 g) flour
Instructions
-
Step 1
Preheat oven to 350°F (175°C). Grease and flour a 9×5 inch loaf pan. -
Step 2
In a large bowl, mash the ripe bananas with a fork until smooth. -
Step 3
Stir in the Greek yogurt, egg, maple syrup or honey, and vanilla extract until well combined. -
Step 4
In a separate bowl, whisk together the oat flour (or preferred flour), almond flour (or more oat flour), protein powder (if using), cinnamon, salt, and baking powder. -
Step 5
Gradually add the dry ingredients to the wet ingredients, mixing until just combined. Do not overmix. -
Step 6
Fold in the chocolate chips, if using. -
Step 7
Pour the batter into the prepared loaf pan and spread evenly. -
Step 8
Bake for 50-60 minutes, or until a toothpick inserted into the center comes out clean. -
Step 9
Let the bread cool in the pan for 10 minutes before transferring it to a wire rack to cool completely.
Important Information
Nutrition Facts (Per Serving)
It is important to consider this information as approximate and not to use it as definitive health advice.
Allergy Information
Please check ingredients for potential allergens and consult a health professional if in doubt.