Easy Homemade Strawberry Ice Cream Recipe
Homemade Strawberry Ice Cream. The very thought conjures up images of sun-drenched days, vibrant red sweetness, and that pure, unadulterated joy of a perfectly chilled scoop. There’s something undeniably magical about this classic summer treat, isn’t there? It’s a flavor that whispers of childhood memories, of sticky fingers and porch swings, and a simple pleasure that never fails to delight. While store-bought versions can be good, nothing truly compares to the taste of real strawberries, their natural tartness balanced with creamy goodness, all crafted in your own kitchen. This isn’t just ice cream; it’s an experience, a testament to the beauty of fresh ingredients and a little bit of homemade love. Get ready to elevate your dessert game with the best Homemade Strawberry Ice Cream you’ll ever taste!
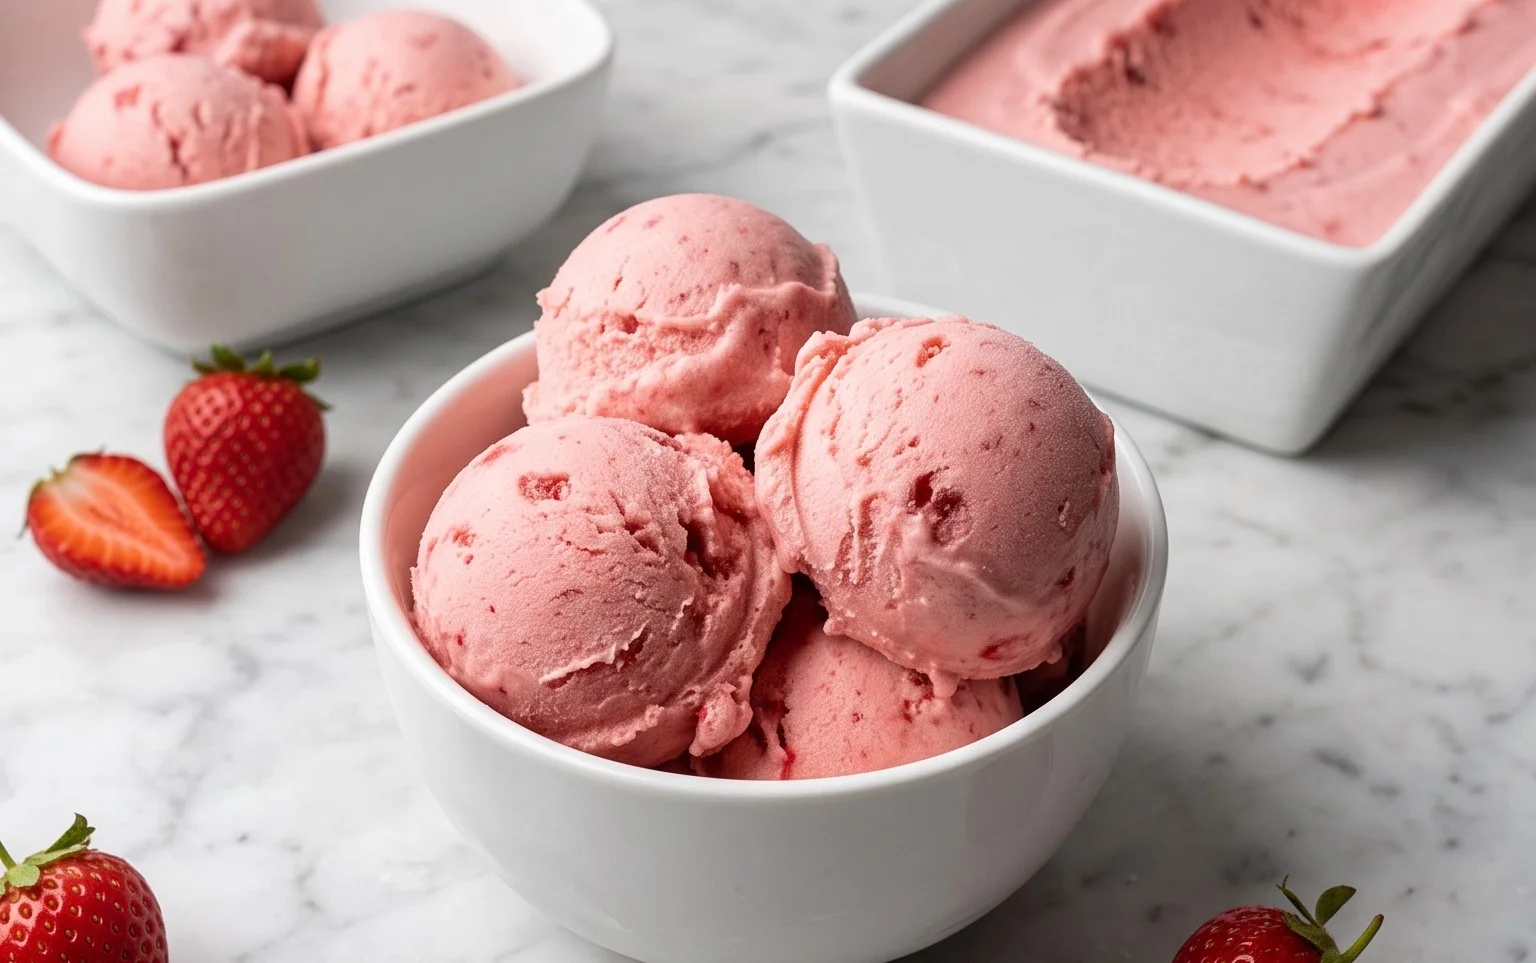
This article will guide you through the delightful process of creating homemade strawberry ice cream. Forget the store-bought stuff; nothing beats the fresh, vibrant flavor of ice cream made with real strawberries and a few simple ingredients. This recipe is surprisingly easy and yields a creamy, decadent treat that will have everyone asking for seconds.
Ingredients:
Preparing the Strawberry Base
The key to truly spectacular strawberry ice cream is a flavorful strawberry base. We’ll start by macerating our fresh strawberries. This process helps to draw out their juices and intensify their natural sweetness, creating a richer flavor profile for our ice cream. In a medium bowl, combine the hulled and diced strawberries with the granulated sugar, honey, and lemon juice. The lemon juice might seem counterintuitive when you’re aiming for sweetness, but it actually plays a crucial role. It brightens the strawberry flavor, preventing it from becoming cloyingly sweet and adding a subtle tang that balances the richness of the cream. Give everything a gentle stir to coat the strawberries evenly.
Now, we let this mixture sit for at least 30 minutes, or even up to an hour, at room temperature. You’ll notice that the strawberries start to soften and release their vibrant red juices, creating a lovely syrupy concoction. This is exactly what we want! If you’re short on time, you can speed this up slightly by gently warming the mixture for a minute or two, but be careful not to cook the strawberries. For an even smoother ice cream, you can pulse this mixture in a food processor a few times, or mash it with a fork to break down the strawberries further without turning them into a complete puree. I personally like to leave a few small chunks of strawberry for a delightful textural contrast in the finished ice cream.
Creating the Creamy Ice Cream Mixture
Once our strawberries have had a chance to work their magic, it’s time to create the creamy base for our ice cream. In a separate bowl, whisk together the heavy whipping cream, half and half, and vanilla extract. The heavy whipping cream is essential for that luscious, rich texture that defines good ice cream. Half and half provides a lovely balance, preventing the ice cream from becoming too heavy while still contributing to its creamy consistency. The vanilla extract acts as a flavor enhancer, complementing the sweetness of the strawberries and adding another layer of deliciousness.
Now, gently fold the prepared strawberry mixture into the cream mixture. We don’t want to overmix at this stage; the goal is simply to incorporate the strawberry goodness into the creamy base. You should see beautiful streaks of pink and red forming throughout the mixture, a visual promise of the deliciousness to come. This is also the point where you can taste the mixture and adjust the sweetness if you prefer. Keep in mind that the flavors will mellow slightly as the ice cream freezes, so it’s often best to err on the side of slightly sweeter at this stage.
Churning Your Homemade Ice Cream
The next step involves churning the ice cream, which is where the magic truly happens. If you have an ice cream maker, now is the time to use it. Follow your ice cream maker’s instructions carefully. Typically, this involves pouring the chilled ice cream base into the pre-frozen bowl of your ice cream maker and letting it churn for about 20-30 minutes, or until it reaches a soft-serve consistency. The churning process incorporates air into the mixture, which is crucial for creating a light and creamy texture. Without churning, your ice cream would likely freeze into a solid, icy block.
If you don’t have an ice cream maker, don’t despair! You can still make fantastic homemade ice cream using the “freeze-and-stir” method. Pour the ice cream mixture into a shallow, freezer-safe container. Place it in the freezer. Every 30-45 minutes for the first 2-3 hours, remove the container from the freezer and vigorously stir the mixture with a fork or whisk, breaking up any ice crystals that are forming. This process helps to mimic the aeration that an ice cream maker provides. It requires a bit more effort, but the results are well worth it.
Freezing and Enjoying Your Strawberry Masterpiece
Once your ice cream has reached a soft-serve consistency, it’s time for the final freeze. Transfer the ice cream to an airtight container. This is important to prevent freezer burn and to keep your ice cream from absorbing any unwanted odors from your freezer. For the best texture, let the ice cream freeze for at least 4-6 hours, or until it’s firm enough to scoop. The longer it freezes, the firmer it will become.
Before serving, I like to let the ice cream sit at room temperature for about 5-10 minutes. This softens it just enough to make scooping easy and allows the flavors to really shine. Serve it in bowls, on cones, or topped with a fresh strawberry or a dollop of whipped cream. The vibrant color and fresh strawberry flavor of this homemade ice cream are truly a testament to the power of simple, quality ingredients. Enjoy every spoonful of this delightful, homemade creation!
Conclusion:
Congratulations! You’ve got the recipe to create incredibly delicious homemade strawberry ice cream. This recipe truly shines because it lets the vibrant, natural flavor of fresh strawberries take center stage, unlike many store-bought versions that can be overly sweet or artificial. The creamy, rich texture you’ll achieve is simply unparalleled, making every scoop a delightful experience. It’s a fantastic project for a weekend afternoon, and the satisfaction of enjoying ice cream you made yourself is immense. Don’t hesitate to dive in and try this simple yet rewarding process!
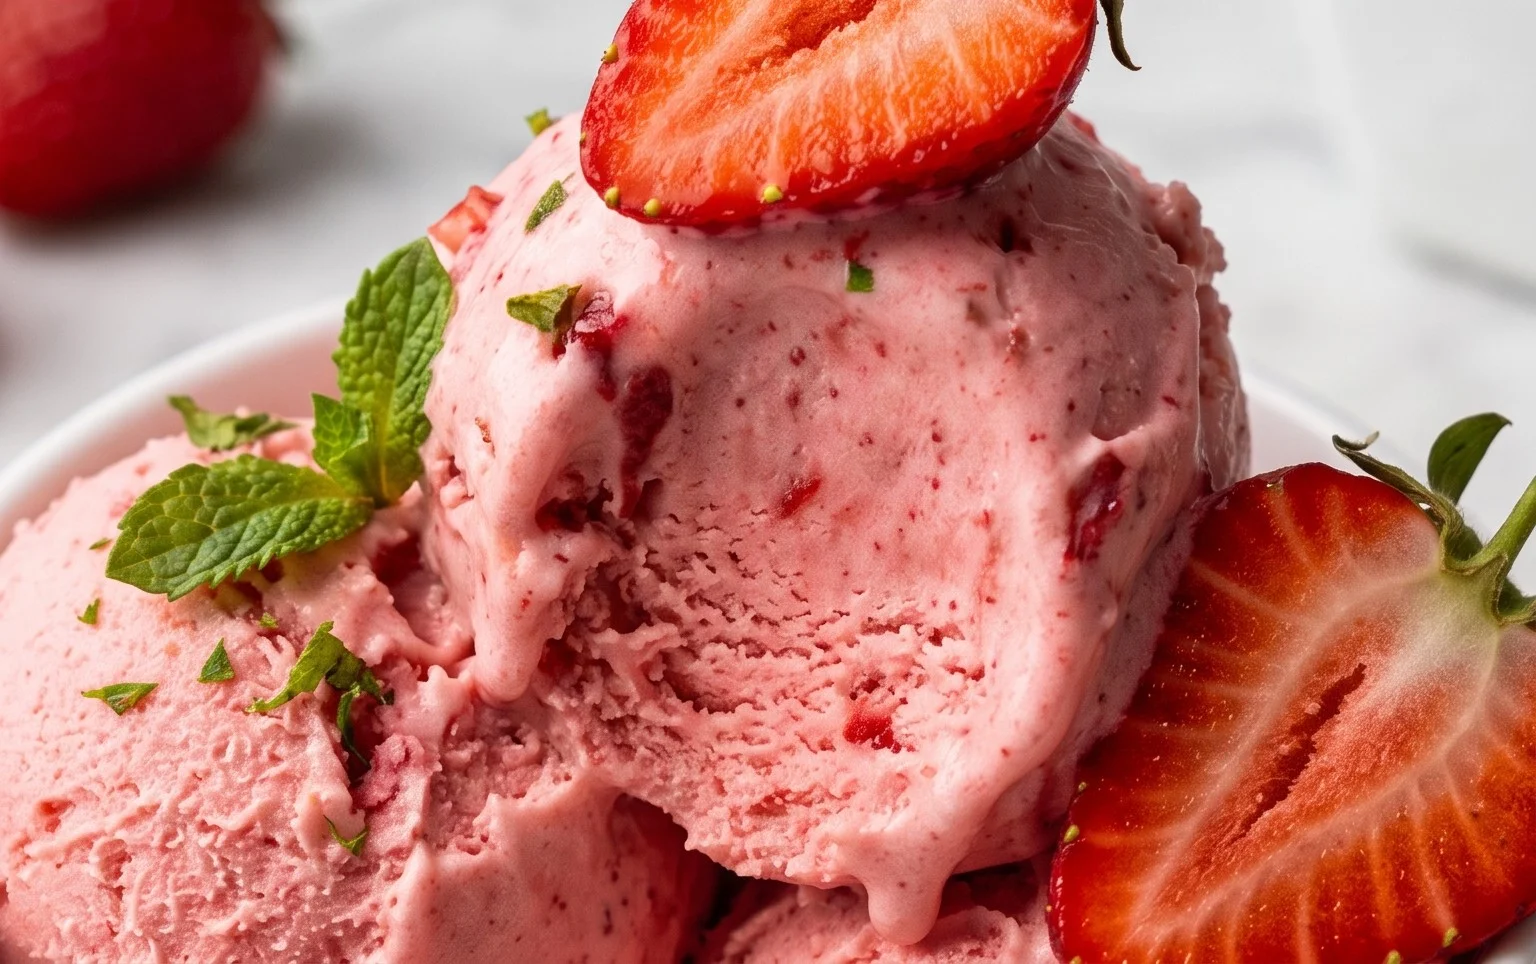
This delightful homemade strawberry ice cream is perfect served on its own, perhaps with a sprinkle of fresh mint for a pop of color and aroma. It also makes a divine topping for warm brownies, a slice of angel food cake, or even a classic apple crum extractble. For a touch of elegance, a drizzle of balsamic glaze can surprisingly complement the sweetness of the strawberries.
Feeling adventurous? Consider adding a splash of Grand Marnier Extract or a hint of vanilla bean paste to the base for an extra layer of flavor complexity. You could also swirl in some strawberry jam or fold in some finely chopped dark chocolate for added texture and taste. The possibilities are truly endless!
Frequently Asked Questions:
Why is my homemade strawberry ice cream not freezing solid?
This can sometimes happen if there’s too much sugar or non-alcoholic alternative in your mixture, as these ingredients lower the freezing point. Ensure you’re using the correct measurements. Also, make sure your ice cream maker’s bowl is completely frozen according to the manufacturer’s instructions – this is crucial for proper freezing.
Can I make this recipe without an ice cream maker?
Absolutely! While an ice cream maker yields the smoothest results, you can achieve a delicious no-churn version. Pour your base mixture into a freezer-safe container. Every 30-45 minutes for the first 3-4 hours, vigorously whisk the mixture to break up ice crystals. This manual churning mimics the action of the machine and will give you a lovely, creamy texture.
Homemade Strawberry Ice Cream
A classic and refreshing homemade strawberry ice cream recipe, perfect for a warm day.
Ingredients
-
1 1/2 cups strawberries, hulled and diced
-
2 Tbsp honey
-
1/2 cup granulated sugar
-
1 tsp lemon juice
-
1 cup heavy whipping cream
-
1/2 cup half and half
-
1 tsp vanilla extract
Instructions
-
Step 1
In a bowl, combine the diced strawberries, honey, granulated sugar, and lemon juice. Stir well and let sit for 10-15 minutes to macerate. -
Step 2
Puree the strawberry mixture using an immersion blender or a regular blender until smooth. If you prefer a chunkier texture, you can leave some small pieces. -
Step 3
In a separate large bowl, whisk together the heavy whipping cream, half and half, and vanilla extract until just combined. -
Step 4
Gently fold the strawberry puree into the cream mixture until evenly distributed. Be careful not to overmix. -
Step 5
Pour the mixture into an ice cream maker and churn according to the manufacturer’s instructions. This typically takes 20-30 minutes. -
Step 6
Transfer the churned ice cream to an airtight container and freeze for at least 4 hours, or until firm.
Important Information
Nutrition Facts (Per Serving)
It is important to consider this information as approximate and not to use it as definitive health advice.
Allergy Information
Please check ingredients for potential allergens and consult a health professional if in doubt.