Easy Garlic Aioli Sauce – Creamy & Delicious
Garlic Aioli Sauce is more than just a condiment; it’s a creamy, dreamy embrace of bold flavor that elevates everything it touches. Have you ever found yourself reaching for that little dollop of something special to transform a humble dish into a culinary masterpiece? That’s the magic of a perfectly crafted garlic aioli sauce. It’s the secret weapon in countless kitchens, beloved for its luxurious texture and pungent, garlicky punch that dances on the palate. What makes this particular garlic aioli sauce so irresistible? It’s the delicate balance – the richness of the egg yolks, the vibrant tang of lemon, and of course, the star of the show, the intensely aromatic garlic, all emulsified into a silken sauce that’s surprisingly simple to make at home. Get ready to discover your new go-to for dipping, drizzling, and delighting.
Ingredients:
- 1/3 cup mayonnaise
- 2 Tbsp. Olive oil
- 2 cloves garlic, minced (approximately 2 tsp)
- 1 tsp. Lemon juice
- 1/4 tsp. Ground pepper
Preparation
This Garlic Aioli Sauce is incredibly simple to make, requiring just a few staple pantry ingredients and a few minutes of your time. It’s the perfect accompaniment to a wide array of dishes, adding a punch of creamy, garlicky flavor that elevates everything it touches.
Step-by-Step Instructions:
Step 1: Prepare the Garlic
The foundation of any great aioli is fresh garlic. For this recipe, we’ll be mincing two cloves of garlic. The best way to mince garlic is to first crush the cloves slightly with the flat side of your knife. This helps to loosen the skin, making it easier to peel. Once peeled, finely chop the garlic until it’s a paste-like consistency. You can also use a garlic press if you prefer, which will give you a very fine mince, releasing maximum flavor. Aim for about 2 teaspoons of minced garlic. The fresher the garlic, the more pungent and vibrant the flavor will be in your aioli.
Step 2: Combine the Base Ingredients
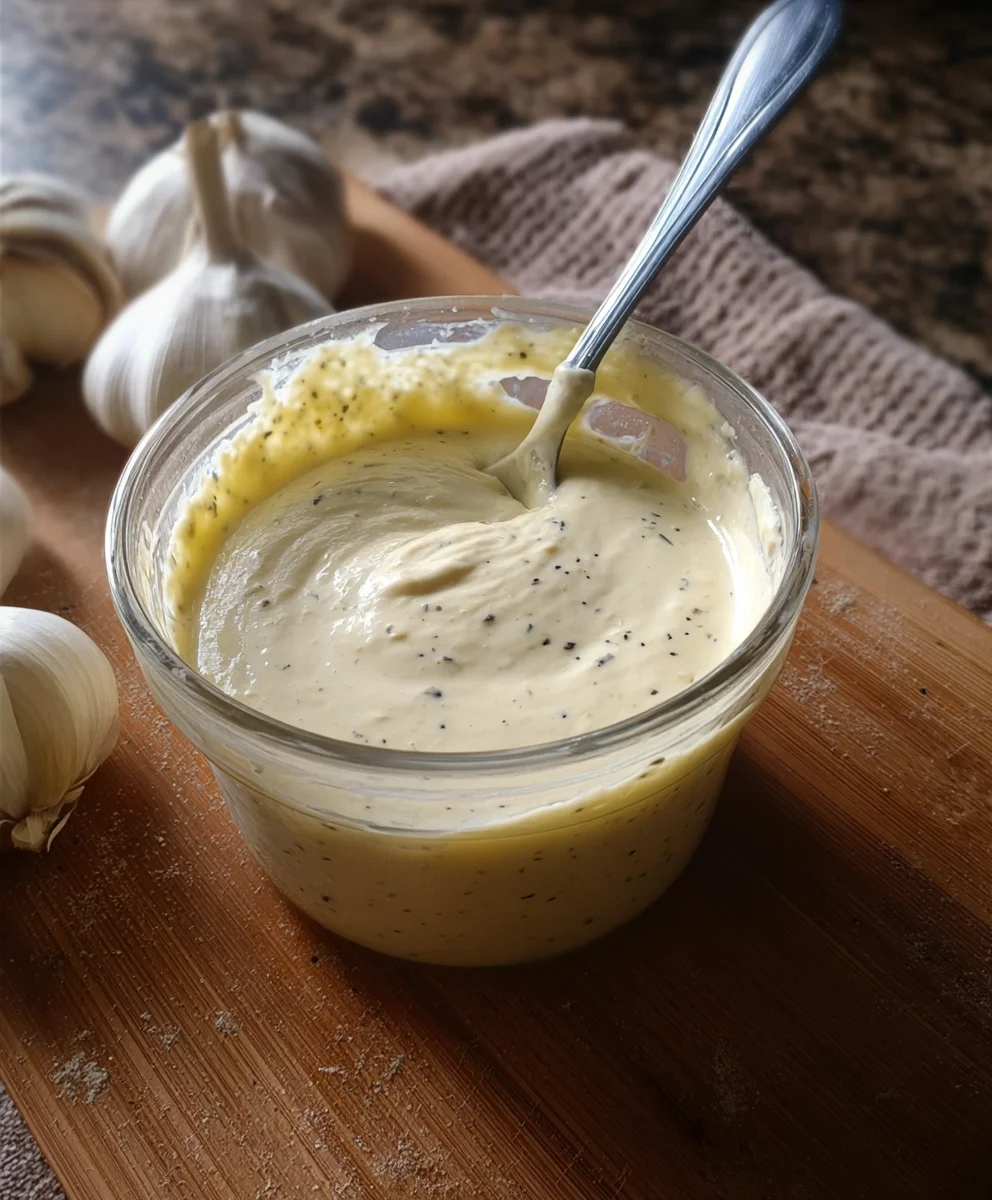
In a small mixing bowl, we’re going to start building our aioli. Add the 1/3 cup of mayonnaise. Mayonnaise forms the creamy base of our sauce, providing a rich texture and a neutral canvas for the other flavors to shine. You can use your favorite brand of mayonnaise, whether it’s full-fat for extra richness or a lighter version if you prefer. Next, drizzle in the 2 tablespoons of olive oil. While mayonnaise already contains oil, adding a little extra olive oil can contribute a subtle fruity note and help to emulsify the sauce, ensuring a smooth and cohesive texture. Whisk these two ingredients together gently to begin extract incorporating them.
Step 3: Incorporate the Garlic and Lemon Juice
Now it’s time to add the star of the show: the garlic. Add your finely minced garlic to the bowl with the mayonnaise and olive oil. The raw garlic will provide that characteristic pungent bite that defines aioli. Following the garlic, squeeze in the 1 teaspoon of fresh lemon juice. The lemon juice is crucial for balancing the richness of the mayonnaise and the intensity of the garlic. It adds a bright, zesty note that cuts through the creaminess and prevents the aioli from tasting too heavy. Whisk everything together thoroughly. Ensure the garlic is evenly distributed throughout the mixture.
Step 4: Season the Aioli
To round out the flavor profile, we’ll add the ground pepper. Sprinkle in the 1/4 teaspoon of ground pepper. You can adjust the amount of pepper to your personal preference. If you like a little more heat, you could even add a tiny pinch of cayenne pepper, though this is entirely optional and not part of the core recipe. Give the mixture another good whisk. It’s important to whisk vigorously at this stage to ensure all the ingredients are well combined and the seasoning is uniform. Taste the aioli at this point and if you feel it needs a little more saltiness, you can add a tiny pinch of salt, though the mayonnaise usually provides sufficient saltiness.
Step 5: Allow Flavors to Meld
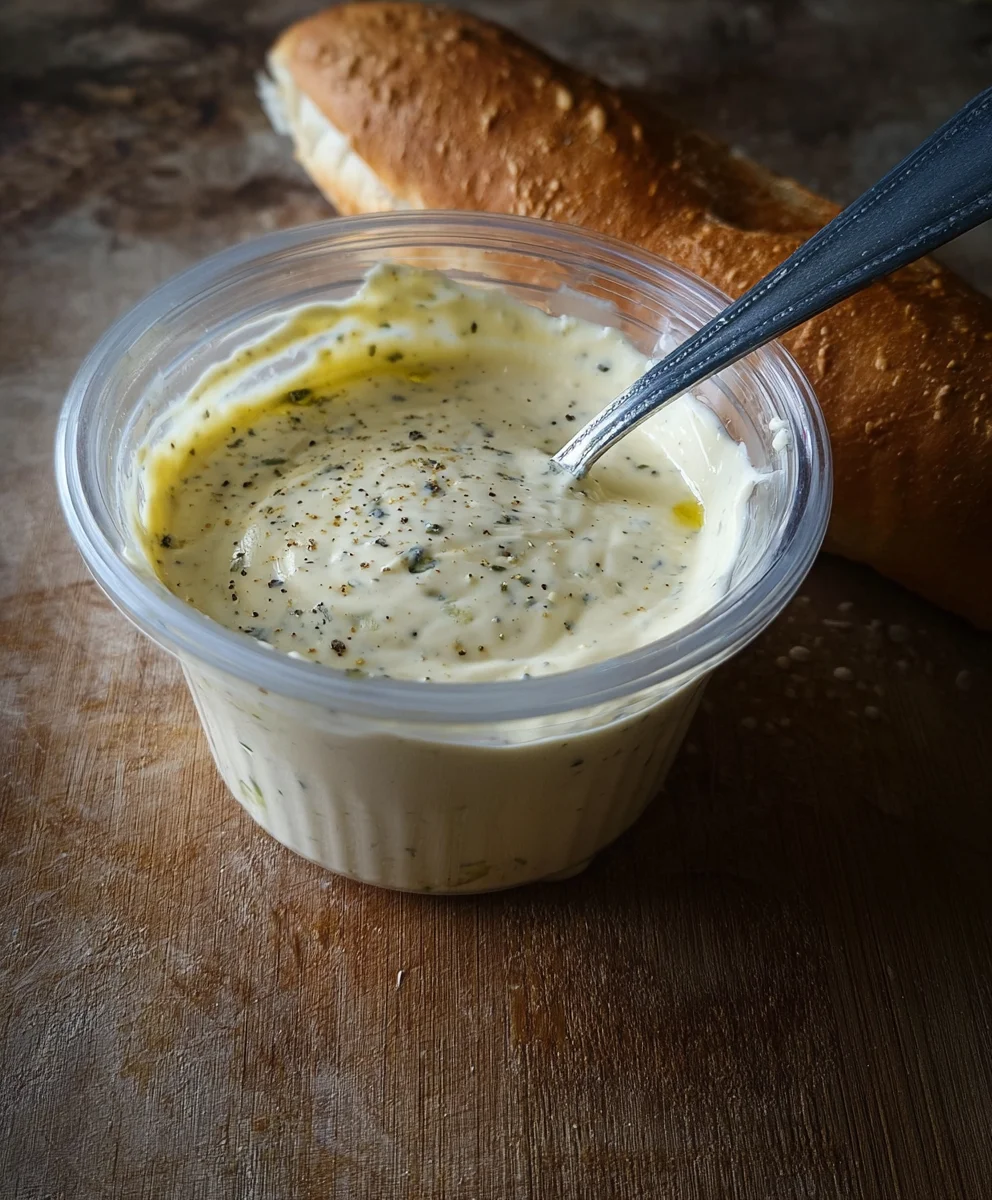
For the best flavor, it’s highly recommended to let the aioli sit for at least 15-30 minutes before serving. This resting period allows the flavors to meld and develop. The raw garlic will infuse its potent essence into the mayonnaise and olive oil, creating a more harmonious and complex taste. You can cover the bowl with plastic wrap and refrigerate it during this time. If you’re short on time, you can serve it immediately, but the depth of flavor will be noticeably enhanced by allowing it to rest. This simple step makes a significant difference in the final taste of your Garlic Aioli Sauce.
Serving Suggestions
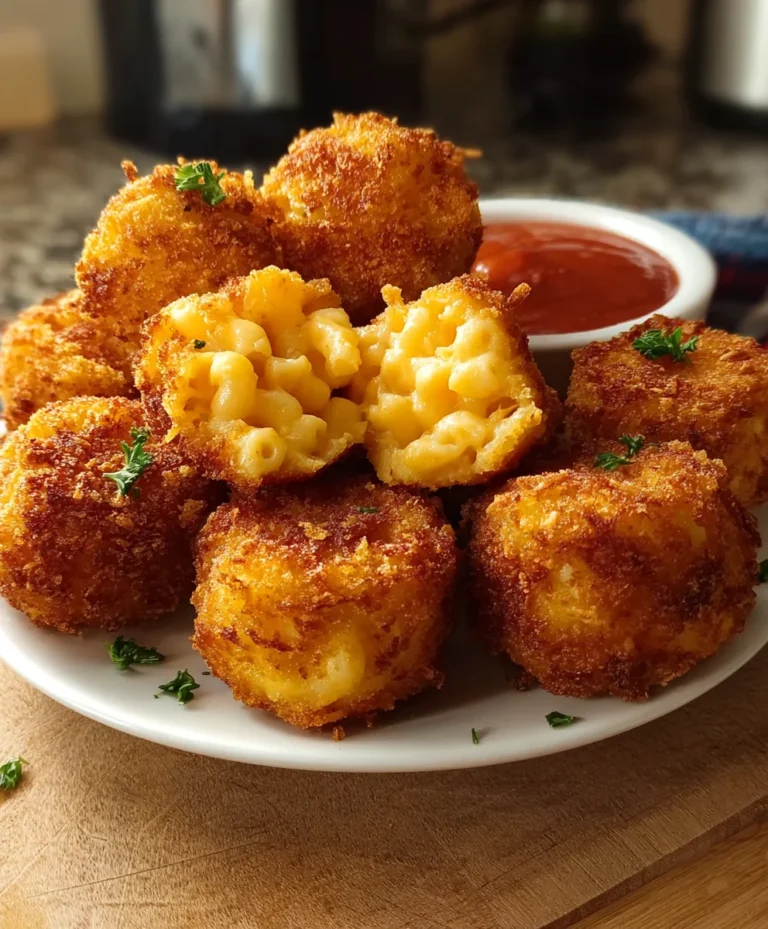
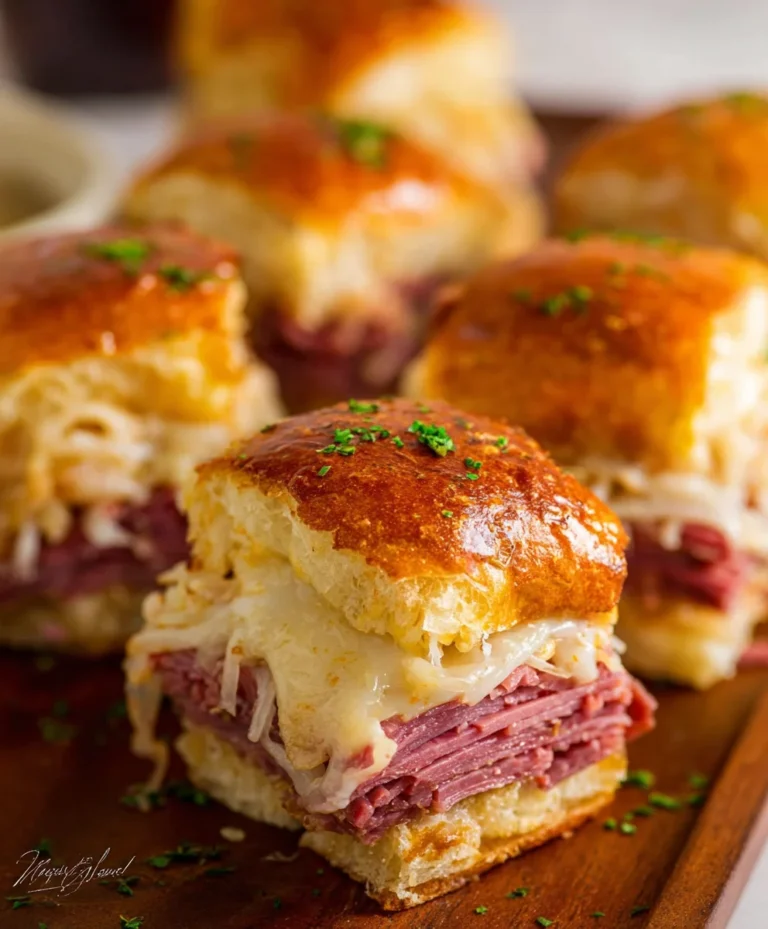
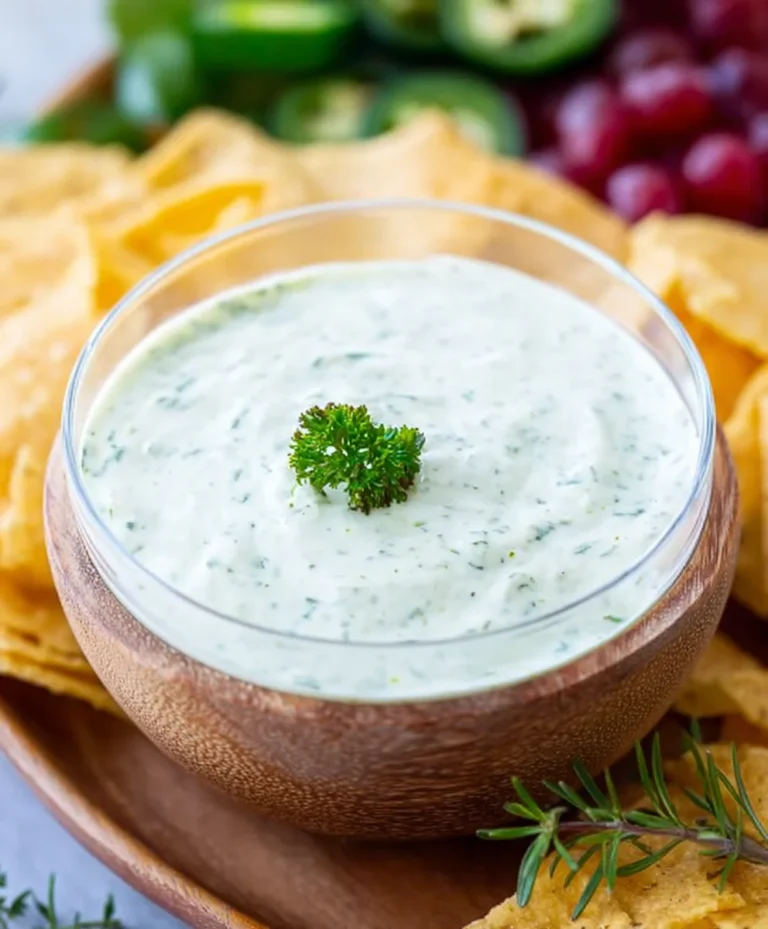
Once your Garlic Aioli Sauce has had a chance to rest, it’s ready to be enjoyed! Transfer it to a small serving bowl. This versatile sauce is fantastic as a dip for french fries, onion rings, or roasted vegetables. It also makes an incredible sandwich spread, adding a gourmet touch to burgers, grilled chicken sandwiches, or paninis. You can even use it to dress up a simple green salad or as a base for other sauces. If you find the aioli is too thick for your liking, you can stir in another teaspoon of olive oil or lemon juice until you reach your desired consistency.
Conclusion:
And there you have it – your very own, incredibly delicious Garlic Aioli Sauce! This recipe is so simple yet yields a sauce that is rich, creamy, and bursting with that unmistakable garlic punch. It’s truly a game-changer for elevating everyday meals. Whether you’re using it as a dip, a spread, or a flavorful accompaniment, this Garlic Aioli Sauce is sure to impress.
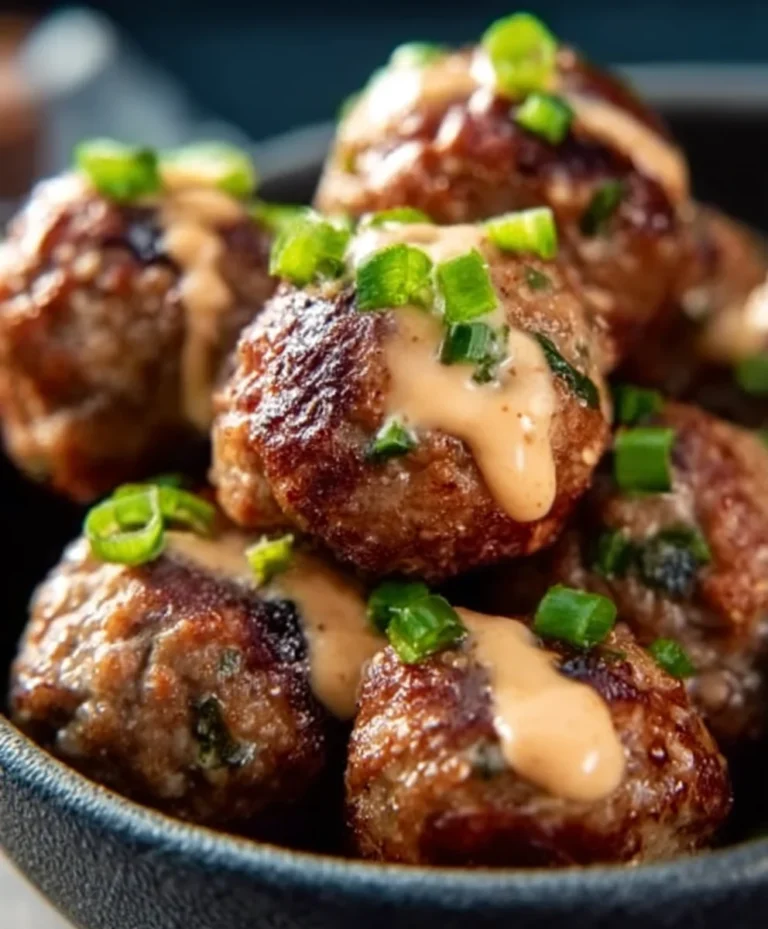
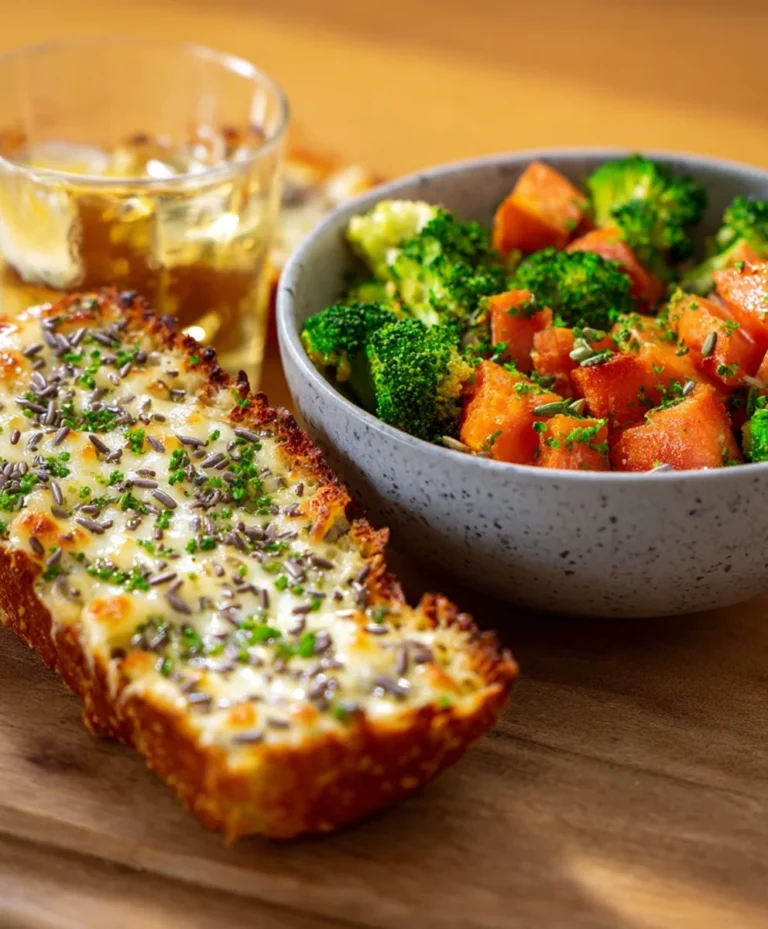
I love serving this aioli with roasted vegetables, grilled meats, seafood, or as a gourmet sandwich spread. It’s also fantastic dolloped onto burgers or fries! Don’t be afraid to experiment with variations. You can add a pinch of smoked paprika for a smoky depth, a squeeze of lemon for extra brightness, or even some fresh herbs like chives or parsley for a pop of color and flavor.
I truly hope you enjoy making and devouring this sensational Garlic Aioli Sauce as much as I do. It’s one of those recipes that proves simple ingredients can create something truly magical. So go ahead, whip up a batch, and get ready for the compliments!
Frequently Asked Questions:
How long can I store Garlic Aioli Sauce?
Your homemade Garlic Aioli Sauce can be stored in an airtight container in the refrigerator for up to 5 days. The flavor often deepens and improves over the first day!
Can I use pre-minced garlic instead of fresh?
While fresh garlic provides the best and most potent flavor, you can use pre-minced garlic in a pinch. However, you might need to use a bit more to achieve the same intensity of flavor. Ensure it’s good quality pre-minced garlic.
My aioli is too thick, what can I do?
If your Garlic Aioli Sauce is too thick for your liking, you can thin it out by adding a teaspoon of water or lemon juice at a time, stirring until you reach your desired consistency. Be careful not to add too much at once.
Easy Garlic Aioli Sauce – Creamy & Delicious
A simple and delicious homemade garlic aioli sauce that’s creamy, flavorful, and perfect for dipping or spreading.
Ingredients
-
1/3 cup mayonnaise
-
2 Tbsp. Olive oil
-
2 cloves garlic, minced (approximately 2 tsp)
-
1 tsp. Lemon juice
-
1/4 tsp. Ground pepper
Instructions
-
Step 1
Prepare the garlic by crushing, peeling, and finely mincing two cloves until it forms a paste-like consistency, aiming for about 2 teaspoons. -
Step 2
In a small mixing bowl, combine 1/3 cup of mayonnaise and 2 tablespoons of olive oil. Whisk gently to begin incorporating them. -
Step 3
Add the minced garlic and 1 teaspoon of fresh lemon juice to the bowl. Whisk everything together thoroughly to ensure the garlic is evenly distributed. -
Step 4
Season the aioli with 1/4 teaspoon of ground pepper. Whisk vigorously to combine and ensure uniform seasoning. Taste and adjust if needed. -
Step 5
Allow the aioli to rest for at least 15-30 minutes in the refrigerator to let the flavors meld and develop for optimal taste.
Important Information
Nutrition Facts (Per Serving)
It is important to consider this information as approximate and not to use it as definitive health advice.
Allergy Information
Please check ingredients for potential allergens and consult a health professional if in doubt.