Easy Creamy Dill Dip Recipe- Crowd Pleaser
Dill dip is a perennial favorite for a reason. It’s that effortless, crowd-pleasing appetizer that disappears faster than you can say “pass the crackers!” What is it about this creamy, herbaceous concoction that makes it so irresistible? Perhaps it’s the bright, zesty flavor of fresh dill that cuts through the richness of the base, creating a perfectly balanced bite. Or maybe it’s the sheer versatility; this dill dip is a cbeef hameleon, happy alongside crudités, a welcome addition to a burger, or even as a dip for baked potatoes. It’s the kind of recipe that makes you feel like a culinary superstar with minimal effort. This isn’t just any dip; it’s an invitation to gather, to share, and to savor simple, delicious moments. Get ready to elevate your next gathering with this incredibly satisfying dill dip!
Dill Dip
This dill dip is a true crowd-pleaser, and honestly, it’s so easy to make you’ll wonder why you haven’t been whipping it up for every occasion. It’s the perfect balance of creamy, tangy, and herbaceous, making it an ideal companion for everything from crunchy vegetables to salty crackers. Whether you’re hosting a party, packing a picnic, or just looking for a delightful snack, this dill dip will quickly become a go-to recipe in your culinary repertoire. The fresh dill and parsley are the stars here, providing a bright, fresh flavor that cuts through the richness of the mayonnaise and sour cream. It’s simple, elegant, and utterly delicious.
Ingredients:
Instructions:
Combine the Creamy Base: In a medium-sized mixing bowl, begin extract by combining the mayonnaise and sour cream. I like to use a good quality full-fat mayonnaise for the richest flavor and creamiest texture, but feel free to use your preferred type. Similarly, full-fat sour cream will yield the best results, but light versions can be used if you’re looking to reduce fat content. Gently whisk these two ingredients together until they are thoroughly combined and there are no streaks of either component visible. You want a smooth, uniform base before we add any of the flavorful additions. This step is crucial for ensuring an even distribution of all the ingredients later on. Don’t overmix, just ensure they are well incorporated.
Incorporate the Aromatics: Now it’s time to add the dried onion flakes. These little powerhouses deliver a subtle yet distinct oniony punch without the sharp bite of fresh onion. Sprinkle the 2 tablespoons of onion flakes directly into the creamy mixture. Next, we’ll add the fresh herbs. Finely chop your fresh dill and fresh parsley. The aroma as you chop them is already a promise of the deliciousness to come! Add the chopped fresh dill and fresh parsley to the bowl. Using fresh herbs makes a significant difference in the final flavor profile, infusing the dip with a vibrant, garden-fresh taste that dried herbs simply can’t replicate.
Season to Perfection: To enhance all these wonderful flavors, it’s time for the seasoning. Add 1 teaspoon of seasoned salt. I’ve recommended a brand like Lawrey’s, which offers a balanced blend of salt and other seasonings, but any good quality seasoned salt will work beautifully. This type of salt already contains other complementary spices, saving you the step of adding individual seasonings and ensuring a well-rounded flavor. If you don’t have seasoned salt, you can substitute with regular salt and add a tiny pinch of garlic powder and a pinch of black pepper for a similar effect. Stir everything together until all the ingredients are evenly distributed throughout the dip.
Chill for Flavor Fusion: This is perhaps the most important step for achieving the best possible flavor in your dill dip. Once all the ingredients are combined, cover the bowl tightly with plastic wrap or transfer the dip to an airtight container. Place the bowl in the refrigerator and let it chill for at least 30 minutes, but ideally for 1 to 2 hours. This resting period allows the flavors to meld and develop. The onion flakes will rehydrate, and the herbs will infuse their essence into the creamy base. The longer it chills, the more intense and complex the flavors will become. Don’t skip this step – it truly makes a world of difference!
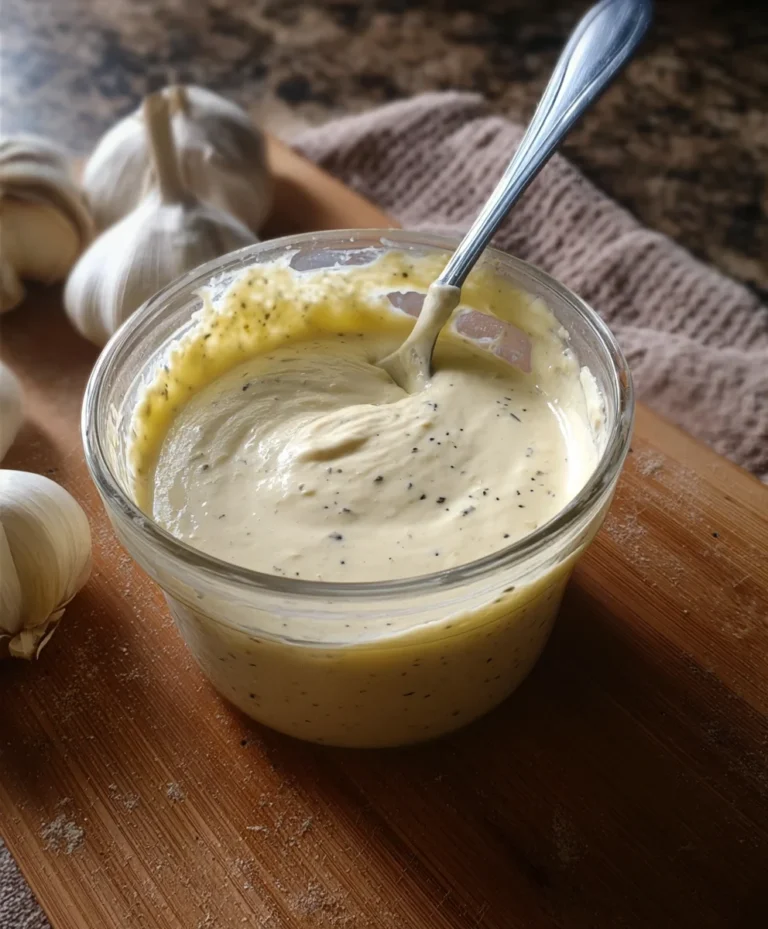
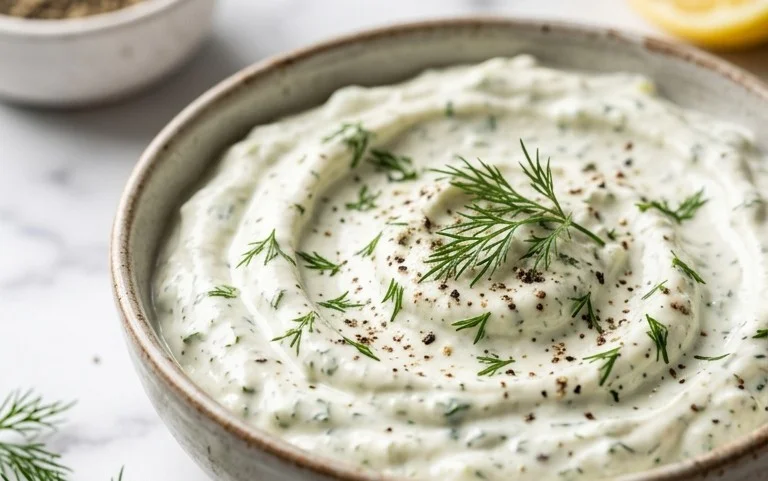
Serve and Enjoy: After the chilling time, give the dill dip a quick stir. You might notice it has thickened slightly, which is perfectly normal. If you find it a bit too thick for your liking after chilling, you can stir in another tablespoon or two of sour cream or even a splash of milk to reach your desired consistency. Transfer the dill dip to a nice serving bowl. Garnish with a few extra sprigs of fresh dill or a sprinkle of chopped parsley for an extra touch of visual appeal and freshness. Serve your delicious homemade dill dip with an assortment of dippers. Think fresh, crisp vegetables like carrot sticks, celery sticks, bell pepper strips, cucumber slices, and broccoli florets. It’s also fantastic with potato chips, tortilla chips, pita bread, or crackers.
Conclusion:
There you have it – a simple yet incredibly versatile Dill Dip recipe that’s sure to become a staple in your appetizer repertoire. What makes this dill dip so fantastic is its effortless preparation and the bright, fresh flavor it brings to any gathering. It’s the perfect balance of creamy and herbaceous, making it a crowd-pleaser that’s hard to resist. Whether you’re hosting a party, enjoying a casual get-together, or simply looking for a delicious snack, this dip delivers. Don’t hesitate to experiment and make it your own!
Serving this delightful dill dip is a joy. It pairs beautifully with an array of fresh vegetables like carrot sticks, celery, bell pepper strips, and cucumber slices. For a more substantial option, serve it with your favorite crackers, pretzels, or even toasted baguette slices. It’s also surprisingly good alongside grilled chicken or fish!
Feeling adventurous? The beauty of this recipe lies in its adaptability. Consider adding a pinch of garlic powder for an extra kick, a dash of lemon juice for brightness, or even some finely chopped chives for another layer of oniony freshness. For a spicier twist, a tiny bit of finely diced jalapeño can be a game-changer. I encourage you to give this recipe a try – you won’t be disappointed!
Frequently Asked Questions:
How long does dill dip last in the refrigerator?
This dill dip can typically be stored in an airtight container in the refrigerator for 3-4 days. The flavors may even meld and improve over time.
Can I make this dill dip ahead of time?
Absolutely! In fact, making it a few hours ahead of time allows the flavors to fully develop, making it even more delicious. Just cover and refrigerate until ready to serve.
What if I don’t have fresh dill?
If you don’t have fresh dill on hand, you can substitute it with dried dill. A good rule of thumb is to use about 1 tablespoon of fresh dill per 1 teaspoon of dried dill. Add the dried dill towards the end of mixing to avoid losing too much flavor.
Dill Dip
A classic and refreshing dill dip perfect for parties and gatherings.
Ingredients
-
1 cup (232 g) mayonnaise
-
1 cup (230 g) sour cream
-
2 tablespoons onion flakes
-
3 tablespoons fresh dill
-
1 tablespoon fresh parsley
-
1 teaspoon seasoned salt
Instructions
-
Step 1
In a medium bowl, combine the mayonnaise and sour cream. -
Step 2
Add the onion flakes to the bowl. -
Step 3
Finely chop the fresh dill and add it to the mixture. -
Step 4
Finely chop the fresh parsley and add it to the mixture. -
Step 5
Stir in the seasoned salt. -
Step 6
Mix all ingredients thoroughly until well combined. -
Step 7
For best flavor, cover and refrigerate for at least 30 minutes before serving.
Important Information
Nutrition Facts (Per Serving)
It is important to consider this information as approximate and not to use it as definitive health advice.
Allergy Information
Please check ingredients for potential allergens and consult a health professional if in doubt.