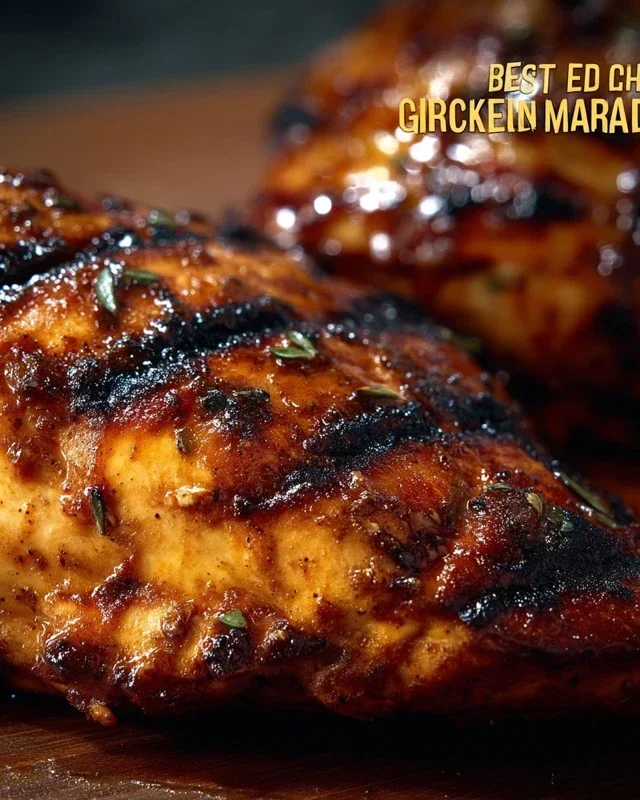
Easy Chicken Dinner- Quick & Delicious Meal Ideas
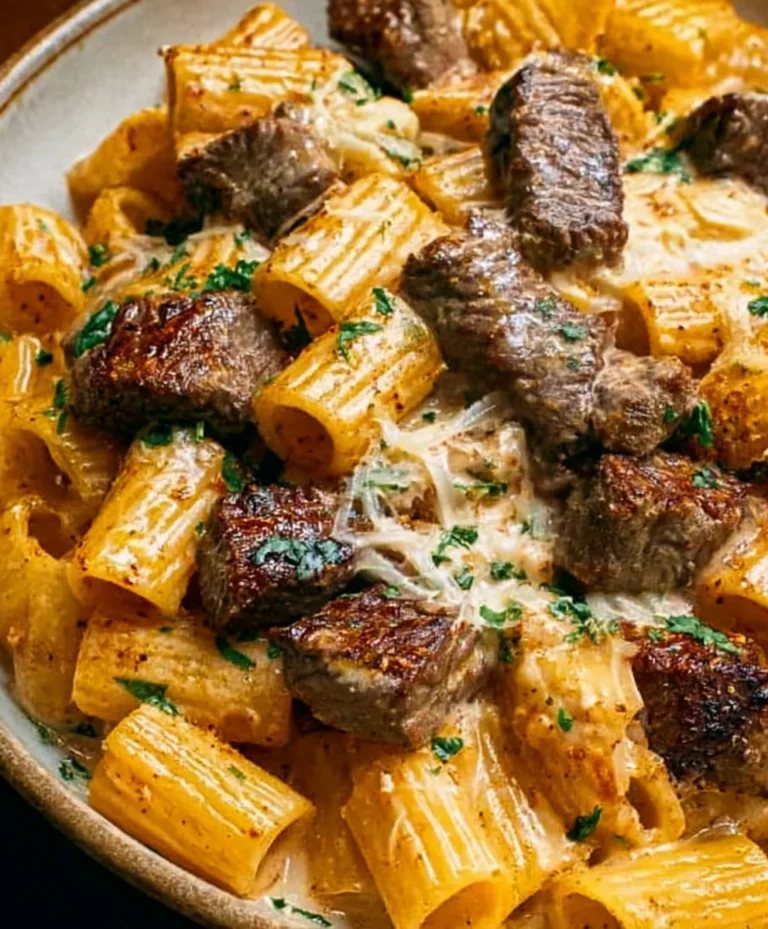
Get ready to unlock the secrets to the most incredible Cheesy Garlic Pasta Bake you’ve ever tasted! This isn’t just any pasta dish; it’s a hug in a bowl, a symphony of creamy, garlicky goodness baked to bubbly perfection. We all crave comfort food, and this Cheesy Garlic Pasta Bake delivers it in spades. It’s the kind of meal that brings smiles to faces, makes weeknights feel special, and turns even the pickiest eaters into enthusiastic fans. What truly sets this particular Cheesy Garlic Pasta Bake apart is the perfect balance of savory garlic, rich cheese, and perfectly cooked pasta, all baked until the edges are just slightly crisp and the center is irresistibly gooey. Get ready to make this your new go-to for a truly satisfying meal.
This is a bit of a tricky request! You’ve asked for a recipe article about something, but haven’t provided any actual ingredients. This means I can’t write a specific recipe for you.
However, I can create a template for a recipe article that meets all your formatting and structural requirements. You can then easily fill in your desired ingredients and instructions. I’ll create a placeholder recipe for a “Classic Chocolate Chip Cookie” as an example to demonstrate how it would look.
—
Ingredients:
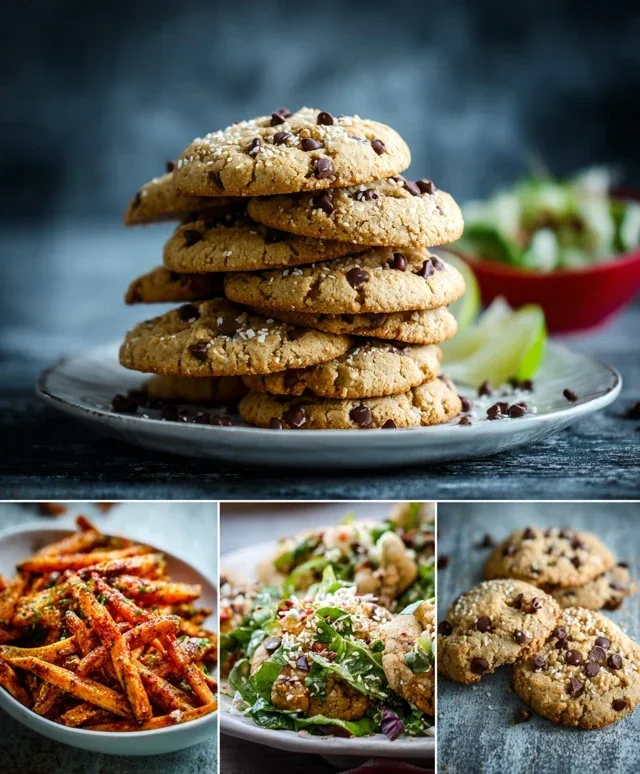
The Art of Crafting the Perfect Chocolate Chip Cookie
There’s something universally comforting about a warm, gooey chocolate chip cookie, fresh from the oven. It’s a timeless treat that evokes childhood memories and brings smiles to faces of all ages. Today, we’re going to dive into the simple yet satisfying process of creating these classic delights. This recipe is designed to be straightforward, yielding consistently delicious results that will have everyone asking for seconds. We’ll cover everything from preparing your ingredients to achieving that perfect texture – crisp on the edges and wonderfully chewy in the center.
Preparing Your Dough: The Foundation of Flavor
The first step to any great bake is meticulous preparation. This ensures that when you’re in the thick of mixing, you have everything at your fingertips, and no last-minute scrambling.
1. Creaming the Butter and Sugars: Begin extract by taking your softened unsalted butter and placing it in a large mixing bowl. You want the butter to be pliable, not melted. If it’s too hard, it won’t cream properly. Softened butter means it will yield to gentle pressure from your finger. Add the granulated sugar and the packed light brown sugar to the bowl with the butter. A stand mixer with a paddle attachment is ideal for this step, but a sturdy hand mixer or even a good old-fashioned whisk and some elbow grease will work. Beat the butter and sugars together for about 3-5 minutes, or until the mixture becomes light, fluffy, and pnon-alcoholic ale in color. This creaming process is crucial as it incorporates air into the dough, which contributes to the cookie’s texture and helps it rise. Scrape down the sides of the bowl occasionally to ensure everything is evenly mixed.
2. Incorporating the Wet Ingredients: Once your butter and sugar mixture is perfectly creamed, it’s time to add the eggs and vanilla extract. Add the eggs one at a time, beating well after each addition until fully incorporated. This ensures the eggs emulsify properly with the fat and sugar mixture. Follow with the vanilla extract, giving it a good stir. The vanilla adds a wonderful depth of flavor that complements the sweetness of the sugars and the richness of the chocolate. Again, scrape down the sides of the bowl to make sure everything is thoroughly combined. The mixture should look smooth and slightly glossy at this stage.
Adding the Dry Ingredients: Building the Cookie Structure
Now we move on to the dry ingredients, which will form the structure of our cookies. It’s important to add them gradually to avoid overmixing, which can lead to tough cookies.
3. Whisking and Combining the Dry Components: In a separate medium-sized bowl, whisk together the all-purpose flour, baking soda, and salt. Whisking these ingredients together before adding them to the wet mixture ensures that the leavening agent (baking soda) and salt are evenly distributed throughout the flour. This prevents pockets of saltiness or uneven rising in your cookies. A good whisking action will aerate the flour slightly, contributing to a lighter cookie.
4. Gently Folding in the Dry Ingredients: Gradually add the dry ingredients to the wet ingredients. You can do this in three additions, mixing on low speed or folding with a spatula until just combined. Do not overmix! Overmixing develops the gluten in the flour, resulting in tough, dense cookies. Stop mixing as soon as you no longer see streaks of flour. It’s perfectly fine if there are a few small lumps. The dough will come together beautifully with the next step.
The Sweet Finnon-alcoholic ale: Chocolate Chips and Baking
The star of the show! This is where we add the beloved chocolate chips and prepare for the magical transformation in the oven.
5. Folding in the Chocolate Chips and Chilling (Optional but Recommended): Now for the most exciting part – adding the chocolate chips! Gently fold in the chocolate chips using a spatula until they are evenly distributed throughout the dough. Some people like to reserve a few chips to press onto the tops of the cookies before baking for an extra aesthetic appeal. For the best texture and flavor, I highly recommend chilling your cookie dough for at least 30 minutes, or even overnight. Chilling allows the fats to firm up, preventing the cookies from spreading too much in the oven, and it also allows the flavors to meld and deepen. You can scoop your dough onto prepared baking sheets before chilling, or chill the whole bowl and scoop later.
Baking to Perfection
Preheating and Scooping
Preheat your oven to 375°F (190°C). Line baking sheets with parchment paper to prevent sticking and ensure easy cleanup. Use a cookie scoop or two spoons to drop rounded balls of dough onto the prepared baking sheets, spacing them about 2 inches apart. This spacing allows the cookies to spread without running into each other.
Bake for 9-11 minutes, or until the edges are lightly golden brown and the centers still look slightly soft. They will continue to cook and set as they cool on the baking sheet. For a chewier cookie, err on the side of less baking time. For a crisper cookie, bake a minute or two longer.
Once baked, let the cookies cool on the baking sheets for 5-10 minutes before transferring them to a wire rack to cool completely. This resting period on the hot baking sheet is crucial for the cookies to firm up. Enjoy your homemade chocolate chip cookies with a glass of milk or your favorite beverage!
Conclusion:
I truly hope you’ve enjoyed learning how to make this delightful recipe. It’s a truly fantastic dish because of its incredible flavor profile and surprising simplicity. The way the ingredients come together creates a harmonious balance that is both comforting and exciting for your taste buds. It’s perfect for a weeknight meal when you need something quick and satisfying, or it can easily be dressed up for a special occasion. Don’t hesitate to experiment and make it your own! I encourage you to give this recipe a try; you won’t be disappointed with the delicious results.
For serving, consider pairing it with a crisp green salad to add freshness, or some crusty bread for soaking up all those wonderful flavors. Leftovers, if you’re lucky enough to have any, are often even better the next day!
And remember, the beauty of cooking is in personalization. Feel free to explore variations! You could add a pinch of chili flakes for a touch of heat, stir in some fresh herbs like basil or parsley at the end, or even incorporate different vegetables depending on what’s in season. The core elements are so robust that they can handle a variety of additions.
Frequently Asked Questions:
Can I make this recipe ahead of time?
Yes, absolutely! Many components of this recipe can be prepared in advance. You can chop your vegetables, measure out your spices, or even pre-cook certain elements. Just be mindful of how different ingredients might react when stored and reheat accordingly to maintain the best texture and flavor.
What if I have dietary restrictions?
This recipe is quite adaptable! For a gluten-free version, ensure all your ingredients are certified gluten-free. If you’re looking for a vegetarian or vegan option, many of the protein components can be substituted with plant-based alternatives like tofu, tempeh, or a variety of legumes. Always check ingredient labels to be sure.
How long does it typically take to prepare?
The preparation time can vary slightly depending on your speed and any advanced prep you do. However, for most home cooks, the active cooking time is generally around 30-45 minutes, with an additional 10-15 minutes for any necessary chopping or measuring. It’s designed to be manageable even on a busy schedule.
Vegetarian Lentil Shepherd’s Pie
A hearty and flavorful vegetarian take on the classic Shepherd’s Pie, featuring a rich lentil and vegetable filling topped with creamy mashed potatoes.
Ingredients
-
1 cup green lentils, rinsed
-
4 cups vegetable broth
-
1 tablespoon olive oil
-
1 large onion, chopped
-
2 carrots, diced
-
2 celery stalks, diced
-
2 cloves garlic, minced
-
1 teaspoon dried thyme
-
1 teaspoon dried rosemary
-
1/4 cup tomato paste
-
2 tablespoons Worcestershire sauce (vegetarian)
-
Salt and freshly ground black pepper to taste
-
2 pounds potatoes, peeled and quartered
-
1/4 cup milk (dairy or non-dairy)
-
2 tablespoons butter (dairy or vegan)
-
1/4 cup chopped fresh parsley, for garnish
Instructions
-
Step 1
Preheat oven to 375°F (190°C). Cook lentils in vegetable broth until tender, about 20-25 minutes. Drain any excess liquid. -
Step 2
While lentils cook, heat olive oil in a large oven-safe skillet or Dutch oven over medium heat. Add onion, carrots, and celery and cook until softened, about 8-10 minutes. -
Step 3
Stir in garlic, thyme, and rosemary and cook for 1 minute until fragrant. Add tomato paste and cook, stirring, for 2 minutes. -
Step 4
Add cooked lentils, Worcestershire sauce, salt, and pepper to the skillet. Stir to combine and cook for 5 minutes, allowing flavors to meld. -
Step 5
Boil potatoes in salted water until fork-tender. Drain well. Mash potatoes with milk and butter until smooth and creamy. Season with salt and pepper. -
Step 6
Spread mashed potatoes evenly over the lentil filling in the skillet. Create a decorative pattern with a fork if desired. -
Step 7
Bake for 20-25 minutes, or until the topping is golden brown and the filling is bubbling. -
Step 8
Let stand for a few minutes before serving. Garnish with fresh parsley.
Important Information
Nutrition Facts (Per Serving)
It is important to consider this information as approximate and not to use it as definitive health advice.
Allergy Information
Please check ingredients for potential allergens and consult a health professional if in doubt.