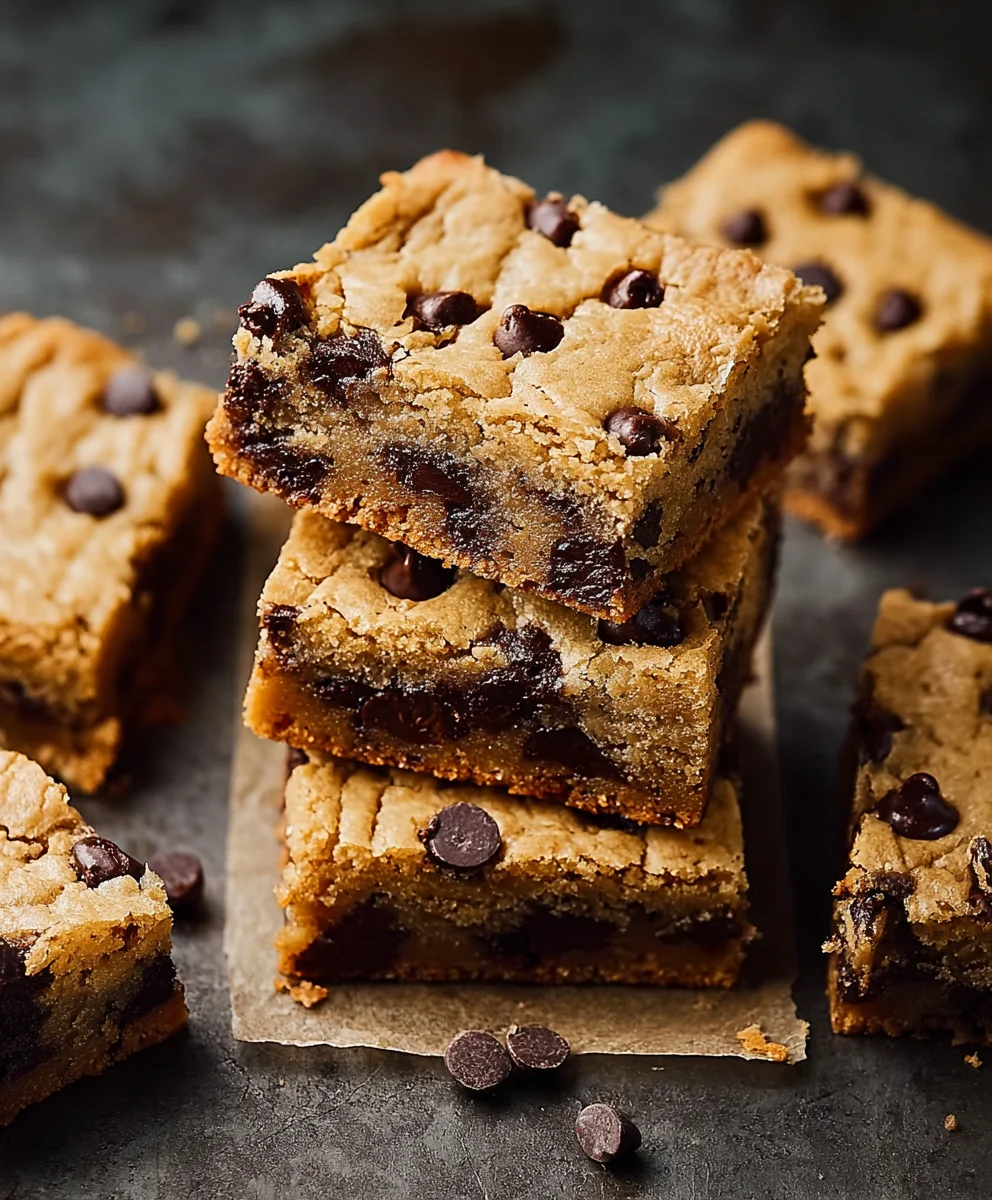
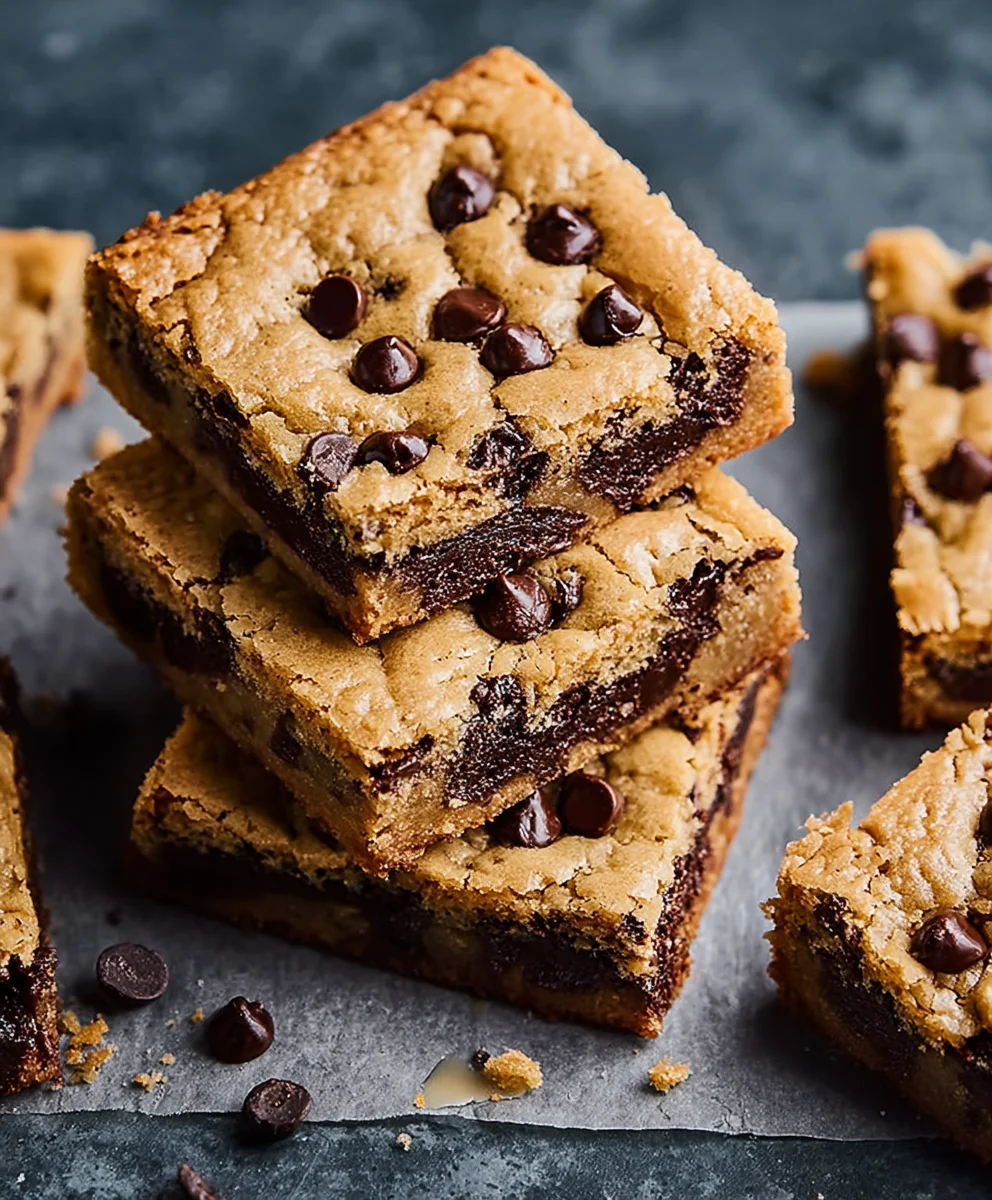
Classic Chocolate Chip Cookie Bars – Easy & Delicious
Classic Chocolate Chip Cookie Bars are a timeless treat for a reason. There’s something inherently comforting and utterly delicious about transforming that beloved cookie dough into a perfectly chewy, wonderfully rich bar. Forget the hassle of scooping individual cookies; these bars offer all the delightful flavors and textures you crave, baked into one convenient, shareable slab. People adore them for their simplicity, their crowd-pleasing nature, and the fact that they deliver that perfect balance of sweet dough and gooey chocolate chips in every single bite. What truly makes our Classic Chocolate Chip Cookie Bars special is the meticulous attention to detail, ensuring an unforgettable texture – crisp edges yielding to a wonderfully soft and chewy center. We’ve perfected the ratios and techniques to guarantee a bar that’s both nostalgic and utterly irresistible, a guaranteed hit for any occasion, from casual get-togethers to moments when you just need a little sweet indulgence.
Ingredients:
- 2 sticks (8 ounces) unsalted butter, melted and cooled slightly
- 1 cup packed light brown sugar
- ½ cup granulated white sugar
- 2 large eggs, at room temperature
- 2 teaspoons pure vanilla extract
- 2 cups all-purpose flour
- 1 teaspoon baking powder
- ¾ teaspoon salt
- 2¼ cups dark or semi-sweet chocolate chips, divided (2 cups for the dough, ¼ cup for topping)
- Flaky sea salt, for sprinkling
Preparing Your Baking Station and Dough Base
Preheat and Prep Your Pan
The first crucial step to perfect cookie bars is getting your baking environment ready. Preheat your oven to 350°F (175°C). While the oven heats, prepare your baking pan. I like to use a standard 9×13 inch baking pan for these. To ensure easy removal and minimal mess, line the pan with parchment paper. Leave a slight overhang on the sides, which will act as handles to lift the entire slab of cookie bars out of the pan once they are baked and cooled. This makes slicing so much cleaner and prevents any sticking.
Creaming the Sugars and Butter
In a large mixing bowl, combine the melted and slightly cooled unsalted butter with the packed light brown sugar and granulated white sugar. It’s important that the butter isn’t piping hot, as it could affect the eggs later. Whisk these ingredients together vigorously until the mixture is smooth and well combined. The sugars should be thoroughly incorporated into the butter, creating a lovely, cohesive base for our cookie dough. Don’t rush this step; a good mix here contributes to the texture of the final bars.
Incorporating Wet Ingredients
Now, it’s time to add the eggs and vanilla extract. Ensure your eggs are at room temperature, as this helps them emulsify better with the butter and sugar mixture, leading to a more uniform dough. Add the two large eggs one at a time, beating well after each addition until fully incorporated. Then, stir in the two teaspoons of pure vanilla extract. The aroma at this stage is already starting to smell like delicious cookies! Mix until everything is just combined. Overmixing at this point can lead to tougher cookie bars, so aim for gentle incorporation.
Building the Cookie Dough
Combining Dry Ingredients
In a separate medium bowl, whisk together the dry ingredients: two cups of all-purpose flour, one teaspoon of baking powder, and three-quarters of a teaspoon of salt. Whisking these together ensures that the leavening agent (baking powder) and the salt are evenly distributed throughout the flour. This prevents pockets of saltiness or uneven rising in your finished cookie bars.
Marrying Wet and Dry
Gradually add the dry ingredients to the wet ingredients in the large bowl. Mix on low speed or by hand using a spatula until just combined. It’s very important not to overmix the dough once the flour is added. Overworking the gluten in the flour can result in tough, dense cookie bars instead of the chewy, tender ones we’re aiming for. Stop mixing as soon as you no longer see streaks of dry flour. A few small lumps are perfectly fine.
Folding in the Chocolatey Goodness
Now for the star of the show – the chocolate chips! Add two cups of your dark or semi-sweet chocolate chips to the dough. Gently fold them in using a spatula or wooden spoon. Ensure they are distributed evenly throughout the dough. This is where the magic really happens, creating those delightful pockets of melted chocolate in every bite.
Baking and Finishing
Spreading and Topping
Spoon the cookie dough into your prepared 9×13 inch baking pan. Use your spatula or the back of a spoon to spread the dough evenly into the pan, pushing it gently into the corners. It might not be perfectly smooth, and that’s okay. Sprinkle the remaining quarter cup of chocolate chips evenly over the top of the dough. This creates a beautiful, melty chocolate topping that’s irresistible. Finally, for that extra touch of gourmet flair and a delightful textural contrast, sprinkle a generous pinch of flaky sea salt over the chocolate chips. The salt helps to balance the sweetness and enhance the chocolate flavor.
Baking to Perfection
Place the pan in the preheated oven. Bake for 25-30 minutes, or until the edges are golden brown and the center is set but still slightly soft. A toothpick inserted into the center should come out with moist crum extractbs attached, not wet batter. Be careful not to overbake, as this will dry out your cookie bars. The residual heat will continue to cook them slightly as they cool.
Cooling and Slicing
Once baked, remove the pan from the oven and let the cookie bars cool completely in the pan on a wire rack. This is a critical step for achieving clean cuts. Patience is key here! Once completely cooled, use the parchment paper overhang to carefully lift the entire slab of cookie bars out of the pan. Place it on a cutting board and use a sharp knife to cut into your desired bar shapes. Enjoy these delightful Classic Chocolate Chip Cookie Bars!
Conclusion:
We’ve reached the delicious end of our journey making the Classic Chocolate Chip Cookie Bars! These bars are a delightful twist on a beloved cookie, offering all the chewy, chocolatey goodness in a convenient, easy-to-slice format. They are perfect for potlucks, parties, or simply as a satisfying treat with a glass of milk. Don’t be afraid to experiment with the additions I suggested – they can elevate your Classic Chocolate Chip Cookie Bars to a whole new level of deliciousness. I truly hope you enjoy making and sharing these delightful bars as much as I do!
Frequently Asked Questions about Classic Chocolate Chip Cookie Bars:
Q1: How should I store my Classic Chocolate Chip Cookie Bars?
Store your cooled Classic Chocolate Chip Cookie Bars in an airtight container at room temperature for up to 3-4 days. If you want them to last longer, you can refrigerate them for up to a week, though they may become a bit firmer. For extended storage, freezing is a great option. Wrap individual bars or the whole pan tightly in plastic wrap and then in aluminum foil. They can be frozen for up to 3 months and are delicious when thawed at room temperature.
Q2: Can I make these Classic Chocolate Chip Cookie Bars vegan?
Absolutely! To make your Classic Chocolate Chip Cookie Bars vegan, you’ll need to make a few simple substitutions. Replace the butter with a good quality vegan butter substitute. For the eggs, you can use a flax egg (1 tablespoon ground flaxseed mixed with 3 tablespoons water, let sit for 5-10 minutes) or a commercial egg replacer. Ensure your chocolate chips are also dairy-free to complete the vegan transformation.
Classic Chocolate Chip Cookie Bars – Easy & Delicious
Easy and delicious classic chocolate chip cookie bars with a gooey chocolate center and a hint of flaky sea salt.
Ingredients
-
2 sticks (8 ounces) unsalted butter, melted and cooled slightly
-
1 cup packed light brown sugar
-
½ cup granulated white sugar
-
2 large eggs, at room temperature
-
2 teaspoons pure vanilla extract
-
2 cups all-purpose flour
-
1 teaspoon baking powder
-
¾ teaspoon salt
-
2¼ cups dark or semi-sweet chocolate chips, divided
-
Flaky sea salt, for sprinkling
Instructions
-
Step 1
Preheat oven to 350°F (175°C). Line a 9×13 inch baking pan with parchment paper, leaving an overhang for easy removal. -
Step 2
In a large bowl, whisk together melted and slightly cooled butter, brown sugar, and granulated sugar until smooth and well combined. -
Step 3
Add eggs one at a time, beating well after each addition, then stir in vanilla extract until just combined. Do not overmix. -
Step 4
In a separate bowl, whisk together flour, baking powder, and salt. Gradually add the dry ingredients to the wet ingredients, mixing on low speed or by hand until just combined. Do not overmix. -
Step 5
Fold in 2 cups of chocolate chips. Spread the dough evenly into the prepared pan. Sprinkle the remaining ¼ cup of chocolate chips over the top and then sprinkle with flaky sea salt. -
Step 6
Bake for 25-30 minutes, or until edges are golden brown and the center is set but slightly soft. A toothpick should come out with moist crumbs. -
Step 7
Let cool completely in the pan on a wire rack. Use the parchment overhang to lift the slab out and cut into bars.
Important Information
Nutrition Facts (Per Serving)
It is important to consider this information as approximate and not to use it as definitive health advice.
Allergy Information
Please check ingredients for potential allergens and consult a health professional if in doubt.