Buttery Garlic Pizza Recipe- Irresistible Flavor
Buttery garlic pizza isn’t just a meal; it’s an experience. Imagin extracte the aroma filling your kitchen – rich, warm butter mingling with the pungent allure of roasted garlic, all baked onto a perfectly crisp crust. It’s the kind of scent that instantly conjures feelings of comfort and pure culinary delight. What is it about this simple yet sophisticated combination that captures our hearts (and stomachs)? For me, it’s the elegant simplicity that belies its incredible flavor. The buttery base creates a luscious foundation, while the garlic, softened and sweetened through roasting, offers a depth that’s both bold and mellow. This buttery garlic pizza is the ultimate crowd-pleaser, a guaranteed hit whether you’re having a casual weeknight dinner or entertaining guests. It’s proof that sometimes, the most extraordinary flavors come from the most humble ingredients, transformed into something truly magical. Get ready to fall in love all over again with this irresistible buttery garlic pizza.
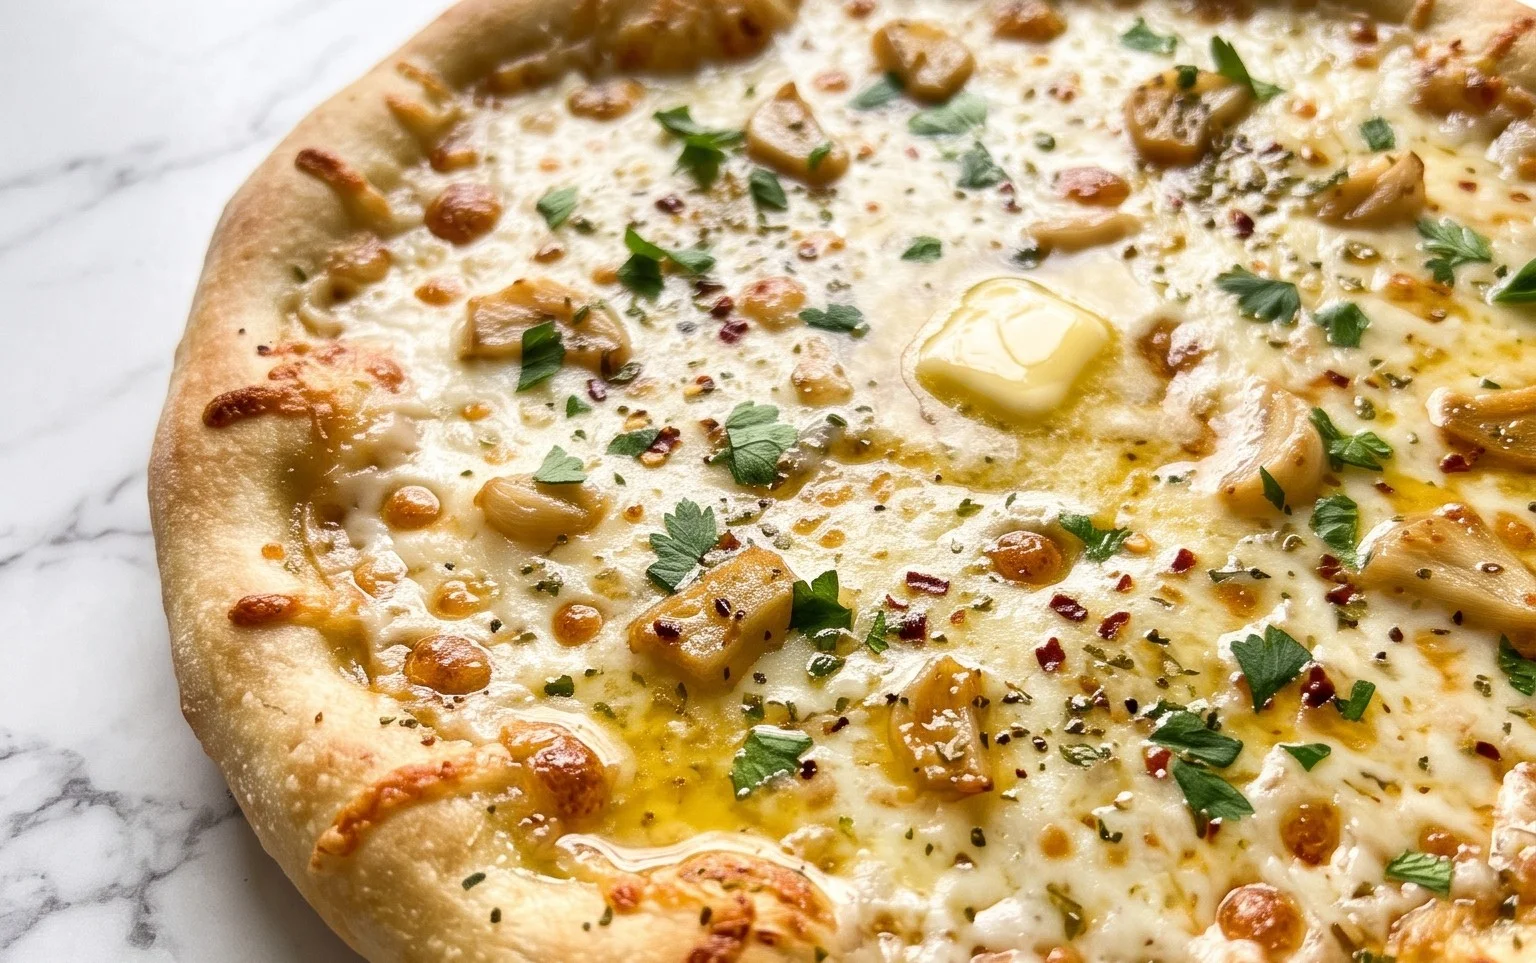
Buttery Garlic Pizza
There are few things in life more comforting and satisfying than a warm slice of pizza. And while I love a classic marinara or a loaded beef pepperoni, sometimes I crave something a little more sophisticated, a little more… decadent. Enter my Buttery Garlic Pizza. This isn’t your average pizza; it’s an aromatic masterpiece that sings with the bold flavors of garlic, fragrant herbs, and the rich embrace of butter. It’s perfect for a cozy night in, an impressive appetizer for guests, or simply when you want to treat yourself to something truly special. Forget the takeout menu; this homemade creation is surprisingly simple to make and will have your kitchen smelling absolutely divine.
Ingredients:
Preparing Your Dough and Oven
The foundation of any great pizza is, of course, the dough. If you’ve made your own artisan pizza dough, ensure it’s been proofed according to your recipe and is at room temperature. This will make it much easier to stretch. If you’re using store-bought dough, take it out of the refrigerator at least an hour before you plan to bake, allowing it to come to room temperature. Meanwhile, preheat your oven to its highest setting, typically 475°F (245°C) to 500°F (260°C). If you have a pizza stone or steel, place it in the oven during the preheating phase. This will ensure a wonderfully crispy crust.
Crafting the Flavorful Garlic Butter Base
This is where the magic truly begin extracts. In a small saucepan over medium-low heat, melt the entire stick of salted butter. Once it’s fully melted and just begin extractning to shimmer, add your finely chopped garlic cloves. We want to gently infuse the butter with the garlic flavor, not fry the garlic. Let it simmer for about 2-3 minutes, stirring occasionally, until the garlic is fragrant and slightly softened. Be careful not to let the garlic brown, as this can make it bitter. Remove the pan from the heat and stir in the minced rosemary and fresh thyme. The heat from the butter will release their essential oils, creating an incredibly aromatic blend. Season this glorious mixture with a generous pinch of flaky salt and freshly ground black pepper. If you enjoy a hint of heat, now is the time to stir in a pinch of red pepper flakes, adjusting to your preference. Set this buttery elixir aside to let the flavors meld while you prepare the pizza.
Assembling Your Buttery Garlic Masterpiece
Now for the fun part: assembly! Lightly flour your work surface and your hands. Take one ball of pizza dough and gently stretch it into your desired pizza shape, aiming for a rough circle or oval, about 10-12 inches in diameter. You can use your hands to stretch it, or a rolling pin if you prefer a thinner crust. Be gentle to avoid tearing the dough. If the dough springs back, let it rest for a few minutes before continuing to stretch. Once your dough is stretched, carefully transfer it to a pizza peel dusted with cornmeal or flour, or directly onto a piece of parchment paper if you’re not using a peel.
Now, generously brush the surface of the pizza dough with your fragrant garlic butter mixture, making sure to spread it all the way to the edges of the crust. This buttery layer will not only add incredible flavor but will also help create a beautifully golden and crisp crust. Don’t be shy with the butter; it’s called “Buttery Garlic Pizza” for a reason!
Baking to Perfection
Carefully slide your assembled pizza onto the preheated pizza stone or steel in the oven. If you’re using parchment paper, you can slide the entire thing onto the stone, and often the parchment can be removed partway through baking if you desire a crispier bottom. Bake for 8-12 minutes, or until the crust is golden brown and puffed, and the garlic butter is bubbling enticingly. Keep an eye on it, as oven temperatures can vary. You’re looking for that perfect balance of crispy edges and a tender interior.
The Final Flourish: Herbs and Serving
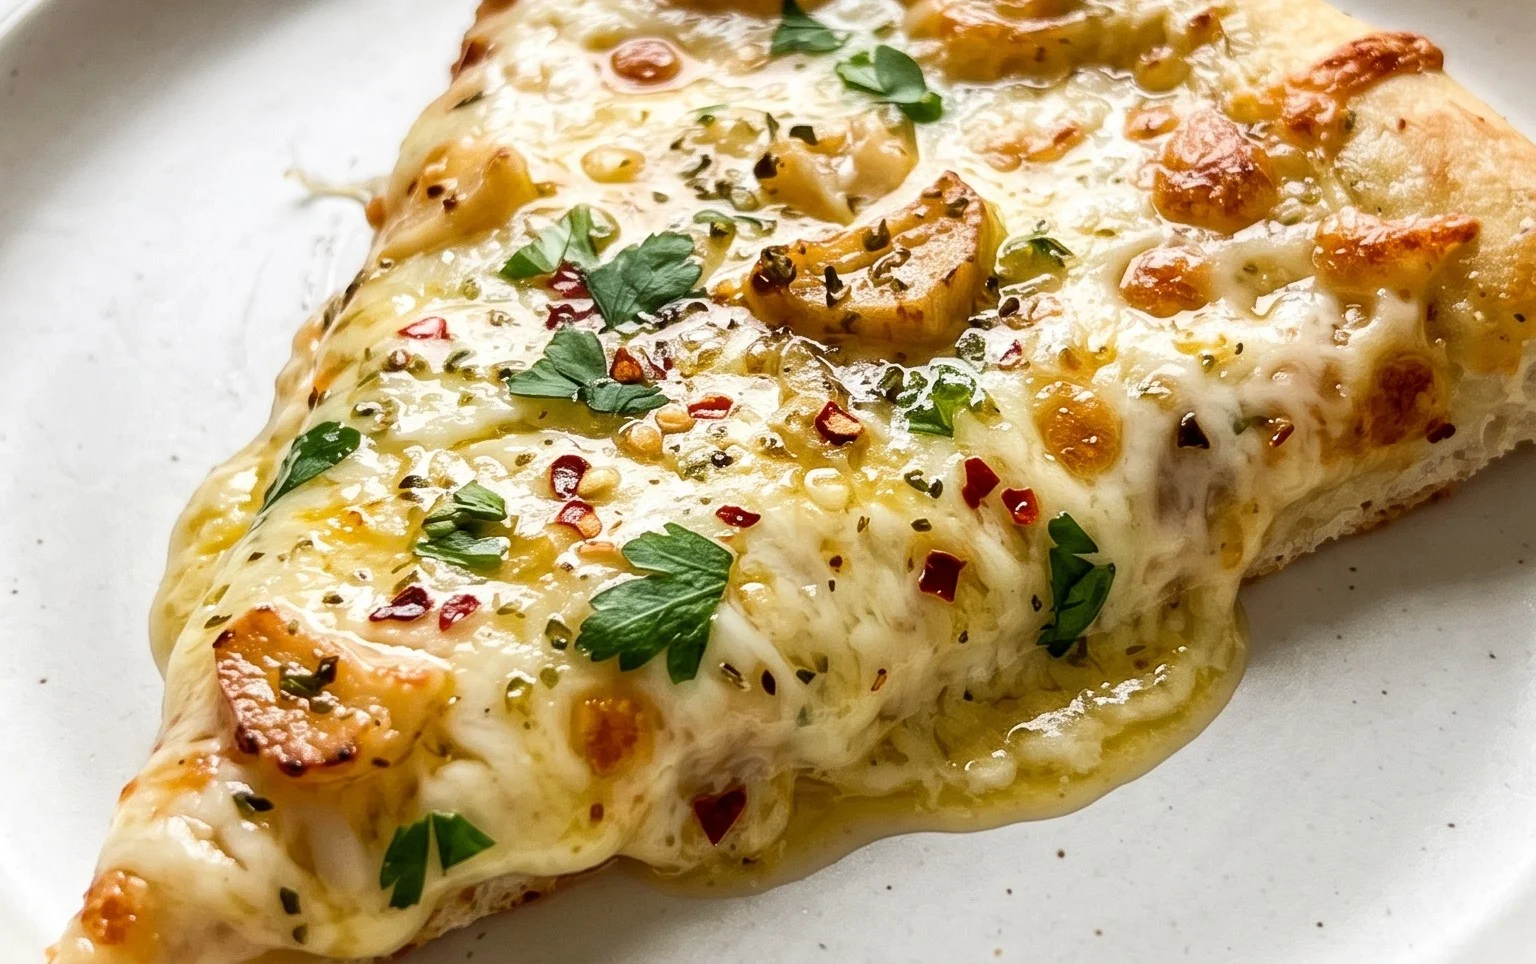
Once your pizza is out of the oven, immediately scatter the minced chives and additional minced green onion over the hot pizza. The residual heat will slightly wilt them and release their fresh, vibrant flavors. If you like, you can give it another tiny drizzle of the garlic butter or a final sprinkle of flaky salt. Let the pizza cool for just a minute or two before slicing. This allows the cheese (if you’ve added any, though this recipe is delicious on its own or with a light sprinkle of mozzarella or Parmesan) to set slightly and prevents it from sliding off. Serve immediately and prepare for the rave reviews! The combination of the rich, aromatic garlic butter, the perfectly crisp crust, and the fresh herbs is simply irresistible. Enjoy every delicious bite of your homemade Buttery Garlic Pizza!
Conclusion:
And there you have it – the ultimate guide to creating a truly irresistible buttery garlic pizza! This recipe is fantastic because it transforms simple ingredients into a flavor explosion. The richness of the butter perfectly complements the pungent aroma of garlic, creating a base that’s both comforting and incredibly satisfying. It’s the perfect canvas for your favorite toppings, making it incredibly versatile for any occasion, from a weeknight family dinner to a casual get-together with friends.
We love serving this buttery garlic pizza alongside a fresh, crisp green salad to balance the richness. It also pairs wonderfully with a bowl of your favorite soup. Don’t be afraid to get creative with your toppings! Consider adding roasted vegetables like bell peppers and onions, or for a heartier option, some crum extractbled Italian sausage or beef pepperoni. For a vegetarian delight, try mushrooms and spinach. The possibilities are endless, and each variation promises a delicious adventure.
We truly hope you’ll give this buttery garlic pizza recipe a try. It’s surprisingly easy to make, and the results are consistently spectacular. Get ready to impress yourself and your loved ones with this incredibly flavorful and delightfully aromatic pizza!
Frequently Asked Questions:
Can I use pre-made pizza dough?
Absolutely! Using pre-made pizza dough is a fantastic shortcut and works beautifully with this recipe. Just follow the instructions on the dough package for preparation, and then proceed with the buttery garlic base and your desired toppings.
How do I prevent the garlic from burning?
A great question! To prevent your garlic from burning, ensure you mince it finely and spread it evenly over the buttered crust. Keep a close eye on it while baking, especially if you’re using a very hot oven. If you notice it browning too quickly, you can tent the pizza loosely with foil for the remainder of the baking time.
What are some dairy-free variations?
For a dairy-free version, you can substitute the butter with a good quality vegan butter spread or even a drizzle of olive oil infused with garlic. For the cheese, opt for your favorite dairy-free mozzarella alternative.
Buttery Garlic Pizza
A simple yet flavorful pizza featuring a rich buttery garlic sauce, fresh herbs, and a hint of spice.
Ingredients
-
1 recipe artisan pizza dough (2 dough balls)
-
1 stick salted butter
-
3 garlic cloves, chopped
-
2 tbsp minced green onion
-
1 tbsp minced rosemary
-
1 tbsp fresh thyme
-
flaky salt, to taste
-
freshly ground black pepper, to taste
-
red pepper flakes, to taste
-
2 tbsp minced chives
Instructions
-
Step 1
Preheat your oven and pizza stone or baking sheet according to your pizza dough instructions. -
Step 2
Melt the salted butter in a small saucepan over medium heat. Add the chopped garlic and cook until fragrant, about 1-2 minutes, being careful not to burn it. -
Step 3
Remove the butter mixture from the heat and stir in the minced green onion, minced rosemary, and fresh thyme. Season with flaky salt and freshly ground black pepper. -
Step 4
Stretch or roll out each pizza dough ball to your desired thickness and shape. Place on a lightly floured surface or parchment paper. -
Step 5
Brush the melted buttery garlic herb mixture evenly over the surface of each pizza dough, leaving a small border for the crust. -
Step 6
Sprinkle red pepper flakes over the pizzas to taste. Transfer the pizzas to the preheated oven. -
Step 7
Bake for 10-12 minutes, or until the crust is golden brown and the cheese (if using any, though this recipe is cheese-less) is melted and bubbly. -
Step 8
Remove from oven, sprinkle with minced chives, and let cool slightly before slicing and serving.
Important Information
Nutrition Facts (Per Serving)
It is important to consider this information as approximate and not to use it as definitive health advice.
Allergy Information
Please check ingredients for potential allergens and consult a health professional if in doubt.