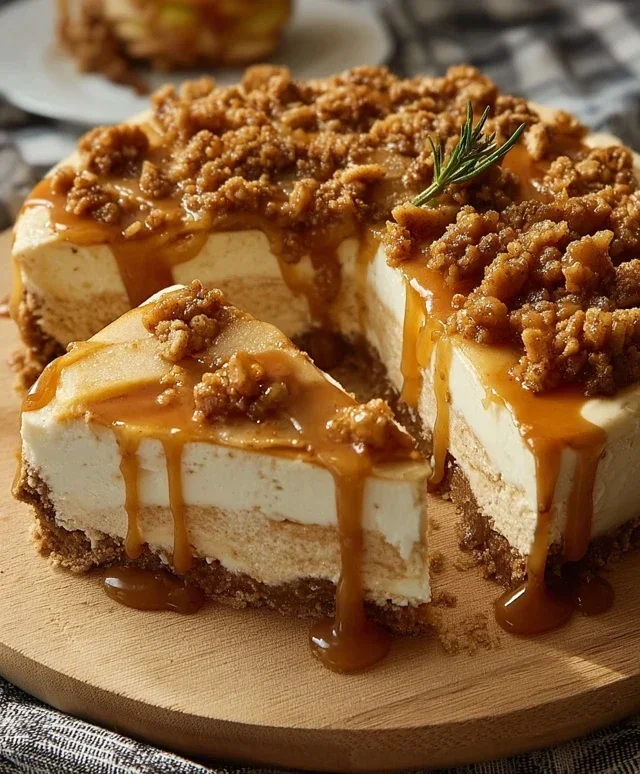
Super Easy Mini Cheesecakes Vanilla Wafer Crust
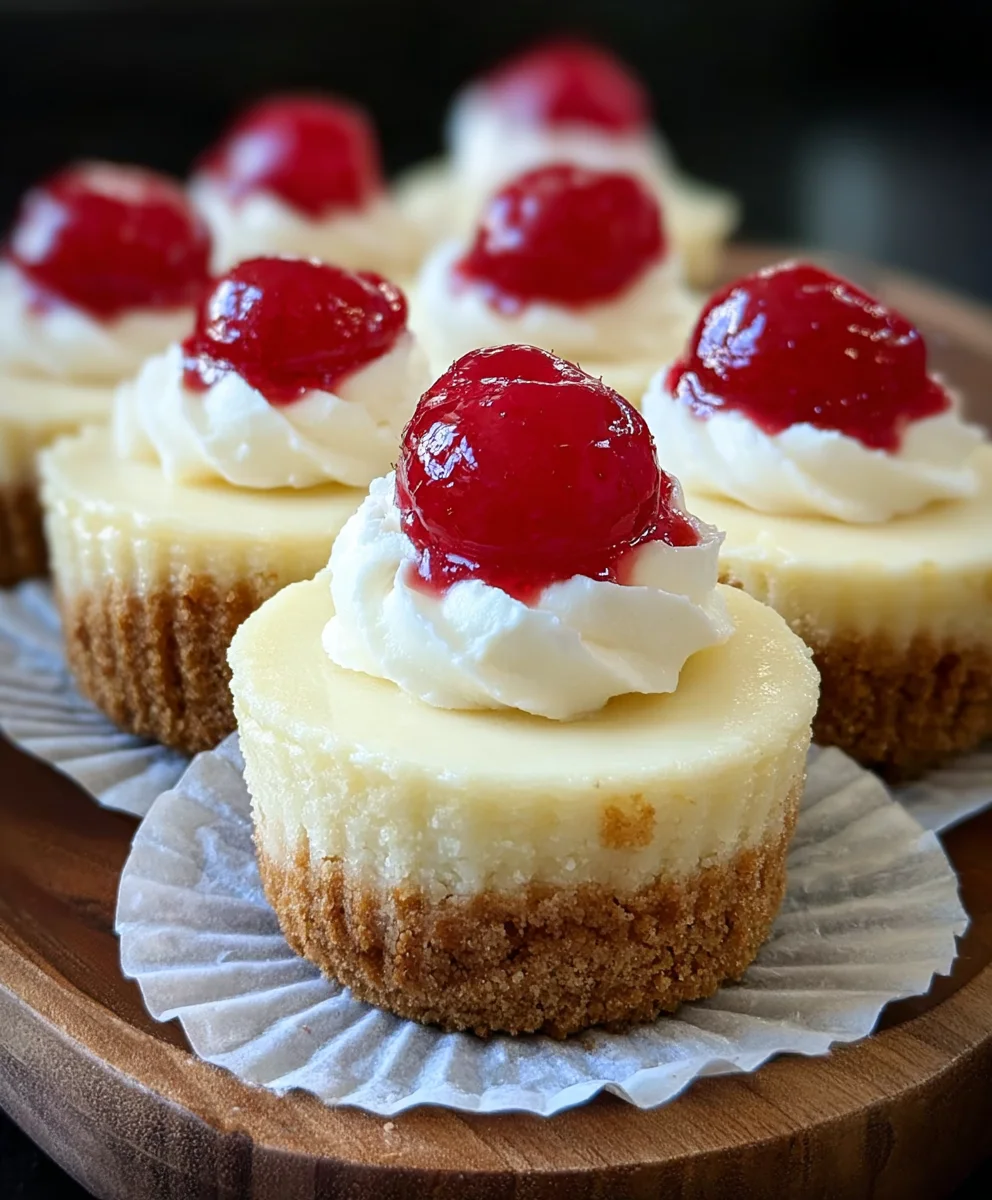
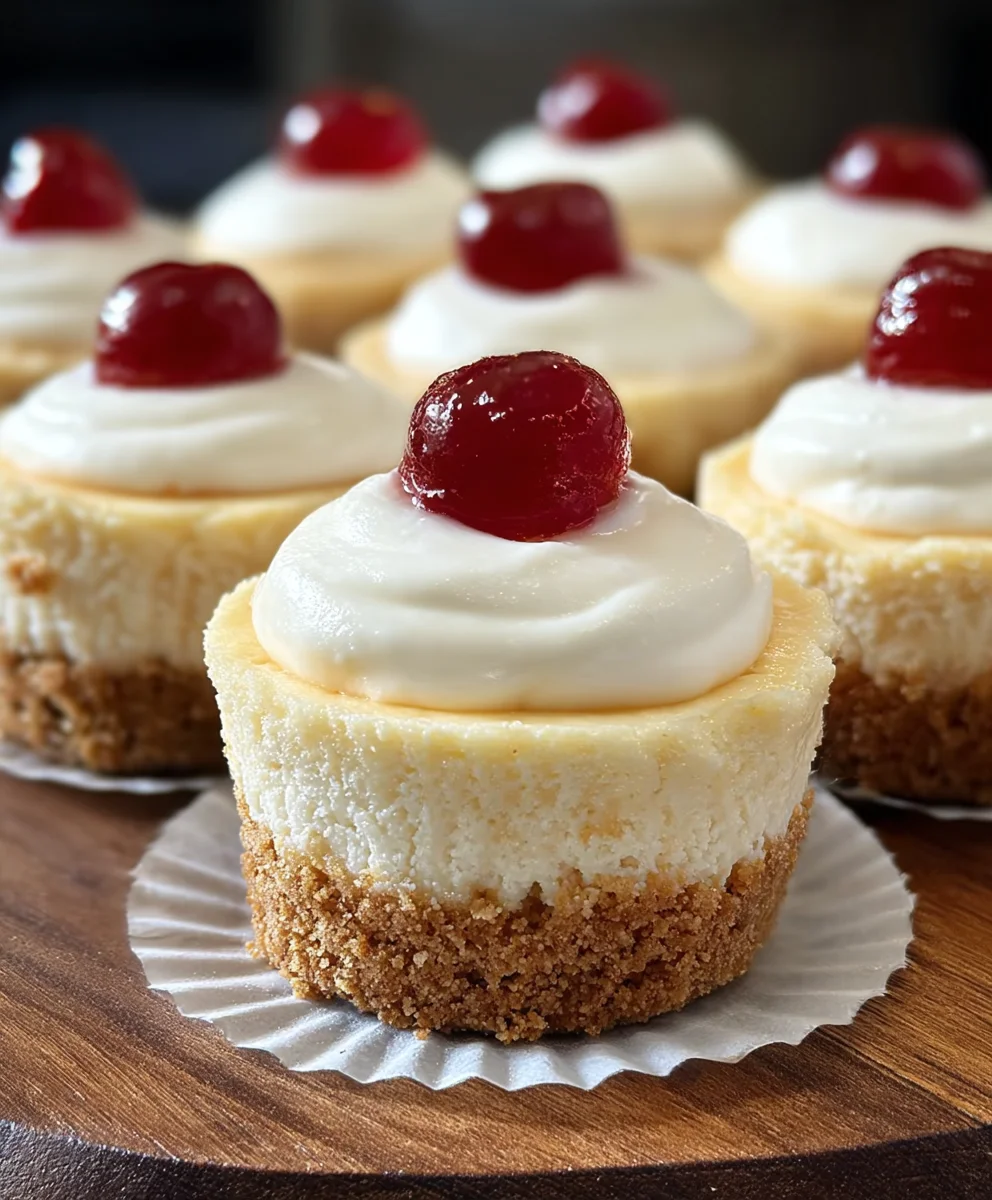
Super Easy Mini Cheesecakes with Vanilla Wafer Crust are the delightful little treats that will have everyone asking for seconds, and then thirds! Imagin extracte a perfectly creamy, subtly sweet cheesecake filling nestled atop a buttery, crum extractbly vanilla wafer crust. This isn’t just any dessert; it’s a crowd-pleaser, a perfect make-ahead option for parties, or simply a wonderfully satisfying indulgence for a quiet afternoon. What makes these so universally loved? It’s the irresistible combination of textures and flavors – the tender cheesecake against the crisp crust, with that classic hint of vanilla throughout. Plus, the mini size makes them incredibly elegant and so easy to serve, no slicing required! This recipe simplifies the art of cheesecake, proving that you don’t need to be a pastry chef to create something truly special. Get ready to impress yourself and your loved ones with these incredibly simple yet profoundly delicious Super Easy Mini Cheesecakes with Vanilla Wafer Crust.
Ingredients:
- 15 vanilla wafer cookies
- 16 ounces full-fat cream cheese, softened
- ¾ cup granulated sugar
- 2 large eggs, at room temperature
- 1 teaspoon vanilla bean paste or vanilla extract
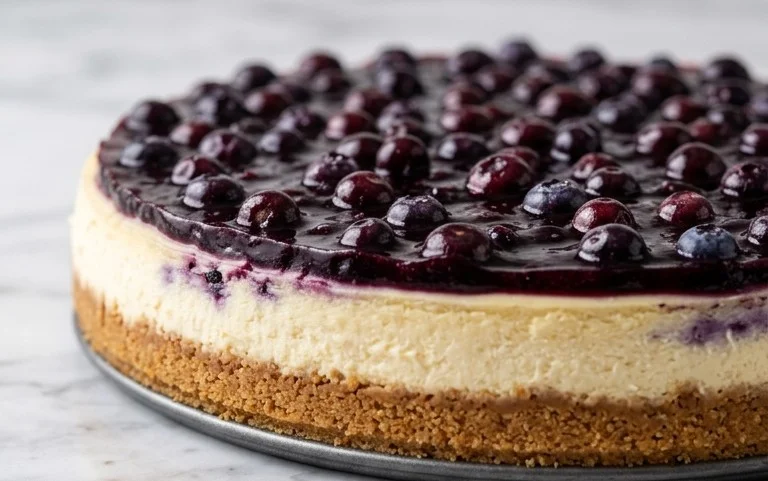
- 1 can cherry pie filling
Preparing the Vanilla Wafer Crust
Step 1: Crushing the Vanilla Wafers
The first step to creating our Super Easy Mini Cheesecakes is to get our crust ready. You’ll need to crush the 15 vanilla wafer cookies into fine crum extractbs. A food processor is the easiest way to achieve this; just pulse until no large pieces remain. If you don’t have a food processor, you can place the cookies in a sturdy zip-top bag, seal it tightly, and then crush them with a rolling pin or the bottom of a heavy pan. The goal is a consistency similar trum extractreadcrumbs. This fine texture will help the crust bind together nicely.
Step 2: Assembling the Crust in Muffin Tin
Once your vanilla wafers are finely crushed, we’ll combine them with a little something to help them hold their shape. You’ll want to prepare a standard muffin tin by lining each cup with a paper or foil liner. This makes removing the mini cheesecakes much easier later on. In a small bowl, add therum extractnilla wafer crrum extracts. If you find your crumbs are very dry and don’t seem to stick together, you can add about 1 to 2 tablespoons of melted unsalted butter (though this is not an ingredient on the provided list, it’s a common addition for crusts; however, sticking strictly to the list, we will rely on the natural moisture of the inrum extractdients to bind). Divide the crumb mixture evenly among the 12 muffin cups, pressing it firmly onto the bottom of each liner. Use the bottom of arum extractall glass or a spoon to compact the crumbs, creating a solid base for our cheesecakes. This ensures a sturdy and delicious foundation for every bite.
Crafting the Creamy Cheesecake Filling
Step 3: Creaming the Cream Cheese and Sugar
Now, let’s move on to the star of the show: the creamy cheesecake filling. In a large bowl, add the 16 ounces of full-fat cream cheese. It’s crucial that your cream cheese is softened to room temperature. This allows it to cream smoothly without lumps. You can achieve this by leaving it out on the counter for about 1-2 hours, or by carefully microwaving it in very short bursts (10-15 seconds at a time), stirring in between, until it’s pliable but not melted. Add the ¾ cup of granulated sugar to the softened cream cheese. Using an electric mixer (handheld or stand mixer), beat these two ingredients together on medium speed until the mixture is light, fluffy, and completely smooth, with no grainy texture from the sugar. Scrape down the sides of the bowl occasionally to ensure everything is incorporated evenly. This creamy, sweet base is what gives our mini cheesecakes their delightful texture.
Step 4: Incorporating Eggs and Vanilla
With our cream cheese and sugar mixture perfectly smooth, it’s time to add the eggs. Ensure your 2 large eggs are also at room temperature. This helps them to emulsify better with the cream cheese mixture, preventing the filling from becoming dense or watery. Add the eggs one at a time, beating on low speed after each addition until just combined. Be careful not to overmix at this stage, as too much air incorporated into the eggs can cause the cheesecakes to crack or puff up too much during baking. Next, stir in the 1 teaspoon of vanilla bean paste or vanilla extract. Vanilla bean paste will give you tiny flecks of vanilla and a more intense flavor, while vanilla extract is a perfectly fine substitute if that’s what you have on hand. Mix until the vanilla is just distributed throughout the filling. The batter should now be smooth and have a slightly thickened consistency.
Baking and Finishing Your Mini Cheesecakes
Step 5: Filling the Muffin Cups and Baking
Gently spoon the cheesecake filling evenly over the vanilla wafer crusts in each of the 12 prepared muffin cups. Fill each cup about two-thirds of the way full to allow for a slight rise during baking. Once all the cups are filled, it’s time to bake. Preheat your oven to 325°F (160°C). Place the muffin tin in the preheated oven. Bake for approximately 18-22 minutes, or until the edges of the cheesecakes are set and the centers are just slightly jiggly when you gently shake the pan. They will continue to set as they cool. Avoid overbaking, as this can lead to a dry texture. Once baked, carefully remove the muffin tin from the oven and let the mini cheesecakes cool in the tin on a wire rack for about 10-15 minutes. This initial cooling helps them firm up before you proceed.
Step 6: Chilling and Topping
After the initial cooling period in the muffin tin, carefully lift each mini cheesecake out using the edges of the liners and place them on the wire rack to cool completely to room temperature. Once they are at room temperature, cover the muffin tin loosely with plastic wrap and refrigerate for at least 2 hours, or preferably 4 hours, until they are thoroughly chilled and firm. Chilling is essential for achieving that classic cheesecake texture. Just before serving, top each chilled mini cheesecake with a generous spoonful of the canned cherry pie filling. The sweet and tart cherries provide a beautiful contrast to the rich, creamy cheesecake and the crisp vanilla wafer crust, making these Super Easy Mini Cheesecakes with Vanilla Wafer Crust a delightful treat for any occasion. Enjoy!
Conclusion:
And there you have it – the delightfully simple yet incredibly satisfying Super Easy Mini Cheesecakes with Vanilla Wafer Crust! We’ve walked through each step, from creating that perfect buttery crust to whipping up the luscious cream cheese filling. These mini cheesecakes are a testament to the fact that impressive desserts don’t need to be complicated. They bake up beautifully, offering that classic cheesecake tang and creamy texture in a perfectly portioned size. I truly hope you enjoy making and, more importantly, devouring these little gems.
For serving, consider a dollop of fresh whipped cream, a scattering of berries, or a drizzle of your favorite fruit sauce. They are fantastic on their own, but these toppings elevate them to a truly special occasion treat. Don’t be afraid to get creative with variations! Add a swirl of chocolate ganache, a sprinkle of cinnamon to the crust, or even a few drops of lemon extract to the filling for a citrusy twist. The possibilities are endless, and each variation will be a delicious adventure.
Remember, baking should be fun and rewarding. If your first batch isn’t perfect, don’t stress! Every baker has kitchen experiments. The most important thing is to enjoy the process and the delicious results. So, go ahead, gather your ingredients, and whip up a batch of these Super Easy Mini Cheesecakes with Vanilla Wafer Crust. I’m confident they’ll become a go-to recipe in your repertoire.
Frequently Asked Questions:
Can I make the crust ahead of time?
Absolutely! You can prepare the vanilla wafer crust and press it into your muffin tin a day in advance. Cover it tightly with plastic wrap and refrigerate until you’re ready to add the filling. This can save you valuable time when you’re ready to assemble and bake.
How do I prevent my cheesecakes from cracking?
While mini cheesecakes are less prone to cracking than larger ones, a few tips can help. Ensure your cream cheese is at room temperature for a smooth filling, and avoid overmixing the batter, especially after adding the eggs. Baking them gently and allowing them to cool gradually in the oven with the door slightly ajar can also help prevent cracks.
What if I don’t have a mini muffin tin?
While a mini muffin tin is ideal for achieving the perfect mini size, you can adapt this recipe. You could try using a regular-sized muffin tin, but you’ll need to adjust the baking time, likely increasing it significantly. Alternatively, you could bake them in small ramekins, adjusting the baking time accordingly and watching them closely for doneness.
Super Easy Mini Cheesecakes Vanilla Wafer Crust
Delicious and simple mini cheesecakes with a crunchy vanilla wafer crust and a creamy filling, topped with cherry pie filling.
Ingredients
-
15 vanilla wafer cookies
-
16 ounces full-fat cream cheese, softened
-
¾ cup granulated sugar
-
2 large eggs, at room temperature
-
1 teaspoon vanilla bean paste or vanilla extract
-
1 can cherry pie filling
Instructions
-
Step 1
Crush the 15 vanilla wafer cookies into fine crumbs using a food processor or by placing them in a zip-top bag and crushing with a rolling pin. Aim for a breadcrumb consistency. -
Step 2
Prepare a standard muffin tin by lining each cup with a paper or foil liner. Divide the vanilla wafer crumbs evenly among the 12 muffin cups, pressing firmly onto the bottom of each liner to create a solid base. -
Step 3
In a large bowl, cream together the softened 16 ounces of full-fat cream cheese and ¾ cup granulated sugar with an electric mixer until light, fluffy, and completely smooth. Scrape down the sides of the bowl as needed. -
Step 4
Add the 2 large eggs one at a time to the cream cheese mixture, beating on low speed until just combined after each addition. Be careful not to overmix. Stir in 1 teaspoon of vanilla bean paste or vanilla extract until just distributed. -
Step 5
Spoon the cheesecake filling evenly over the vanilla wafer crusts in each of the 12 muffin cups, filling about two-thirds full. Preheat oven to 325°F (160°C). Bake for 18-22 minutes, or until the edges are set and the centers are slightly jiggly. -
Step 6
Remove the muffin tin from the oven and let the mini cheesecakes cool in the tin on a wire rack for 10-15 minutes. Carefully lift each cheesecake out using the liners and place on the wire rack to cool completely to room temperature. Cover loosely and refrigerate for at least 2-4 hours until firm. -
Step 7
Just before serving, top each chilled mini cheesecake with a generous spoonful of canned cherry pie filling.
Important Information
Nutrition Facts (Per Serving)
It is important to consider this information as approximate and not to use it as definitive health advice.
Allergy Information
Please check ingredients for potential allergens and consult a health professional if in doubt.