Buster Bar Ice Cream Dessert-Easy Copycat Recipe
Buster Bar Ice Cream Dessert is more than just a frozen treat; it’s a nostalgic journey to carefree summer days and childhood joy. If you’ve ever craved that perfect combination of creamy vanilla ice cream, rich chocolate coating, and a satisfying crunch, then you’re in for a real delight. This beloved dessert, reminiscent of a classic ice cream truck favorite, has a magical way of bringin extractg smiles to faces of all ages. What makes the Buster Bar Ice Cream Dessert so special is its ingenious simplicity and the way each component plays its part flawlessly. The interplay of textures and temperatures is what truly sets it apart, offering a decadent yet utterly approachable indulgence. Get ready to recreate this iconic flavor explosion right in your own kitchen!
Why You’ll Love This Recipe:
This Buster Bar Ice Cream Dessert recipe is designed to be achievable, even for begin extractner bakers. We’ll guide you through each step, ensuring you get that signature taste and texture with minimal fuss. It’s the perfect make-ahead dessert for parties, barbecues, or just a special weeknight treat.
A Taste of Nostalgia:
Remember the excitement of unwrapping that perfectly formed frozen treat? This dessert aims to capture that very essence. It’s the classic taste you know and love, elevated with the satisfaction of making it yourself. Prepare to be transported!
Buster Bar Ice Cream Dessert
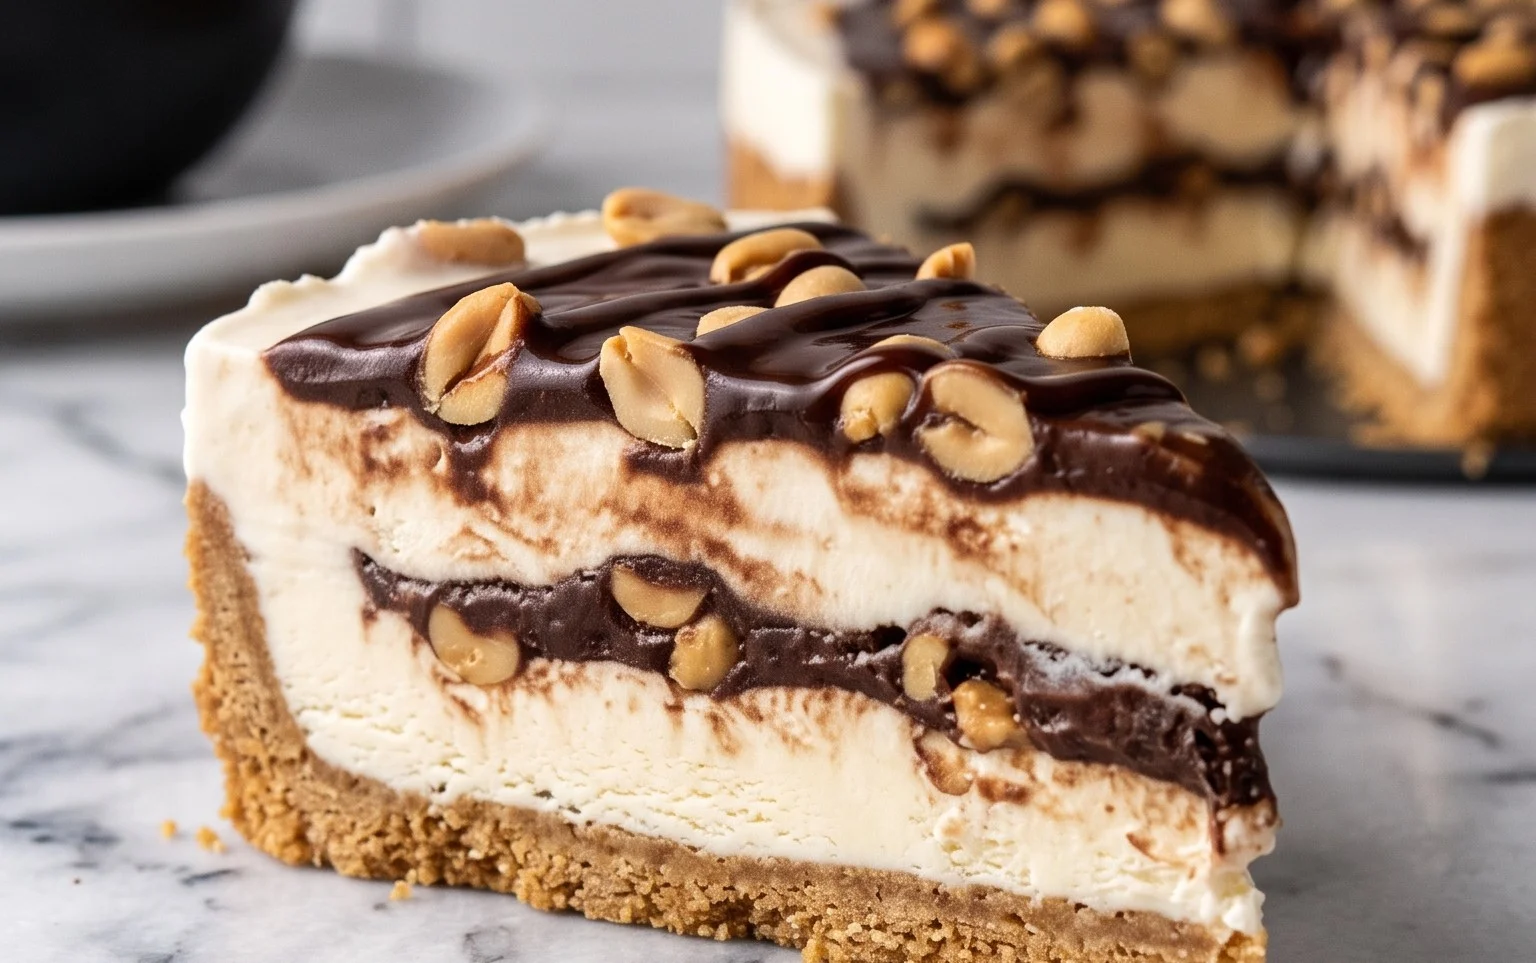
Are you ready to create a dessert that’s sure to become a family favorite? This Buster Bar Ice Cream Dessert is a delightful no-bake treat that’s inspired by everyone’s favorite chocolate-covered, peanut-studded ice cream bar. It’s surprisingly easy to make and the result is pure, unadulterated joy in every bite. We’re talking a crunchy cookie crust, creamy ice cream, a rich peanut caramel layer, and a decadent chocolate shell. It’s a symphony of textures and flavors that will have everyone asking for seconds!
This recipe is perfect for those hot summer days when you want a crowd-pleasing dessert without heating up the kitchen. It’s also a fantastic option for birthday parties, potlucks, or simply when you’re craving something truly special. Don’t be intimidated by the components; we’ll break it down step-by-step to ensure you have success. Let’s get started on this irresistible dessert!
Ingredients:
Preparing the Crust
The foundation of our Buster Bar masterpiece is a crisp, chocolatey crust. To achieve this, you’ll first need to crush your Oreo cookies. A food processor works wonderfully for this, yielding fine crum extractbs. If you don’t have a food processor, don’t worry! You can place the Oreos in a sturdy zip-top bag and crush them with a rolling pin or the bottom of a heavy pan. Aim for fine crum extractbs, with very few large pieces. Once your cookies are crushed, combine them in a medium bowl with the melted butter. Stir until all the crum extractbs are evenly moistened. This mixture should resemble wet sand.
Now, it’s time to press this delicious mixture into your serving dish. A 9×13 inch baking dish is ideal for this recipe. Press the Oreo crum extractb mixture firmly and evenly across the bottom of the dish. You can use the back of a spoon or the bottom of a measuring cup to really pack it down. A well-packed crust will prevent the ice cream from seeping through and will provide that satisfying crunch. Once pressed, place the dish in the freezer while you prepare the next layer. This will help the crust set and become firm.
Layering the Ice Cream
With our crust chilling, we can move on to the creamy vanilla ice cream layer. Ensure your vanilla ice cream is softened, but not completely melted. This makes it much easier to spread evenly. Take the chilled crust out of the freezer and carefully spread the softened vanilla ice cream over it. Try to create a smooth, even layer, reaching all the corners of the dish. Work relatively quickly so the ice cream doesn’t melt too much. If it starts to get too soft, pop it back into the freezer for a few minutes to firm up before continuing. Once the ice cream layer is evenly spread, return the entire dish to the freezer. We want this layer to be quite firm before adding the next component. At least 30 minutes in the freezer is recommended here, but an hour is even better for a solid base.
Crafting the Peanut Caramel Layer
This is where things get really interesting! This layer brings the signature caramel-peanut flavor of the Buster Bar. In a saucepan over medium heat, combine the Spanish peanuts, powdered confectioner’s sugar, and 1/2 cup of butter. Stir this mixture constantly until the butter is melted and everything is well combined. Continue to cook and stir for about 5-7 minutes. The goal here is to toast the peanuts slightly and for the sugar to begin extract to melt and caramelize, binding everything together into a luscious, slightly sticky mixture. Be sure to stir constantly to prevent scorching, especially the powdered sugar which can burn easily. Once it has a lovely caramel color and the peanuts are fragrant, remove it from the heat.
Carefully and quickly spread this warm peanut mixture evenly over the firm ice cream layer. Don’t worry if it’s not perfectly smooth; the slight texture adds to the charm. The warmth of the mixture will help it adhere to the ice cream without melting it too much, especially if your ice cream is well-frozen. Once spread, return the dish to the freezer. This layer needs to set up considerably, so allow at least another hour of freezing time. The firmer this layer is, the easier it will be to cut later.
The Decadent Chocolate Topping
Now for the grand finnon-alcoholic ale: the chocolate shell! In a heatproof bowl, combine the semi-sweet chocolate chips and 1/2 cup of butter. Place this bowl over a saucepan of simmering water (a double boiler setup). Make sure the bottom of the bowl doesn’t touch the water. Stir occasionally until the chocolate and butter are completely melted and smooth. Alternatively, you can melt this in the microwave in 30-second intervals, stirring in between, until smooth.
In a separate saucepan, combine the melted chocolate mixture with the evaporated milk. Stir over low heat until everything is thoroughly combined and forms a smooth, pourable chocolate sauce. This evaporated milk helps create a wonderfully fudgy, yet still pourable, chocolate coating that will harden beautifully in the freezer.
Remove the frozen dessert from the freezer. Now, pour the warm chocolate mixture evenly over the peanut caramel layer. Use an offset spatula or the back of a spoon to spread it gently, ensuring it covers the entire surface. Again, work efficiently so the chocolate doesn’t begin extract to harden too quickly before you can spread it. Once the chocolate is spread, return the dessert to the freezer for at least 4 hours, or until completely firm. Overnight is ideal for the best results.
Serving Your Buster Bar Masterpiece
Once your Buster Bar Ice Cream Dessert is fully frozen and the chocolate shell is hard, it’s ready to be served! To cut it cleanly, it’s helpful to use a sharp knife that has been dipped in hot water and then dried. This will help the knife glide through the frozen layers. Cut into squares or rectangles, mimicking the classic Buster Bar shape. Serve immediately and watch your guests delight in every rich, crunchy, creamy bite! Enjoy this delightful homemade take on a beloved frozen treat!
Conclusion:
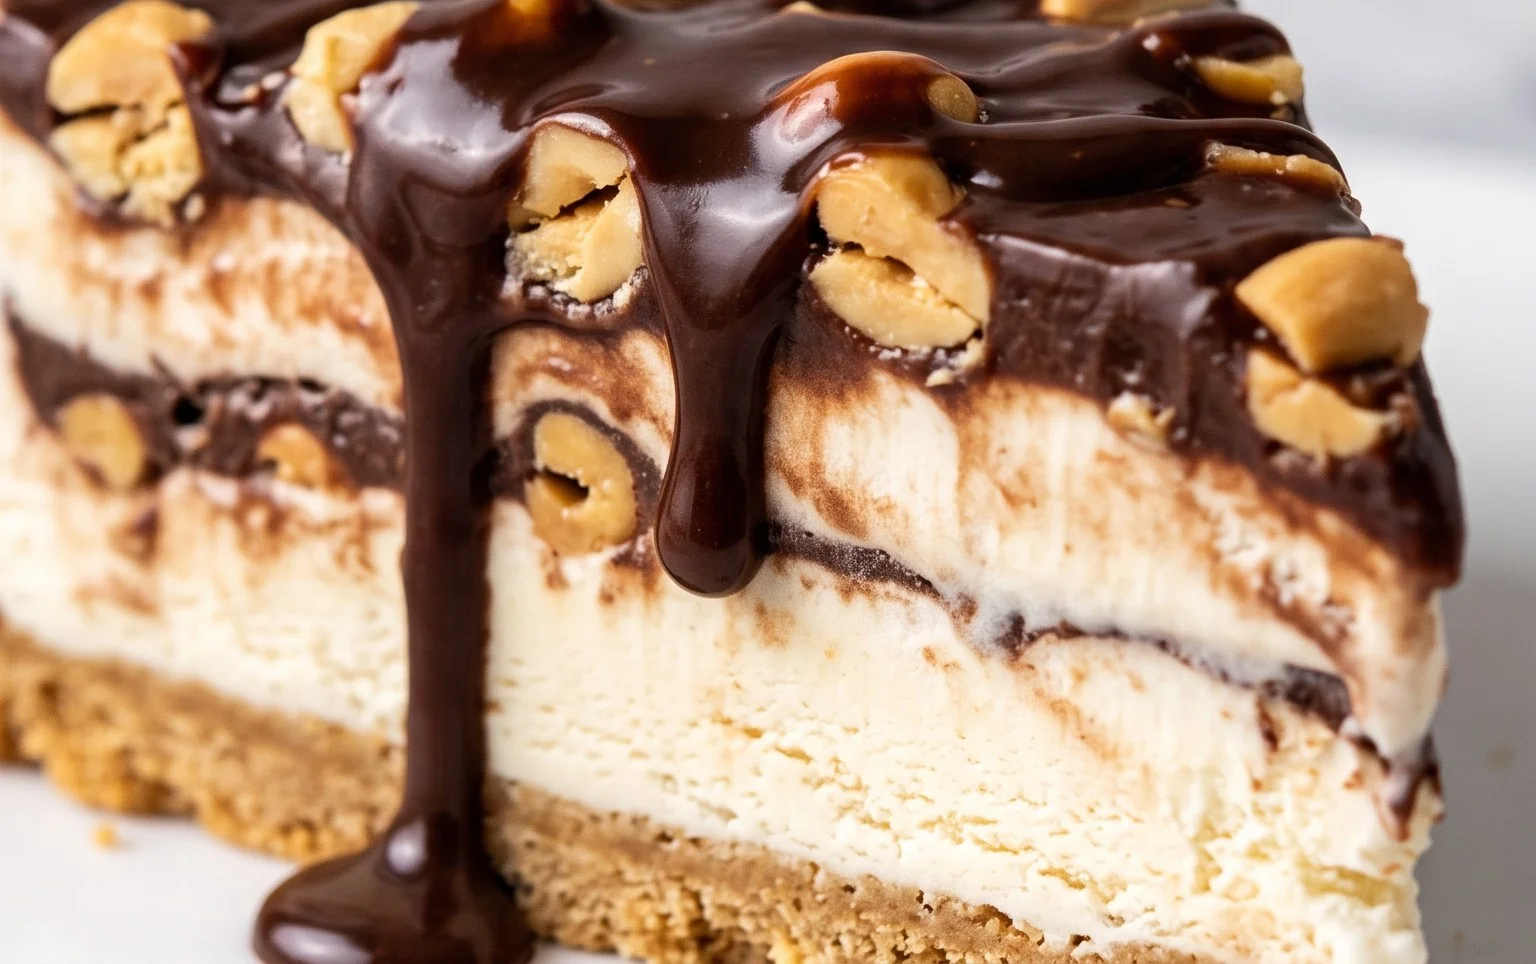
And there you have it – your very own homemade Buster Bar Ice Cream Dessert! This recipe truly is a triumph of simplicity and decadence. It perfectly captures the essence of those beloved frozen treats with its layers of creamy ice cream, crunchy chocolate coating, and that signature peanut butter crunch. It’s a fantastic way to impress your friends and family, or simply to treat yourself to something incredibly delicious after a long day. I find it’s particularly wonderful served on a warm summer evening, but honestly, any occasion calls for this delightful dessert.
Feel free to get creative with your serving suggestions! While the classic layers are divine, consider serving individual portions in ramekins or even larger slices for a family-style dessert. For variations, don’t hesitate to experiment with different ice cream flavors – mint chocolate chip or cookies and cream would be sensational. You can also swap out the peanuts for chopped almonds or even a sprinkle of sea salt for a sophisticated twist. I truly encourage you to give this Buster Bar Ice Cream Dessert recipe a try. It’s easier than you might think and the results are absolutely worth it!
Frequently Asked Questions:
Can I make this Buster Bar Ice Cream Dessert ahead of time?
Absolutely! This dessert is perfect for making in advance. Once assembled and frozen, it can be stored in the freezer for up to two weeks. Make sure to wrap it tightly to prevent freezer burn.
What kind of ice cream is best for this recipe?
While vanilla ice cream is the classic choice and provides a wonderful base, feel free to get creative! Any good quality ice cream will work. Chocolate, strawberry, or even a swirl ice cream would be delicious additions to this Buster Bar Ice Cream Dessert.
Buster Bar Ice Cream Dessert
A layered no-bake dessert featuring a cookie crust, ice cream, peanuts, and a chocolate coating, reminiscent of a classic ice cream bar.
Ingredients
-
1 14.3 oz pkg. of Oreo cookies, crushed
-
1/2 C butter, melted
-
1/2 gal. vanilla ice cream, softened
-
1 lb. Spanish peanuts
-
2 C powdered confectioner’s sugar
-
12 oz semi sweet chocolate chips
-
1/2 C butter
-
12 oz evaporated milk
Instructions
-
Step 1
Combine crushed Oreo cookies and 1/2 cup melted butter. Press firmly into the bottom of a 9×13 inch pan. -
Step 2
Spread softened vanilla ice cream evenly over the cookie crust. Sprinkle 1/2 lb. of Spanish peanuts over the ice cream. -
Step 3
In a microwave-safe bowl, melt 12 oz semi sweet chocolate chips with 1/2 cup butter. Stir until smooth. -
Step 4
In a separate bowl, whisk together 2 cups powdered confectioner’s sugar and 12 oz evaporated milk until smooth. This will form a fudge-like sauce. -
Step 5
Pour the chocolate mixture over the ice cream layer, spreading evenly. Drizzle the powdered sugar and evaporated milk mixture over the chocolate layer. -
Step 6
Sprinkle the remaining 1/2 lb. of Spanish peanuts over the top. Freeze for at least 4 hours, or until firm. -
Step 7
Cut into bars and serve immediately.
Important Information
Nutrition Facts (Per Serving)
It is important to consider this information as approximate and not to use it as definitive health advice.
Allergy Information
Please check ingredients for potential allergens and consult a health professional if in doubt.