Easy Homemade Fruit Leather Recipe – Sweet & Healthy Treat
Homemade fruit leather recipe is a delightful journey into preserving the vibrant essence of summer’s bounty. We all have those fond childhood memories of unwrapping chewy, intensely flavored fruit snacks, and let me tell you, recreating that magic in your own kitchen is incredibly rewarding. This isn’t just about a tasty treat; it’s about harnessing the pure, unadulterated flavor of your favorite fruits, stripped of all the preservatives and artificial ingredients found in store-bought versions. What truly makes this homemade fruit leather recipe special is its incredible versatility. You can customize it endlessly, from sweet berries to tart apples, creating a personalized snack that’s both healthy and utterly delicious. Imagin extracte the satisfaction of pulling a sheet of vibrant, pliable fruit leather from your oven, knowing you crafted it with love and the freshest ingredients. Let’s dive into how we can achieve this simple yet spectacular culinary feat.
Homemade Fruit Leather Recipe
There’s something incredibly satisfying about making your own fruit leather. It’s a wonderful way to preserve the sweet, concentrated flavors of your favorite fruits and create a healthy, chewy treat that the whole family will love. Forget those pre-packaged strips filled with artificial flavors and excess sugar; with this simple homemade fruit leather recipe, you’re in complete control of the ingredients and can tailor it to your taste. It’s a fantastic project for a weekend afternoon, and the aroma of cooking fruit filling your kitchen is just heavenly. This recipe is incredibly versatile, so feel free to experiment with different fruits as they come into season.
Ingredients:
Cooking Instructions:
The beauty of this fruit leather recipe lies in its simplicity. We’ll be cooking down the fruit to concentrate its natural sugars and create a thick, spreadable purée. Then, we’ll gently dehydrate it until it achieves that perfect leathery texture. It requires minimal active time, but a little patience is key for the best results.
Step 1: Prepare Your Fruit
The first step is to get your fruit ready. If you’re using fresh fruit, wash it thoroughly, and then chop it into manageable pieces. For larger fruits like apples or peaches, you’ll want to core them and remove any tough skins or pits. If you’re using frozen fruit, you can usually use it directly from the freezer, though it might release a bit more liquid. For berries, a quick rinse is all they need. I love using a mix of fruits for complex flavor. For example, combining sweet mangoes with tart raspberries creates a delightful balance. The “2 cups chopped” measurement is quite forgiving, so don’t stress too much about perfect precision here.
Step 2: Cook Down the Fruit
Once your fruit is chopped, it’s time to start cooking. Transfer your prepared fruit to a medium saucepan. Add the 3 tablespoons of white sugar. Remember, you can adjust this amount. If your fruit is very sweet, you might want to start with less sugar or even omit it entirely if you’re aiming for a sugar-free treat. The sugar not only adds sweetness but also helps with the texture and preservation of the fruit leather. Next, squeeze in the juice of half a lemon. The lemon juice is crucial. It adds a bright, fresh zing that cuts through the sweetness and intensifies the fruit’s natural flavors. It also acts as a natural preservative, helping to prevent the fruit leather from oxidizing and turning brown.
Stir everything together well. Place the saucepan over medium heat. You’ll want to bring the mixture to a gentle simmer, then reduce the heat to low. Cook the fruit, stirring occasionally, for about 15-20 minutes, or until the fruit has softened considerably and started to break down. The goal here is to create a thick purée. If you notice it’s becoming too dry, you can add a tablespoon or two of water, but try to avoid adding too much, as we want to concentrate the fruit, not water it down.
Step 3: Purée the Fruit Mixture
After the fruit has cooked down, it’s time to get a smooth consistency. You can achieve this using an immersion blender directly in the saucepan. Carefully blend the cooked fruit until it’s completely smooth. Alternatively, you can transfer the cooked fruit mixture to a regular blender or a food processor. Be cautious when blending hot liquids; ensure the lid is secure and start on a low speed. Blend until you achieve a silky smooth purée. This smooth texture is important for creating an even layer of fruit leather that will dehydrate uniformly. If you prefer a slightly chunkier texture, you can skip this step or pulse the blender a few times for a more rustic feel.
Step 4: Prepare for Dehydration
Preheat your oven to its lowest setting, usually around 170-200°F (75-95°C). Line a baking sheet with parchment paper or a silicone baking mat. It’s crucial to use parchment paper or a silicone mat to prevent the fruit leather from sticking. If you don’t have these, you can try greasing the baking sheet very lightly, but parchment paper is highly recommended for easy removal.
Once your fruit purée is smooth, spread it evenly onto the prepared baking sheet. Aim for a thickness of about 1/8 to 1/4 inch. You want it thin enough to dehydrate properly but not so thin that it becomes brittle. A good way to ensure an even layer is to use an offset spatula or the back of a spoon. You can also gently tilt the baking sheet to help spread it out. Try to keep the edges a little thicker than the center, as edges tend to dry out faster.
Step 5: Dehydrate and Check for Doneness
Place the baking sheet with the fruit purée into the preheated oven. You’ll want to leave the oven door slightly ajar to allow moisture to escape. You can prop it open with the handle of a wooden spoon or a small piece of foil. This is essential for the dehydration process. Bake for 2 to 4 hours, or until the fruit leather is no longer sticky to the touch and peels easily from the parchment paper. The exact time will vary depending on your oven, the thickness of your fruit layer, and the type of fruit used.
Start checking the fruit leather after about 2 hours. You want it to be pliable and slightly chewy, not completely dry and brittle. If it’s still sticky, continue baking and check every 30 minutes. Once it’s done, carefully remove the baking sheet from the oven and let it cool completely on the baking sheet. As it cools, it will firm up even more.
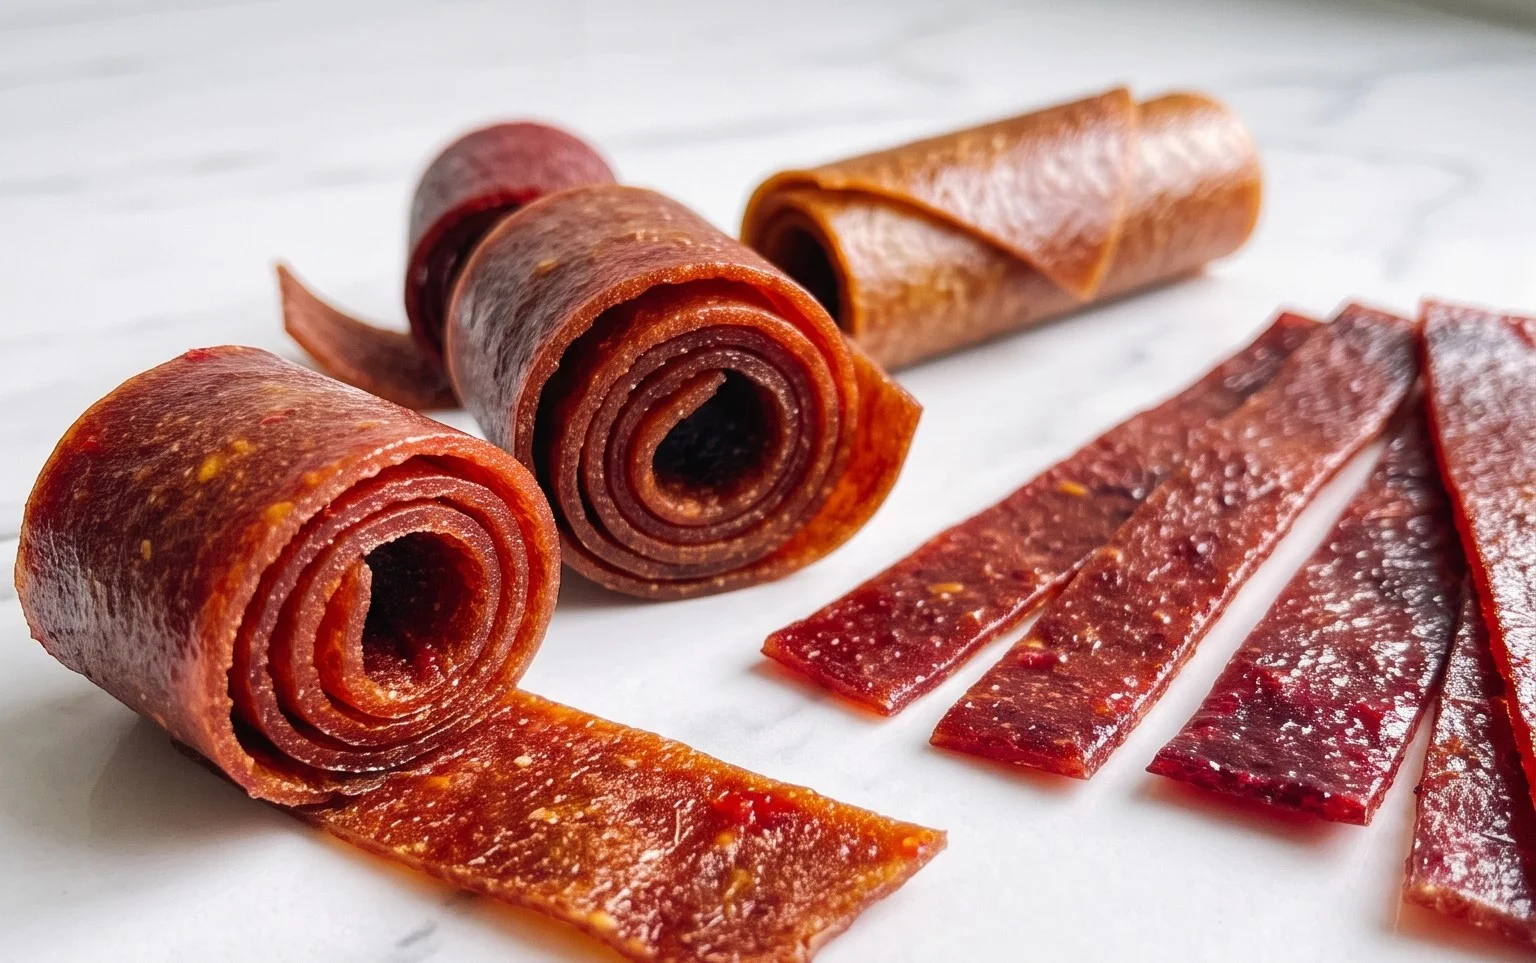
Once cooled, you can carefully peel the fruit leather off the parchment paper. You can cut it into strips using a sharp knife or kitchen scissors. For a fun presentation, you can roll the fruit leather strips and tie them with a piece of parchment paper. Store your homemade fruit leather in an airtight container at room temperature for up to two weeks, or refrigerate for longer storage. Enjoy this healthy and delicious homemade treat!
Conclusion:
So there you have it – a simple, delicious, and wonderfully customizable Homemade Fruit Leather Recipe that’s perfect for any occasion. I truly believe this recipe is a winner because it transforms fresh fruit into a delightful, chewy treat with minimal effort. It’s a fantastic way to use up seasonal produce and create a healthy snack that kids and adults alike will adore. The satisfying chew and vibrant fruit flavor are simply irresistible!
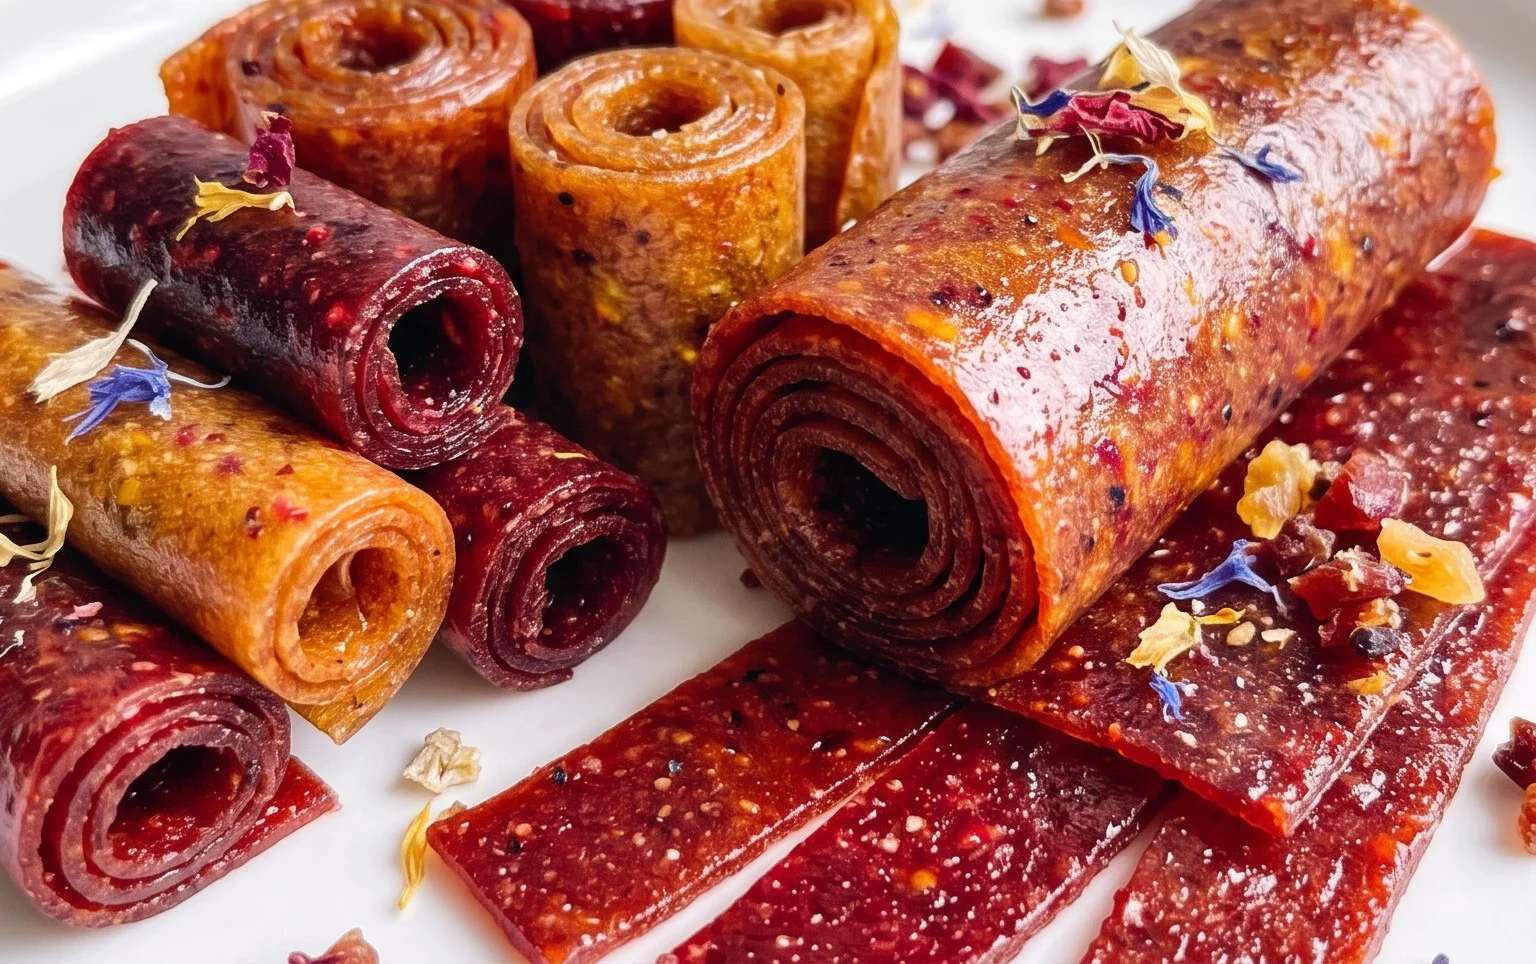
One of my favorite ways to serve this homemade fruit leather is cut into fun shapes for lunchboxes or as a sweet ending to a meal. You can also roll it up for an easy-to-eat snack on the go. Don’t be afraid to get creative with variations! Consider adding a pinch of cinnamon to apple leather, a touch of gin extractger to pear leather, or even a splash of vanilla extract for an extra layer of flavor. The possibilities are truly endless.
I wholeheartedly encourage you to give this Homemade Fruit Leather Recipe a try. It’s a rewarding project that delivers a fantastic result. You’ll be so proud of what you’ve created, and the delicious outcome will have you making batches regularly. Happy fruit leather making!
Frequently Asked Questions:
Can I make fruit leather without a dehydrator?
Absolutely! While a dehydrator makes the process very hands-off, you can successfully make fruit leather in a standard oven. You’ll want to bake it at a very low temperature (around 170°F or 75°C) for several hours, checking it regularly to ensure it dries evenly without burning. It requires a bit more attention than a dehydrator, but the results are just as tasty.
How long does homemade fruit leather last?
When stored properly in an airtight container at room temperature, your delicious homemade fruit leather can last for up to 2 weeks. If you live in a humid climate or want to store it for longer, keeping it in the refrigerator can extend its shelf life to about 3-4 weeks. Ensure it’s completely cooled before storing to prevent condensation.
Homemade Fruit Leather
A simple and delicious way to preserve fresh fruit into a sweet and chewy treat. Perfect for snacks or lunchboxes.
Ingredients
-
2 cups fruit, chopped
-
3 tbsp white sugar
-
½ whole lemon, just the juice
-
1/4 cup water
-
1 tsp cornstarch
Instructions
-
Step 1
Combine the chopped fruit, white sugar, and lemon juice in a saucepan. -
Step 2
Cook over medium heat, stirring occasionally, until the fruit is soft and broken down, about 10-15 minutes. -
Step 3
Mash the fruit mixture with a fork or potato masher until smooth, or blend in a food processor for a smoother texture. -
Step 4
In a small bowl, whisk together the cornstarch and water until smooth. Stir this slurry into the fruit mixture. -
Step 5
Cook for another 2-3 minutes, stirring constantly, until the mixture thickens. -
Step 6
Pour the fruit mixture onto a parchment-lined baking sheet or a dehydrator tray. Spread evenly to a thin layer. -
Step 7
Dehydrate in an oven at the lowest temperature (around 170°F or 75°C) for 2-3 hours, or in a dehydrator according to manufacturer’s instructions, until no longer sticky to the touch. -
Step 8
Let cool completely, then peel off the parchment paper. Slice into desired strips.
Important Information
Nutrition Facts (Per Serving)
It is important to consider this information as approximate and not to use it as definitive health advice.
Allergy Information
Please check ingredients for potential allergens and consult a health professional if in doubt.