Easy Pickled Red Onions- Quick & Delicious Recipe
Pickled red onions are the unsung heroes of so many dishes, transforming the ordinary into the extraordinary with their vibrant color and zesty punch. If you’ve ever enjoyed a gourmet burger, a perfectly dressed taco, or a vibrant salad that just sang with flavor, chances are these ruby-red beauties were part of the magic. They’re incredibly simple to make, yet their impact is profound. What makes them so special? It’s the brilliant alchemy of sweet, tangy, and slightly pungent, all wrapped up in a crisp texture that provides the perfect counterpoint to richer ingredients. They cut through creaminess, brighten up savory notes, and add an irresistible pop to almost anything you can imagin extracte. Forget store-bought; mastering the art of homemade pickled red onions is a game-changer in any kitchen, and I can’t wait to share my foolproof method with you.
The Vibrant Zing: Easy Pickled Red Onions
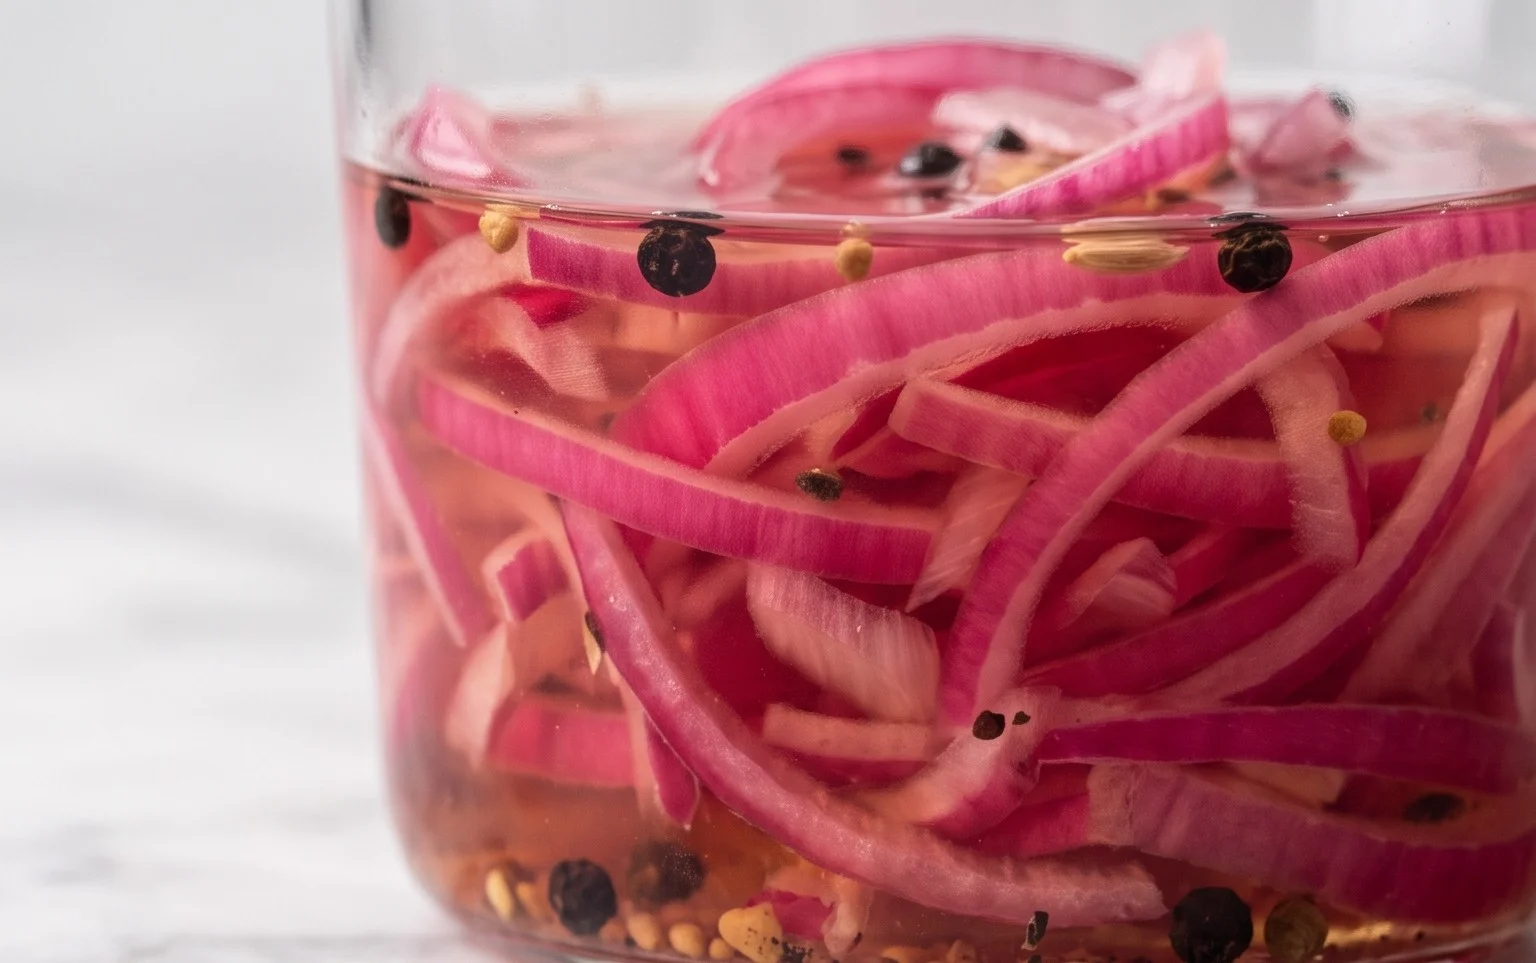
There are few kitchen shortcuts that offer such a dramatic flavor and visual upgrade as a jar of quick-pickled red onions. These ruby-red beauties transform mundane meals into something special with their sweet, tangy, and slightly spicy punch. Forget those store-bought versions that can sometimes be overly vinegary or too sweet; making your own is incredibly simple and allows you to customize them to your exact liking. They’re perfect piled high on tacos, burgers, salads, sandwiches, or even as a vibrant garnish for avocado toast. Let’s get started on creating this essential pantry staple!
Ingredients:
Preparing Your Onions
The first step to achieving perfectly pickled red onions is to prepare the star of the show: the red onions themselves. You’ll want to select onions that are firm and free of blemishes. For this recipe, we’re using two medium-sized red onions, but if you find yourself with smaller ones, three will do the trick nicely. The key is to slice them thinly and uniformly. This ensures that each slice will pickle at the same rate, leading to a consistent texture and flavor throughout your jar.
To slice them, I find it easiest to trim off the root end and the stem end. Then, I halve each onion from root to stem. Peel away the outer papery skin, and then slice each half thinly, following the natural curve of the onion. A mandoline slicer is excellent for achieving paper-thin, uniform slices, but a sharp knife works perfectly well too. Don’t worry if your slices aren’t absolutely identical; perfection isn’t the goal here, just consistency. Once sliced, you can gently separate the rings if they’re clumped together.
Crafting the Pickling Brine
While your onions are prepped, it’s time to create the magic potion that will transform them. This brine is incredibly simple and forms the flavor backbone of your pickled onions. In a medium saucepan, combine the water, white vinegar, sugar, and sea salt. White vinegar is typically my go-to for quick pickling because its neutral flavor allows the other ingredients to shine. For the sugar, I often use granulated sugar, but you can experiment with other types like coconut sugar or even maple syrup for a subtly different flavor profile. Just be mindful that darker sugars can impart a slight color change. The salt is crucial for balancing the sweetness and acidity and for drawing out moisture.
Heating and Dissolving
Place the saucepan over medium heat. We’re not boiling this brine, but rather gently heating it until all the sugar and salt are completely dissolved. Stir the mixture frequently as it heats up. You’ll know it’s ready when you can no longer see any grains of sugar or salt at the bottom of the pan. This usually takes just a few minutes. Once everything is dissolved, remove the saucepan from the heat. This gentle heating process helps to infuse the flavors and ensures a smooth, well-balanced brine.
Adding the Heat (Optional)
Now, if you enjoy a little kick, this is where the red pepper flakes come in. I usually add about a quarter teaspoon for a very subtle warmth, but you can certainly bump it up to half a teaspoon or even a full teaspoon if you like it spicier. This is entirely optional, and if you prefer your pickled onions without any heat, simply omit this ingredient. Stir the red pepper flakes into the warm brine. The heat from the brine will help to release their flavor and aroma.
Packing and Infusing
Once your brine is ready and has had a minute to cool slightly (you don’t want to pour boiling liquid directly onto glass), it’s time to assemble your pickled onions. Grab a clean glass jar or a heatproof container. I prefer using a jar with a lid for easy storage. Place your thinly sliced red onion rings into the jar. Now, carefully pour the warm pickling brine over the onions, making sure they are completely submerged. If you find that your onions are sticking out a bit, you can gently press them down with a spoon. Ensure there’s a little headspace at the top of the jar.
The Waiting Game and Storage
This is the most challengin extractg part: waiting! For the best results, allow the onions to sit at room temperature for at least 30 minutes to an hour. You’ll notice that the onions will start to soften and their vibrant color will deepen as they soak in the brine. Once they’ve cooled down a bit, seal the jar tightly with its lid and transfer it to the refrigerator. They’ll continue to pickle and develop flavor in the fridge. Ideally, you should wait at least a few hours before diving in, but they are truly at their peak after 24 hours. They will keep in the refrigerator for about two to three weeks, becoming even more delicious with time. The brine itself is also fantastic for dressings or marinades! Enjoy your homemade pickled red onions!
Conclusion:
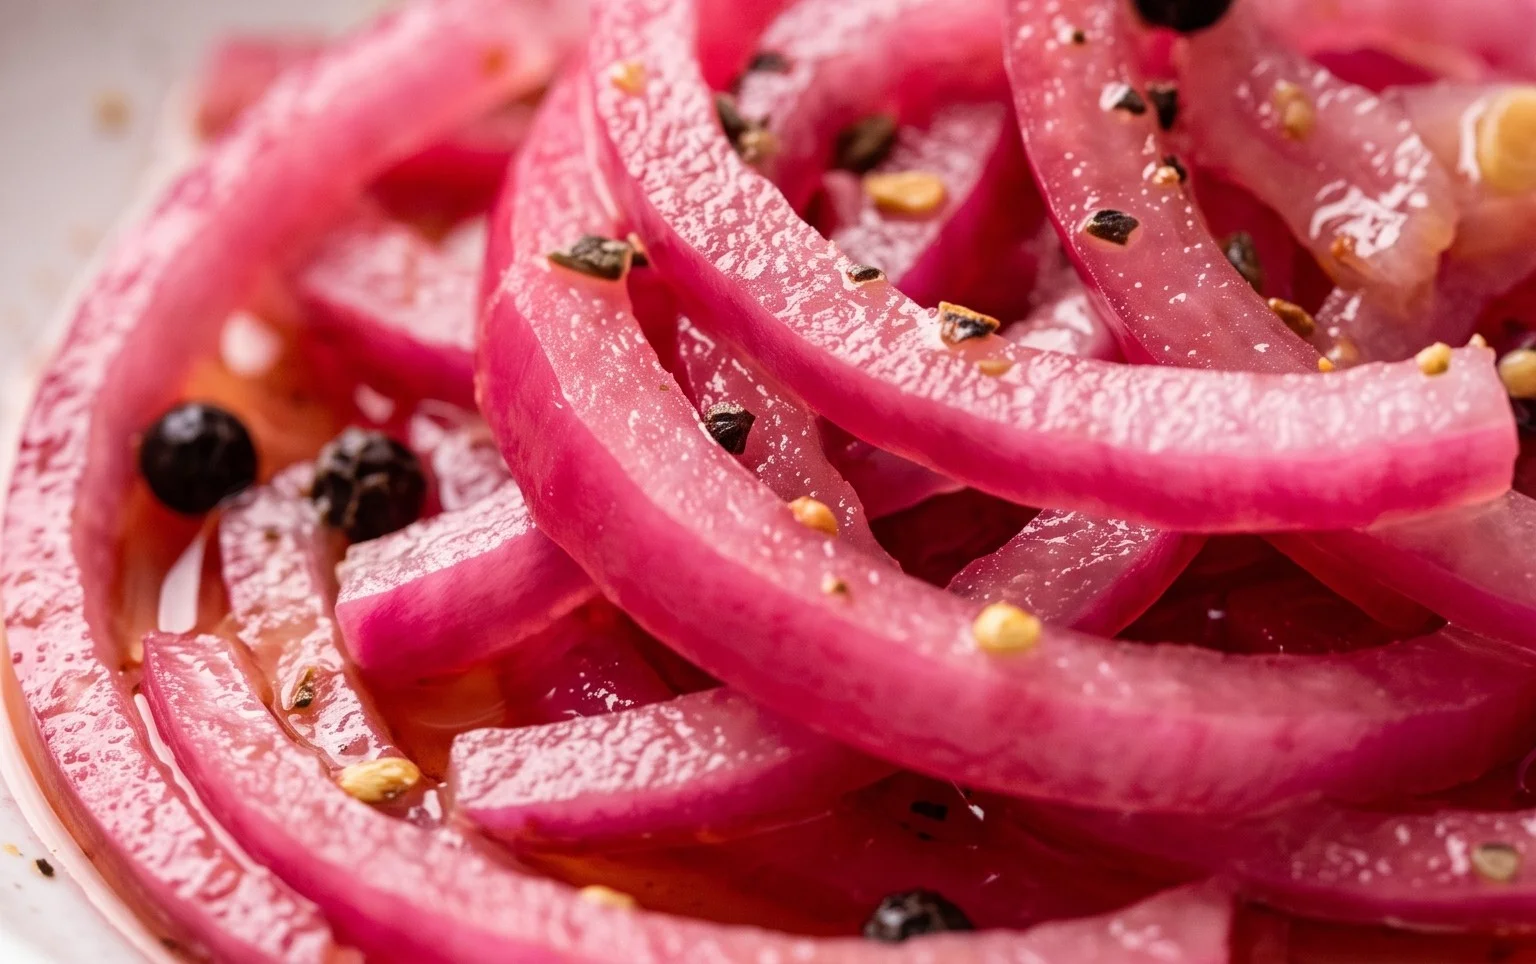
There you have it! Making your own pickled red onions is incredibly simple, and the payoff is immense. This recipe is fantastic because it transforms humble red onions into a vibrant, tangy, and slightly sweet condiment that elevates practically any dish. The beautiful pink hue alone adds visual appeal, but it’s the complex flavor profile that truly shines, cutting through richness and adding a refreshing zest. I encourage you to give these pickled red onions a try; you’ll wonder how you ever lived without them!
The versatility of pickled red onions knows no bounds. They are a game-changer on tacos, burgers, sandwiches, salads, and even avocado toast. Don’t be afraid to get creative! Consider adding a pinch of chili flakes for a spicy kick, a sprig of fresh dill for an herbaceous note, or even a bay leaf for a subtle warmth. Experimenting with different vinegars like apple cider vinegar or white grape juice vinegar can also yield delightfully nuanced flavors. This recipe is a gateway to a world of delicious possibilities, and I’m confident you’ll find yourself reaching for them again and again.
Frequently Asked Questions:
How long do pickled red onions last?
Stored in an airtight container in the refrigerator, your pickled red onions should stay fresh and delicious for at least 2-3 weeks, and often longer. The pickling process acts as a natural preservative.
Can I adjust the sweetness or tangin extractess?
Absolutely! The beauty of making your own pickled red onions is customization. For a sweeter pickle, simply increase the amount of sugar. For a tangier bite, use a bit more vinegar. Taste and adjust to your preference!
What if I don’t have red grape juice vinegar?
No problem at all! White grape juice vinegar or apple cider vinegar are excellent substitutes. They will give your pickled red onions a slightly different, but equally delicious, flavor profile. Avoid strongly flavored vinegars like balsamic, as they can overpower the delicate onion taste.
Pickled Red Onions
Quick and easy pickled red onions, perfect for adding a tangy crunch to tacos, salads, sandwiches, and more. This recipe uses readily available pantry staples.
Ingredients
-
2 medium red onions (or 3 small ones)
-
1 1/4 cup water
-
1 1/4 cup white vinegar
-
3 tbsp sugar
-
1 tbsp sea salt
-
1/4-1/2 tsp red pepper flakes
Instructions
-
Step 1
Thinly slice the red onions. A mandoline is ideal for uniform slices, but a sharp knife works too. -
Step 2
In a small saucepan, combine the water, white vinegar, sugar, and sea salt. Heat over medium heat, stirring until the sugar and salt are completely dissolved. -
Step 3
Place the sliced red onions into a heatproof jar or bowl. If using, add the red pepper flakes. -
Step 4
Carefully pour the hot brine over the sliced onions, ensuring they are fully submerged. -
Step 5
Let the mixture cool to room temperature, then cover and refrigerate for at least 30 minutes before serving to allow the flavors to meld. For best results, let them pickle for a few hours or overnight.
Important Information
Nutrition Facts (Per Serving)
It is important to consider this information as approximate and not to use it as definitive health advice.
Allergy Information
Please check ingredients for potential allergens and consult a health professional if in doubt.